You’re running late when you notice your steering feels odd—then you see the telltale bulge of a flat tire. Before you call for help or rush to buy a replacement, know this: most tire punctures can be fixed properly for under $20. Learning how to fix car tire puncture damage safely could save you hundreds compared to unnecessary tire replacement. But here’s the critical distinction you must understand—temporary roadside fixes get you moving again, while permanent repairs require specific techniques that bond the repair into the tire itself. The wrong approach could lead to catastrophic tire failure at highway speeds.
Many drivers mistakenly believe that if a plug holds air, the repair is safe. This dangerous misconception causes thousands of preventable blowouts annually. A true permanent repair requires both a plug to fill the puncture channel and a patch to seal the interior surface—a combination method recognized by the Tire Industry Association as the only safe approach. This guide walks you through exactly when and how to fix car tire puncture damage correctly, distinguishing between emergency stops and professional-grade solutions.
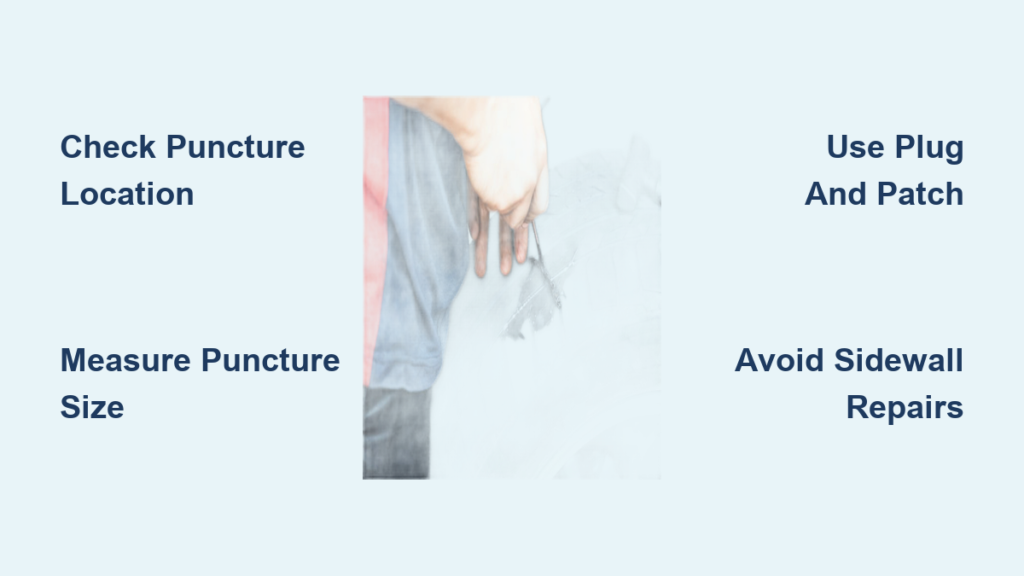
Determine If Your Puncture Is Repairable
Before grabbing your repair kit, you must verify three critical factors: location, size, and overall tire condition. These criteria determine whether your puncture can be safely repaired or requires immediate tire replacement.
The puncture must be located in the tire’s crown area—the center portion of the tread that makes contact with the road. For most passenger tires, this repairable zone spans approximately 1 to 1.5 inches inward from each shoulder groove. Punctures in the shoulder area or sidewall cannot be repaired under any circumstances—these locations lack the structural reinforcement needed for a safe, lasting repair. To check location, look for the first major groove on both sides of the tread; if your puncture falls between these grooves, it’s likely in the repairable zone.
Puncture size matters significantly for repair viability. For standard passenger tires with fabric plies, the maximum repairable diameter is one-quarter inch (6mm). Steel-belted light truck tires accept slightly larger repairs up to three-eighths inch (10mm). Anything larger than these specifications cannot be effectively sealed. To measure your puncture, compare it to common objects—a standard pencil lead is about 2mm, while a standard paperclip wire is approximately 1mm.
Finally, assess your tire’s overall condition. Tires with tread depth near wear indicators, visible sidewall damage, bulges, or signs of internal separation should not be repaired—even if the puncture itself meets location and size criteria. The penetrating object may have damaged internal components you can’t see from the outside, making professional inspection essential before attempting any repair.
Spot Hidden Damage Before Repairing
Inspect the interior surface of the tire for signs of damage that aren’t visible externally. After removing the tire from the rim, look for:
– Separation between plies or belts
– Broken steel cords
– Moisture or rust inside the tire
– Additional punctures you might have missed
If you notice any of these issues, replacement is the only safe option. Continuing to drive on a compromised tire—even after a seemingly successful repair—puts you at serious risk of sudden blowout.
Execute a Roadside Temporary Fix
When you’re stranded with a flat tire and need to reach a service center, a temporary plug repair gets you moving safely. This solution is designed exclusively to bridge the gap to professional repair—not as a permanent solution.
Perform an Emergency Plug Repair in 5 Minutes
Keep the tire mounted on the rim for this temporary solution. First, locate the puncture by finding the embedded object (usually a nail) or submerging the suspected area in water to watch for air bubbles. Mark the location with tire chalk for reference.
Insert a pistol grip rasp tool through the puncture and work it up and down to slightly expand the hole if needed. Spray silicone lubricant over the punctured area to facilitate insertion. Load a piece of tire repair refill material onto your pistol grip inserting needle, drive it through the puncture at an angle, then pull it back out slowly, leaving the repair material inside the hole.
Critical warning: Never drive more than 50 miles or exceed 50 mph on a temporary repair. Moisture and contaminants can still enter through the unsealed injury channel, gradually degrading your tire’s internal structure. This emergency fix buys you time—not safety for extended driving.
Create a Permanent Tire Repair
True permanent repairs require the patch/plug combination method performed with the tire completely removed from the rim. This process, called vulcanization, chemically bonds the repair materials to your tire’s interior rubber.
Follow the Industry-Standard R.E.P.A.I.R. Process
Professional tire shops follow this standardized procedure to ensure safe, lasting results:
Remove the tire completely from the wheel assembly—this non-negotiable step allows inspection of both surfaces and provides access for proper patch installation. Attempting repair while the tire remains mounted compromises safety.
Evaluate the puncture against all repairability criteria, checking location, size, and angle while examining the entire tire for additional hidden damage. This evaluation takes minutes but prevents dangerous failures down the road.
Prepare the interior surface around the puncture by applying buffering solution and using a buffer machine to create a roughened surface. This texture allows vulcanizing glue to form a strong chemical bond with the tire’s inner liner.
Apply the combination plug/patch repair from the inside, pulling a rubber stem through the puncture to seal the interior void. Apply vulcanizing glue to the prepared area, then install a radial patch over the puncture.
Inspect the completed repair carefully before reinflation, checking for defects or inadequate seals.
Reinflate the tire to proper pressure, mount it back on the rim, and verify the seal quality.
Pro tip: A proper permanent repair takes 60 to 90 minutes when done correctly. If a shop promises completion in under 30 minutes, they’re skipping critical steps that compromise your safety.
Gather Essential Repair Tools and Materials
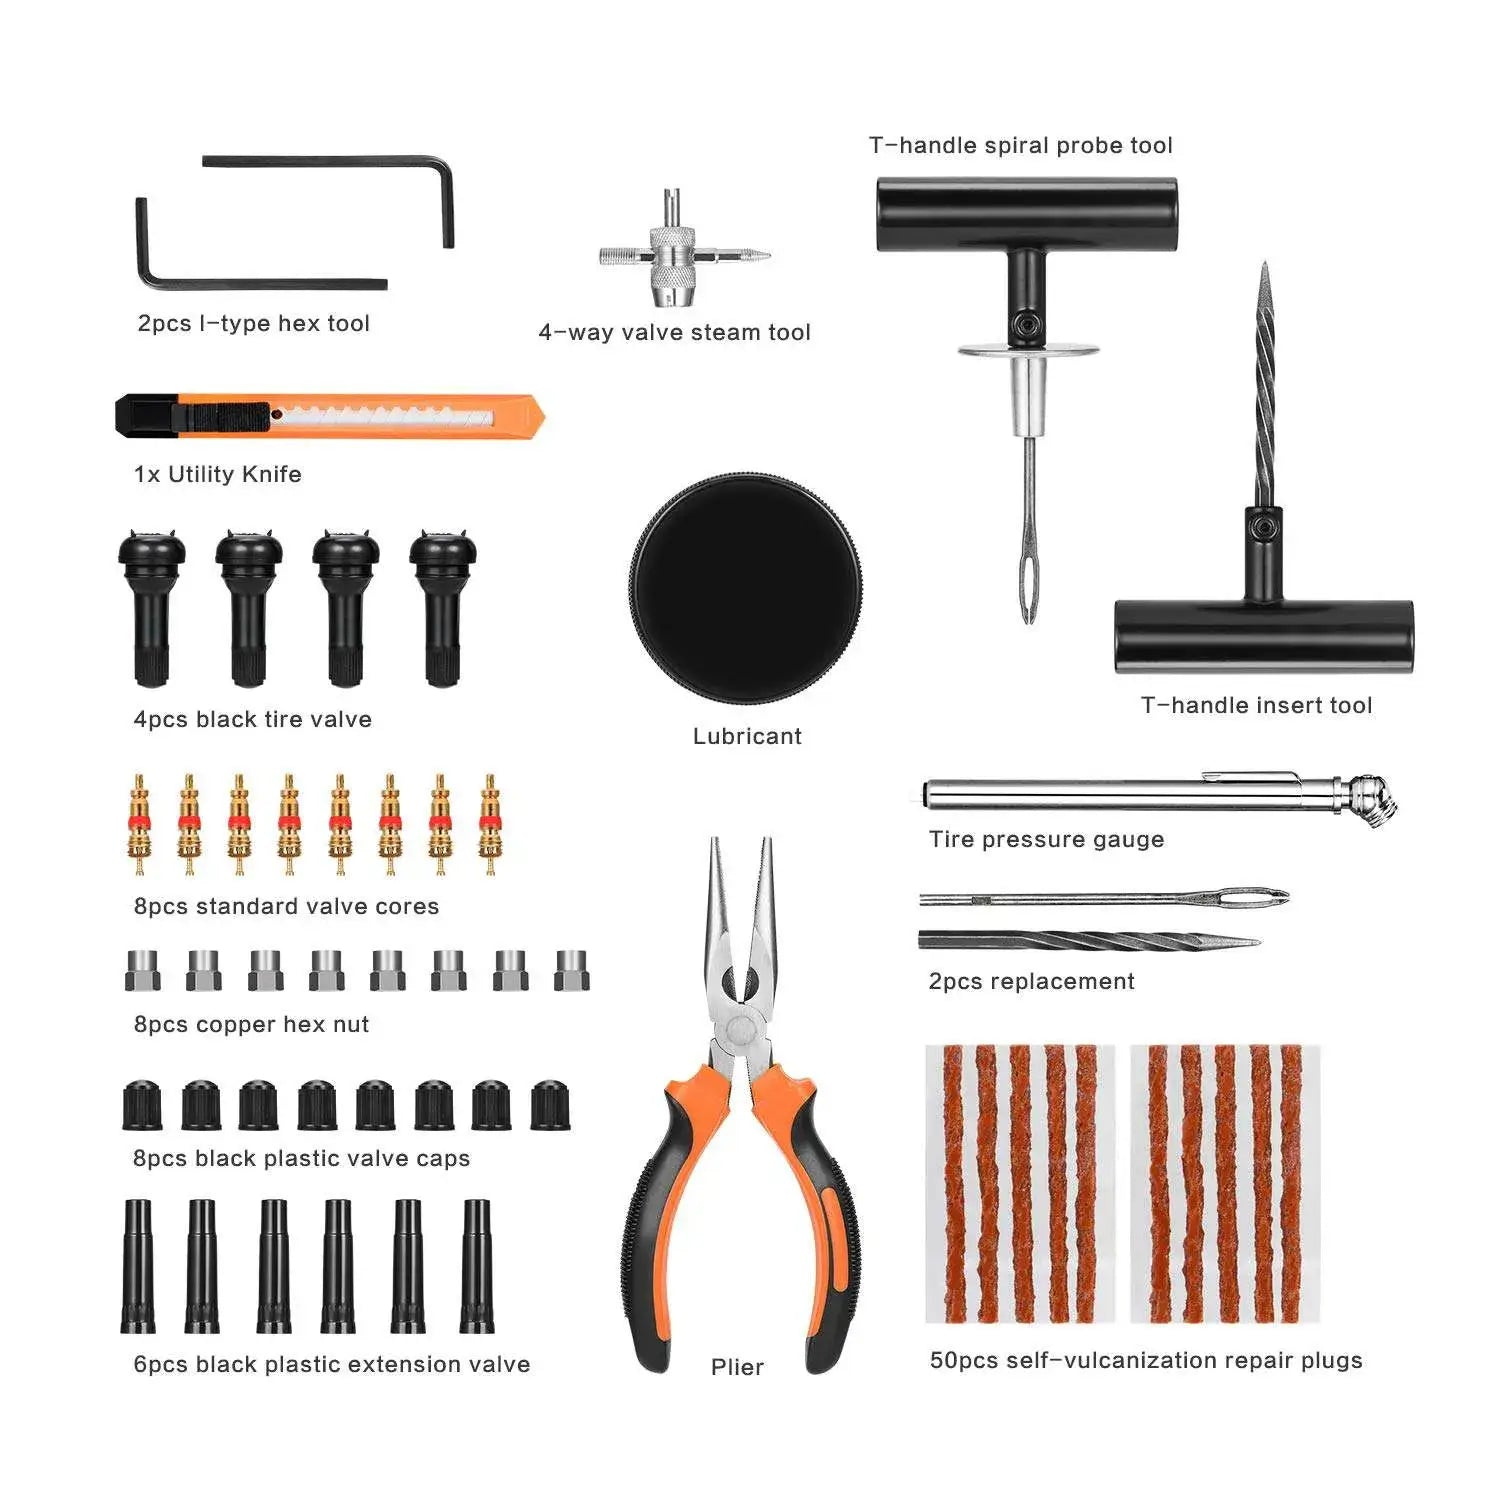
Whether performing a temporary roadside fix or permanent repair, having the right equipment makes the difference between a solution that holds and one that fails.
Professional Repair Kit Components
- Tire buffer machine with sanding pad: Creates the proper surface texture for vulcanizing glue adhesion
- Tire retread and repair tools: Ensures complete patch contact and adhesion
- Cutting pliers: Trims excess repair material after installation
- Tire chalk: Marks puncture locations for reference
- Standard pliers: Extracts penetrating objects before repair
Critical Repair Materials
- Radial patches: Provide the bonding surface for permanent repairs with fabric reinforcement
- Vulcanizing glue: Creates the chemical bond between patch and tire (e.g., Seal Fast B-133)
- Tire repair refills (plugs): Fill the puncture channel with matching rubber compound
- Heavy-duty silicone lubricant: Facilitates easier insertion during temporary repairs
Recognize When Repair Is Unsafe

Certain puncture scenarios absolutely require tire replacement rather than repair. Understanding these limitations prevents dangerous situations that could lead to catastrophic tire failure.
Sidewall Punctures Demand Replacement
Tire sidewalls cannot be repaired under any circumstances. The tread area contains reinforcing cords that run circumferentially, providing structural strength to maintain shape under pressure. The sidewall lacks these cords entirely—without structural reinforcement, there’s nothing for a patch to bond to that can withstand constant flexing. Even if a patch adhered initially, repeated bending would cause separation and failure. A sidewall puncture represents structural failure that cannot be fixed—only replaced.
Other Unrepairable Conditions
- Excessive wear: Tires near wear indicators cannot be safely repaired
- Shoulder area damage: Punctures in the transition zone between tread and sidewall
- Overlapping repairs: Multiple punctures close enough that repairs would overlap
- Bulges or separations: Visible signs of internal structural damage
Warning: Attempting to repair any of these conditions creates unacceptable risk. The cost of a new tire is minimal compared to potential consequences of tire failure at speed.
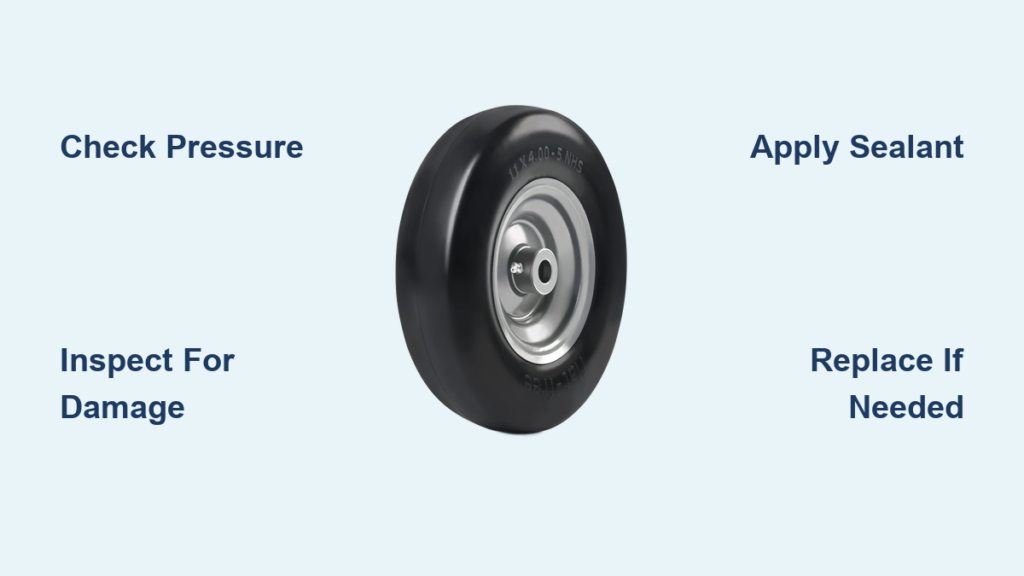
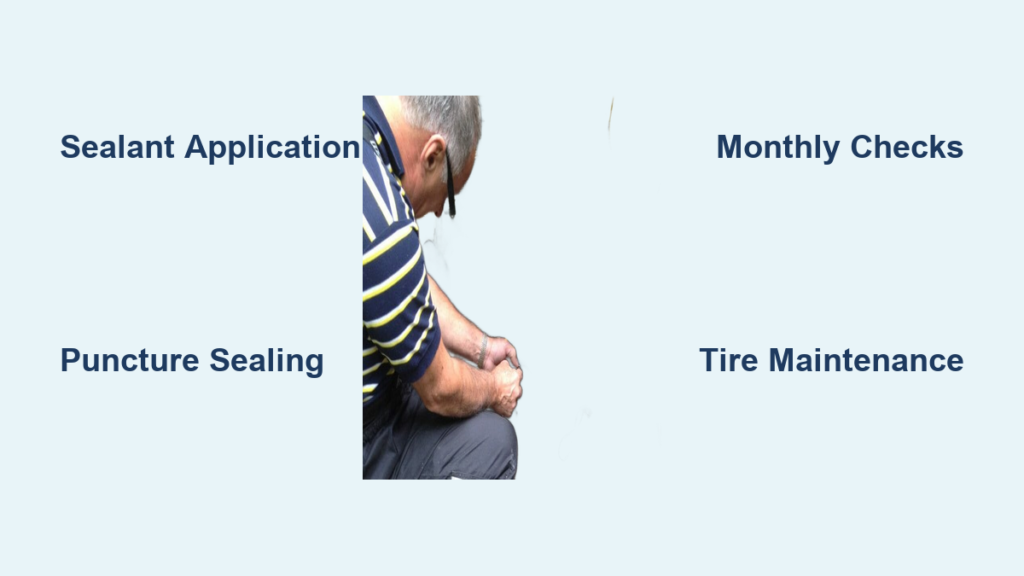
Prevent Future Tire Punctures
While you can’t eliminate puncture risk entirely, strategic practices significantly reduce your likelihood of flat tires:
- Avoid road debris when safe to do so—many punctures come from nails left at construction sites
- Maintain proper inflation—under-inflated tires flex more, transferring impact force to the tire body
- Inspect tires monthly for embedded objects, unusual wear patterns, or visible damage
- Consider puncture-resistant tires if you frequently drive on debris-prone roads
Pro tip: Check tire pressure at least once a month and before long trips—proper inflation reduces puncture risk by 30% according to tire industry studies.
Key Takeaway: Knowing how to fix car tire puncture damage properly separates safe drivers from those risking blowouts. Temporary plug repairs get you to a service center but never serve as permanent solutions. True permanent repairs require the patch/plug combination method performed with the tire removed from the rim, following the professional R.E.P.A.I.R. process. Sidewall and shoulder punctures cannot be repaired under any circumstances—replace rather than risk failure. When in doubt about repair safety, consult a professional who follows Tire Industry Association standards. Your safety on the road depends on making the right repair decision, not just getting back on the road quickly.