That moment when you spot cracks or tears along your tire’s inner edge sends a jolt of concern through any driver. Tire lip damage—also known as bead damage—strikes at the heart of your tire’s structural integrity where the rubber meets the wheel rim. This critical junction contains steel reinforcement wires essential for maintaining air pressure and transferring driving forces. When the rubber covering this area deteriorates, you face a complex safety decision: Can you safely drive with this damage, or must you replace the tire immediately? Many drivers mistakenly assume all bead damage means instant tire replacement, but understanding the true nature of your specific damage pattern could save you unnecessary expense while keeping you safe on the road. This guide cuts through industry confusion to give you clear, actionable steps for evaluating, repairing, and preventing tire lip damage based on real-world evidence and professional insights.
What Actually Constitutes Tire Lip Damage (Not Just Cosmetic)
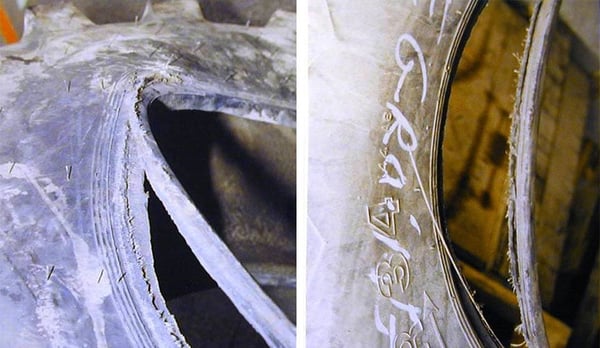
Tire lip damage specifically refers to deterioration in the 1-2 inch wide rubber zone where your tire creates a seal against the wheel rim. This isn’t cosmetic surface scratching—it’s damage to the protective rubber layer surrounding the steel reinforcement cords that maintain your tire’s structural integrity under pressure. The most common pattern involves visible tears, cracks, or separation in the outer rubber while the underlying steel cords remain intact, creating a gray area between repairable damage and immediate replacement.
Why this distinction matters: The rubber covering serves three critical functions beyond appearance—it creates the airtight seal against your wheel, protects steel cords from moisture-induced corrosion, and distributes driving forces evenly across the cord bundle. When this layer fails, even if steel remains visible, your tire’s safety margin narrows significantly. Damage concentrated near the valve stem or wheel spoke cutouts often indicates previous mounting issues that require investigation beyond the tire itself.
Is Your Damage Superficial or Structural?
Surface-level damage appears as shallow cracks or scuffs affecting only the outermost rubber layer. The steel cords stay fully protected, and the bead’s structural integrity remains intact. This type of damage typically results from minor mounting issues and may pose minimal risk with proper sealing.
Moderate damage features deeper cracks penetrating through rubber layers but not yet exposing steel cords. You might see visible separation between rubber layers or gouges revealing fabric reinforcement beneath the steel. While more concerning, this damage may still allow safe operation with careful monitoring and sealing.
Severe damage exposes the steel cords directly, leaving them vulnerable to immediate corrosion from moisture exposure. This represents a clear replacement scenario as corrosion weakens the cords progressively and unpredictably—never drive on tires with exposed steel cords in the bead area.
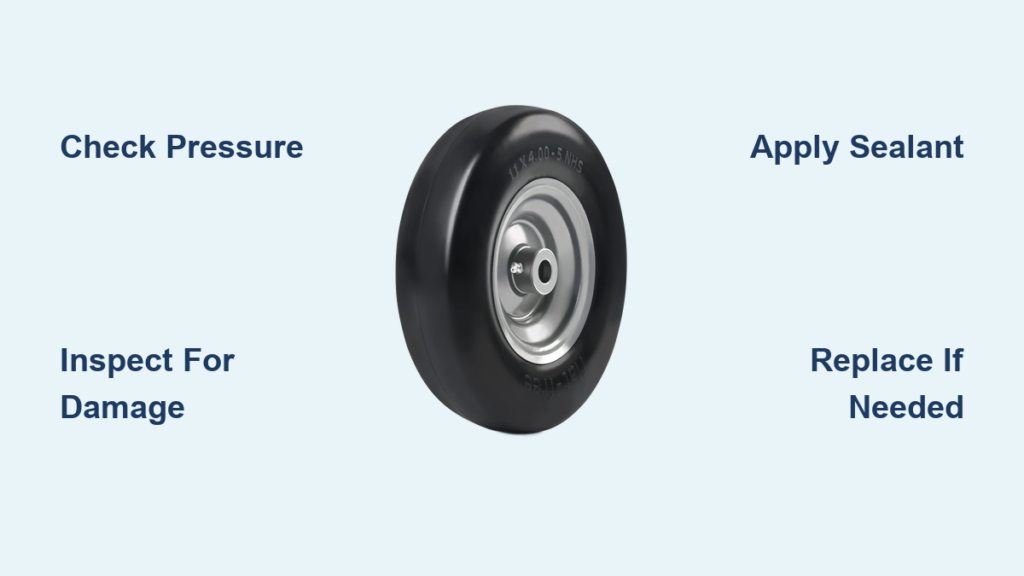
How to Accurately Assess Your Tire Lip Damage Severity
Before deciding between repair and replacement, conduct a methodical inspection that goes beyond surface appearance. Your assessment determines whether you’re dealing with a temporary inconvenience or an immediate safety hazard.
Step 1: Clean and dry the bead area thoroughly using a stiff brush and dry cloth. Dirt and moisture can mask the true extent of damage or create false impressions of cracks. Proper lighting is essential—use a flashlight at a low angle to highlight surface irregularities.
Step 2: Run your fingers along the damaged area (with the tire deflated) to detect hidden cracks or separation beneath the surface. Visual inspection alone misses internal damage that could compromise structural integrity.
Step 3: Measure the damage circumference—small isolated tears (under 2 inches) pose less risk than damage wrapping more than 10% of the tire’s circumference. Damage concentrated in one area may be manageable, while widespread damage indicates systemic failure.
Common Mistakes That Skew Your Assessment
- Ignoring damage location: Damage near the valve stem often indicates mounting tool interference, while uniform damage around the circumference suggests wheel rim issues.
- Overlooking internal signs: Check for bulges in the sidewall that indicate air migrating between tire plies—a serious hidden problem.
- Misjudging steel exposure: Use a magnifying glass to confirm whether steel cords are actually visible or if you’re seeing fabric reinforcement layers.
The Hidden Safety Risks of Driving With Damaged Tire Beads
Tire lip damage creates three progressive safety risks that most drivers fail to recognize until it’s too late. Understanding these risks helps you make informed decisions rather than gambling with your safety.
Immediate failure risk occurs when damaged beads fail to maintain proper air pressure during operation. At highway speeds, sudden air loss from bead failure causes immediate loss of vehicle control—this isn’t a slow leak you can manage. Imagine hitting a pothole at 65 mph that finally breaches your compromised seal: the resulting blowout gives you less than two seconds to react before potential collision.
Progressive corrosion danger begins the moment moisture reaches exposed steel cords. Rust weakens the cords incrementally without external warning signs—your tire may hold air today but fail tomorrow. Unlike tread wear that provides visible indicators, internal corrosion advances silently until catastrophic failure occurs.
Stress concentration vulnerability makes damaged beads prone to failure during cornering or emergency maneuvers. The bead area experiences maximum lateral forces during turns, and damaged sections can’t distribute these loads effectively. This creates a dangerous situation where normal driving conditions become failure triggers.
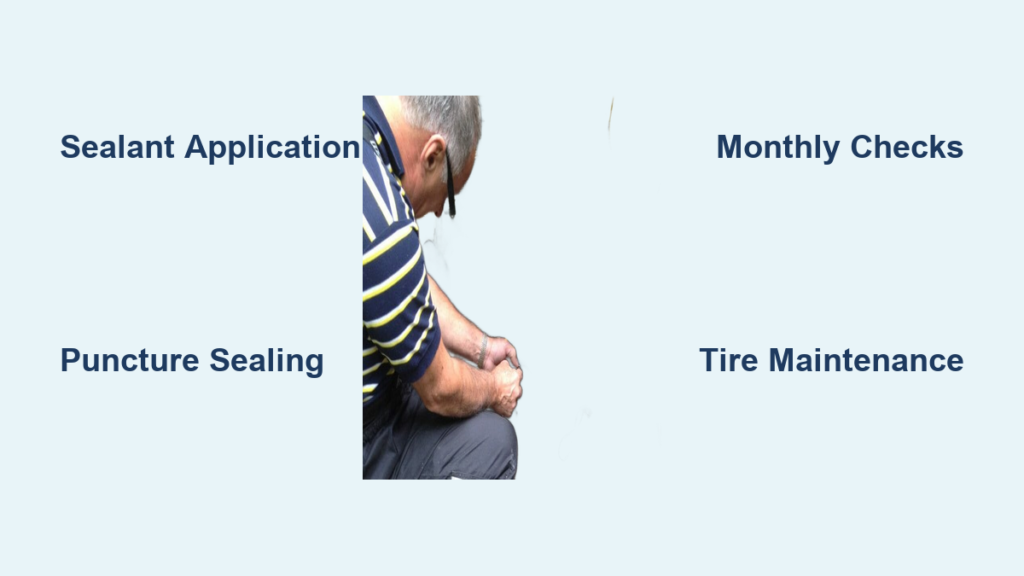
3 Repair Methods That Can Temporarily Fix Tire Lip Damage

When replacement isn’t immediately possible, these repair methods offer temporary solutions that buy you time—never treat these as permanent fixes. All require professional mounting and careful monitoring.
Specialized bead sealant application works best for surface-level damage without steel exposure. The process involves:
1. Applying tire-specific “black snot” sealant directly to the damaged area
2. Mounting the tire while sealant remains wet
3. Inflating to seat the beads properly
4. Briefly deflating to allow sealant to cure before final inflation
RTV silicone sealing creates a flexible waterproof barrier for moderate damage. Apply room-temperature vulcanizing silicone to the damaged area before mounting, inflate to seat the beads while wet, then allow 24 hours curing time before full inflation. Never use standard RTV from auto parts stores—tire-specific formulations withstand flexing and pressure cycles.
Emergency plug kits serve only as last-resort temporary measures for small punctures in the bead area. Standard tread repair plugs don’t address the underlying protective concerns but may maintain air pressure long enough to reach a tire shop.
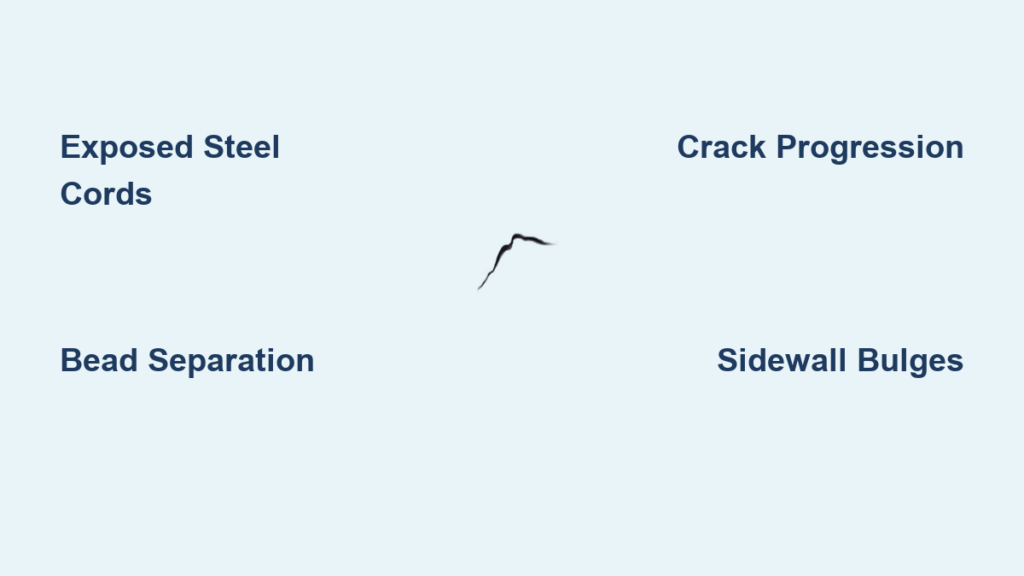
When Tire Lip Damage Means Immediate Replacement (No Exceptions)
Certain damage patterns leave no room for negotiation—you must replace the tire immediately regardless of cost considerations.
Visible steel cords represent the clearest replacement scenario. Once steel becomes exposed, corrosion begins immediately and progresses unpredictably. No sealant or repair can stop this process—the tire has entered a countdown to failure.
Full-thickness cracks extending through all rubber layers create direct pathways for air escape and moisture intrusion. Even if the tire holds air now, the structural integrity has been compromised beyond safe limits.
Sidewall bulges near the bead indicate internal delamination or air migration between tire plies—a ticking time bomb that requires immediate replacement. These bulges often appear suddenly after the tire has been driven for some time.
Top 5 Causes of Tire Lip Damage You Can Actually Prevent
Understanding these preventable causes helps you avoid future damage and recognize whether your current issue resulted from a one-time incident or ongoing problem.
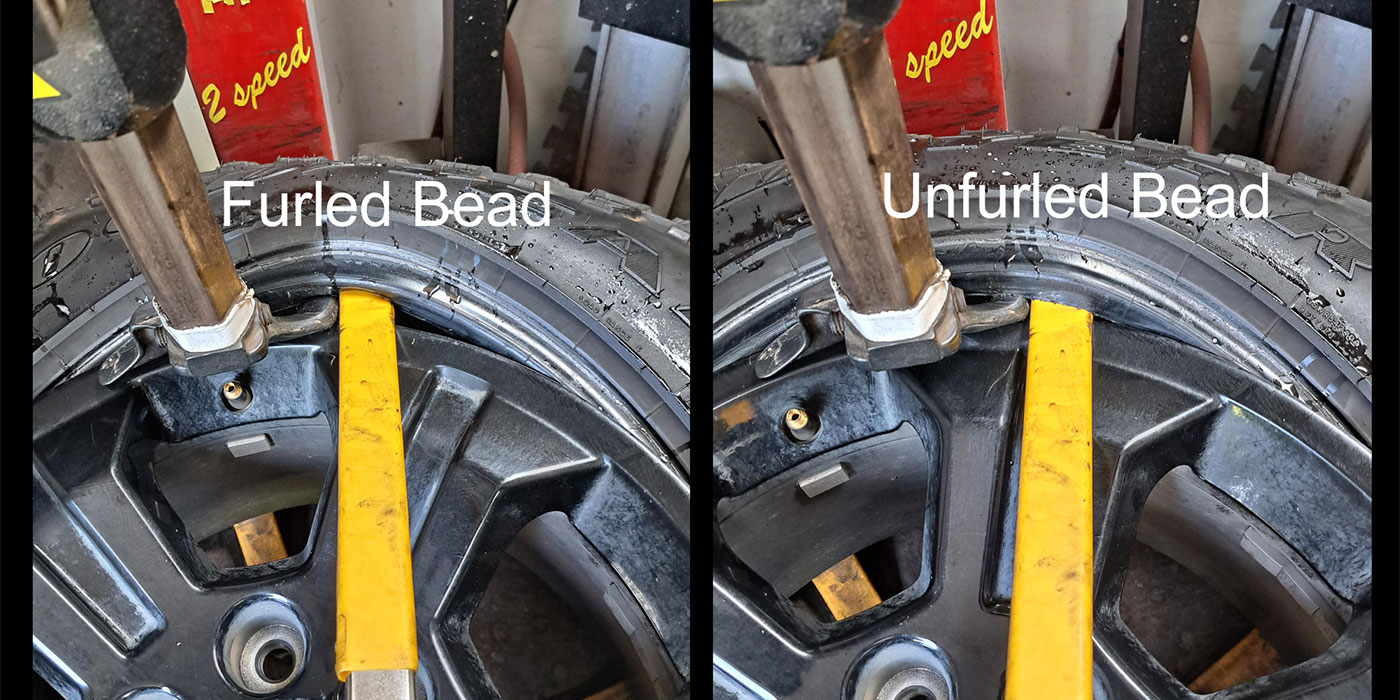
Improper mounting technique causes nearly 70% of bead damage cases. Insufficient downward force during installation causes the bead to snag on tire changer adapters, creating clean cuts in the rubber. Always use professional mounting services with modern equipment.
Tire iron misuse occurs when technicians lever directly against the bead area instead of the tire shoulder. This gouges the rubber and creates deep tears that compromise structural integrity.
Curb impacts damage beads when wheels strike curbs at angles that compress the tire against the rim. These impacts often cause immediate visible damage but may initiate slow deterioration that appears later.
Chemical exposure from petroleum products, solvents, or harsh cleaners degrades rubber compounds over time. Even incidental contact during maintenance accelerates bead deterioration.
Improper storage exposes tires to UV radiation, ozone, and temperature extremes that make rubber brittle. Outdoor-stored tires develop bead cracks twice as fast as those stored indoors.
Warning Signs Demanding Emergency Tire Replacement
Recognize these critical warning signs that mean you should stop driving immediately and replace your tire:
- Visible steel cords in the bead area—corrosion has already begun
- Sidewall bulges developing near the bead zone—indicates internal failure
- Progressive air loss that accelerates over time—sign of worsening damage
- Unusual vibrations that correlate with speed—suggests developing structural issues
- Cracks extending across more than 15% of the tire’s circumference—loss of integrity
Protect Your Tires Long-Term With Proven Prevention Strategies
Implement these practical steps to dramatically reduce future tire lip damage:
Schedule professional mounting for all tire installations—reputable shops use proper technique and modern equipment that minimizes bead stress. If mounting tires yourself, study proper procedures thoroughly before attempting.
Inspect bead areas monthly during routine tire checks. Look for early signs of cracking or separation before damage becomes severe.
Store spare tires indoors in climate-controlled environments away from direct sunlight. Proper storage extends tire life by 30-50% compared to outdoor storage.
Avoid chemical contact by keeping petroleum products and harsh cleaners away from tires. Use only tire-specific cleaning products during maintenance.
Address alignment issues promptly—misaligned wheels create abnormal stress patterns that accelerate bead deterioration over time.
Tire lip damage presents a genuine safety dilemma where neither blind replacement nor reckless continued use serves your best interests. The critical distinction lies in whether steel cords remain protected—visible steel means immediate replacement, while superficial rubber damage may allow temporary use with proper sealing. Professional mounting standards universally recommend replacement for any visible bead damage, but understanding your specific damage pattern helps you make informed decisions that balance safety with practicality. Never compromise on tires showing steel exposure or progressive air loss, and always treat temporary repairs as stopgap measures until proper replacement occurs. Your tire beads represent the foundation of your vehicle’s contact with the road—respect their critical role by making safety-conscious decisions that protect you and others sharing the highway.