

When winter roads transform overnight, having correctly installed snow tires isn’t just about convenience—it’s your primary defense against dangerous driving conditions. Snow tire installation ensures your vehicle maintains critical traction on icy surfaces when temperatures drop below 45°F, the point where standard tires harden and lose grip. Whether you’re handling the switch yourself or relying on professionals, understanding the complete installation process guarantees optimal safety and performance throughout winter. This guide delivers everything you need to know about proper snow tire installation, from essential tools and precise techniques to professional services and seasonal maintenance.
Why Incorrect Snow Tire Installation Creates Dangerous Situations
Improper snow tire installation directly compromises winter safety in ways most drivers don’t anticipate. As temperatures fall below 45°F, standard tire compounds harden significantly, losing the flexibility needed to grip snow and ice. Winter tires counter this with specialized rubber formulations that stay pliable in freezing conditions, but only when installed correctly. When lug nuts aren’t torqued to manufacturer specifications, wheels can loosen during driving—a potentially catastrophic failure where the entire wheel detaches from your moving vehicle.
Beyond immediate safety hazards, incorrect installation sabotages your investment in winter tires. Overtightened lug nuts can stretch wheel studs, damage brake components, and warp rotors, while undertightened fasteners cause wheel vibration that accelerates uneven tread wear. This uneven wear creates dangerous handling characteristics where your vehicle pulls to one side during braking or cornering—exactly when you need maximum control. Proper installation ensures your winter tires deliver their promised shorter braking distances, improved acceleration traction, and predictable handling when navigating winter hazards.
Required Tools for DIY Snow Tire Installation
Gathering the right equipment before starting prevents dangerous interruptions during snow tire installation. Your foundation tool is a reliable vehicle jack rated for your vehicle’s weight—never guess at capacity, as jack failure under load can crush limbs or prove fatal. Always inspect your jack for cracks, bends, or hydraulic leaks before trusting it with your vehicle’s weight.
While your factory lug wrench works for loosening nuts, a torque wrench is non-negotiable for proper snow tire installation. Without this critical tool, achieving the exact lug nut torque specified in your owner’s manual becomes impossible. Over-tightening stretches wheel studs and damages brake components, while under-tightening allows wheels to loosen during operation. Jack stands provide stable support once elevated—never work beneath a vehicle supported only by a jack. Complete your toolkit with wheel chocks to prevent rolling, a flashlight for visibility, and tire storage bags if storing off-season tires.
Complete Step-by-Step Snow Tire Installation Process
Prepare Your Vehicle on Level Ground
Begin snow tire installation on a flat, level surface free of ice or snow. Gather all tools within arm’s reach before starting, then locate your vehicle’s manufacturer-specified jacking points and recommended lug nut torque values in the owner’s manual. Check current tires for wheel weights, valve stems, or TPMS sensors you’ll need to transfer to your winter tires.
Loosen lug nuts while the vehicle remains grounded—this prevents wheel spinning when breaking torque after lifting. Rotate each nut counterclockwise about one-quarter turn using your lug wrench, creating just enough clearance to remove them once elevated. Never fully remove lug nuts at this stage, as the wheel must stay secured until the vehicle is properly supported.
Safely Remove Current Tires
Position your jack at the manufacturer’s designated lifting point, typically reinforced frame sections near suspension components. Avoid placing jacks under body panels, exhaust systems, or suspension arms not designed for lifting. Carefully elevate the vehicle until the tire has approximately two inches of clearance from the ground.
Immediately place jack stands under appropriate support points before proceeding—never work beneath a vehicle supported solely by a jack. With the vehicle securely supported, completely remove lug nuts and set them aside where they won’t roll away. Carefully pull the tire straight off the hub, noting any rust, debris, or damage on the hub surface that requires cleaning before installing winter tires.
Mount and Torque Snow Tires Correctly
Position each winter tire onto the hub, aligning bolt holes with wheel studs. Hand-tighten all lug nuts to ensure proper threading—never use tools at this stage to prevent cross-threading expensive wheel studs. Once all nuts are finger-tight, carefully lower the vehicle until tires touch the ground but still bear minimal weight.
Now begins the critical star-pattern torquing process. Using your torque wrench set to the manufacturer’s specification (typically 80-140 ft-lbs depending on vehicle), tighten lug nuts in a star pattern—opposite nuts rather than adjacent ones. Complete three passes: first to one-third torque, second to two-thirds, and final to full specification. This method ensures even pressure distribution across the wheel hub, preventing warping and guaranteeing proper seating.
Verify Installation After First 50 Miles
Recheck lug nut tightness after driving 50-100 miles—this post-installation verification catches any settling that occurs during initial use. Park on level ground, set the parking brake, and use your torque wrench to confirm each nut maintains specification. During this initial drive, monitor for unusual vibrations, pulling to one side, or TPMS warnings that indicate installation problems requiring professional attention.
Check tire pressure against the vehicle manufacturer’s recommendation (found on the driver’s door jamb placard), adjusting for cold-weather pressure loss—every 10°F temperature drop causes 1-2 psi pressure decrease. Proper inflation ensures optimal tread contact with the road, maximizing winter traction and tire longevity.
Professional Snow Tire Installation: When to Choose Experts
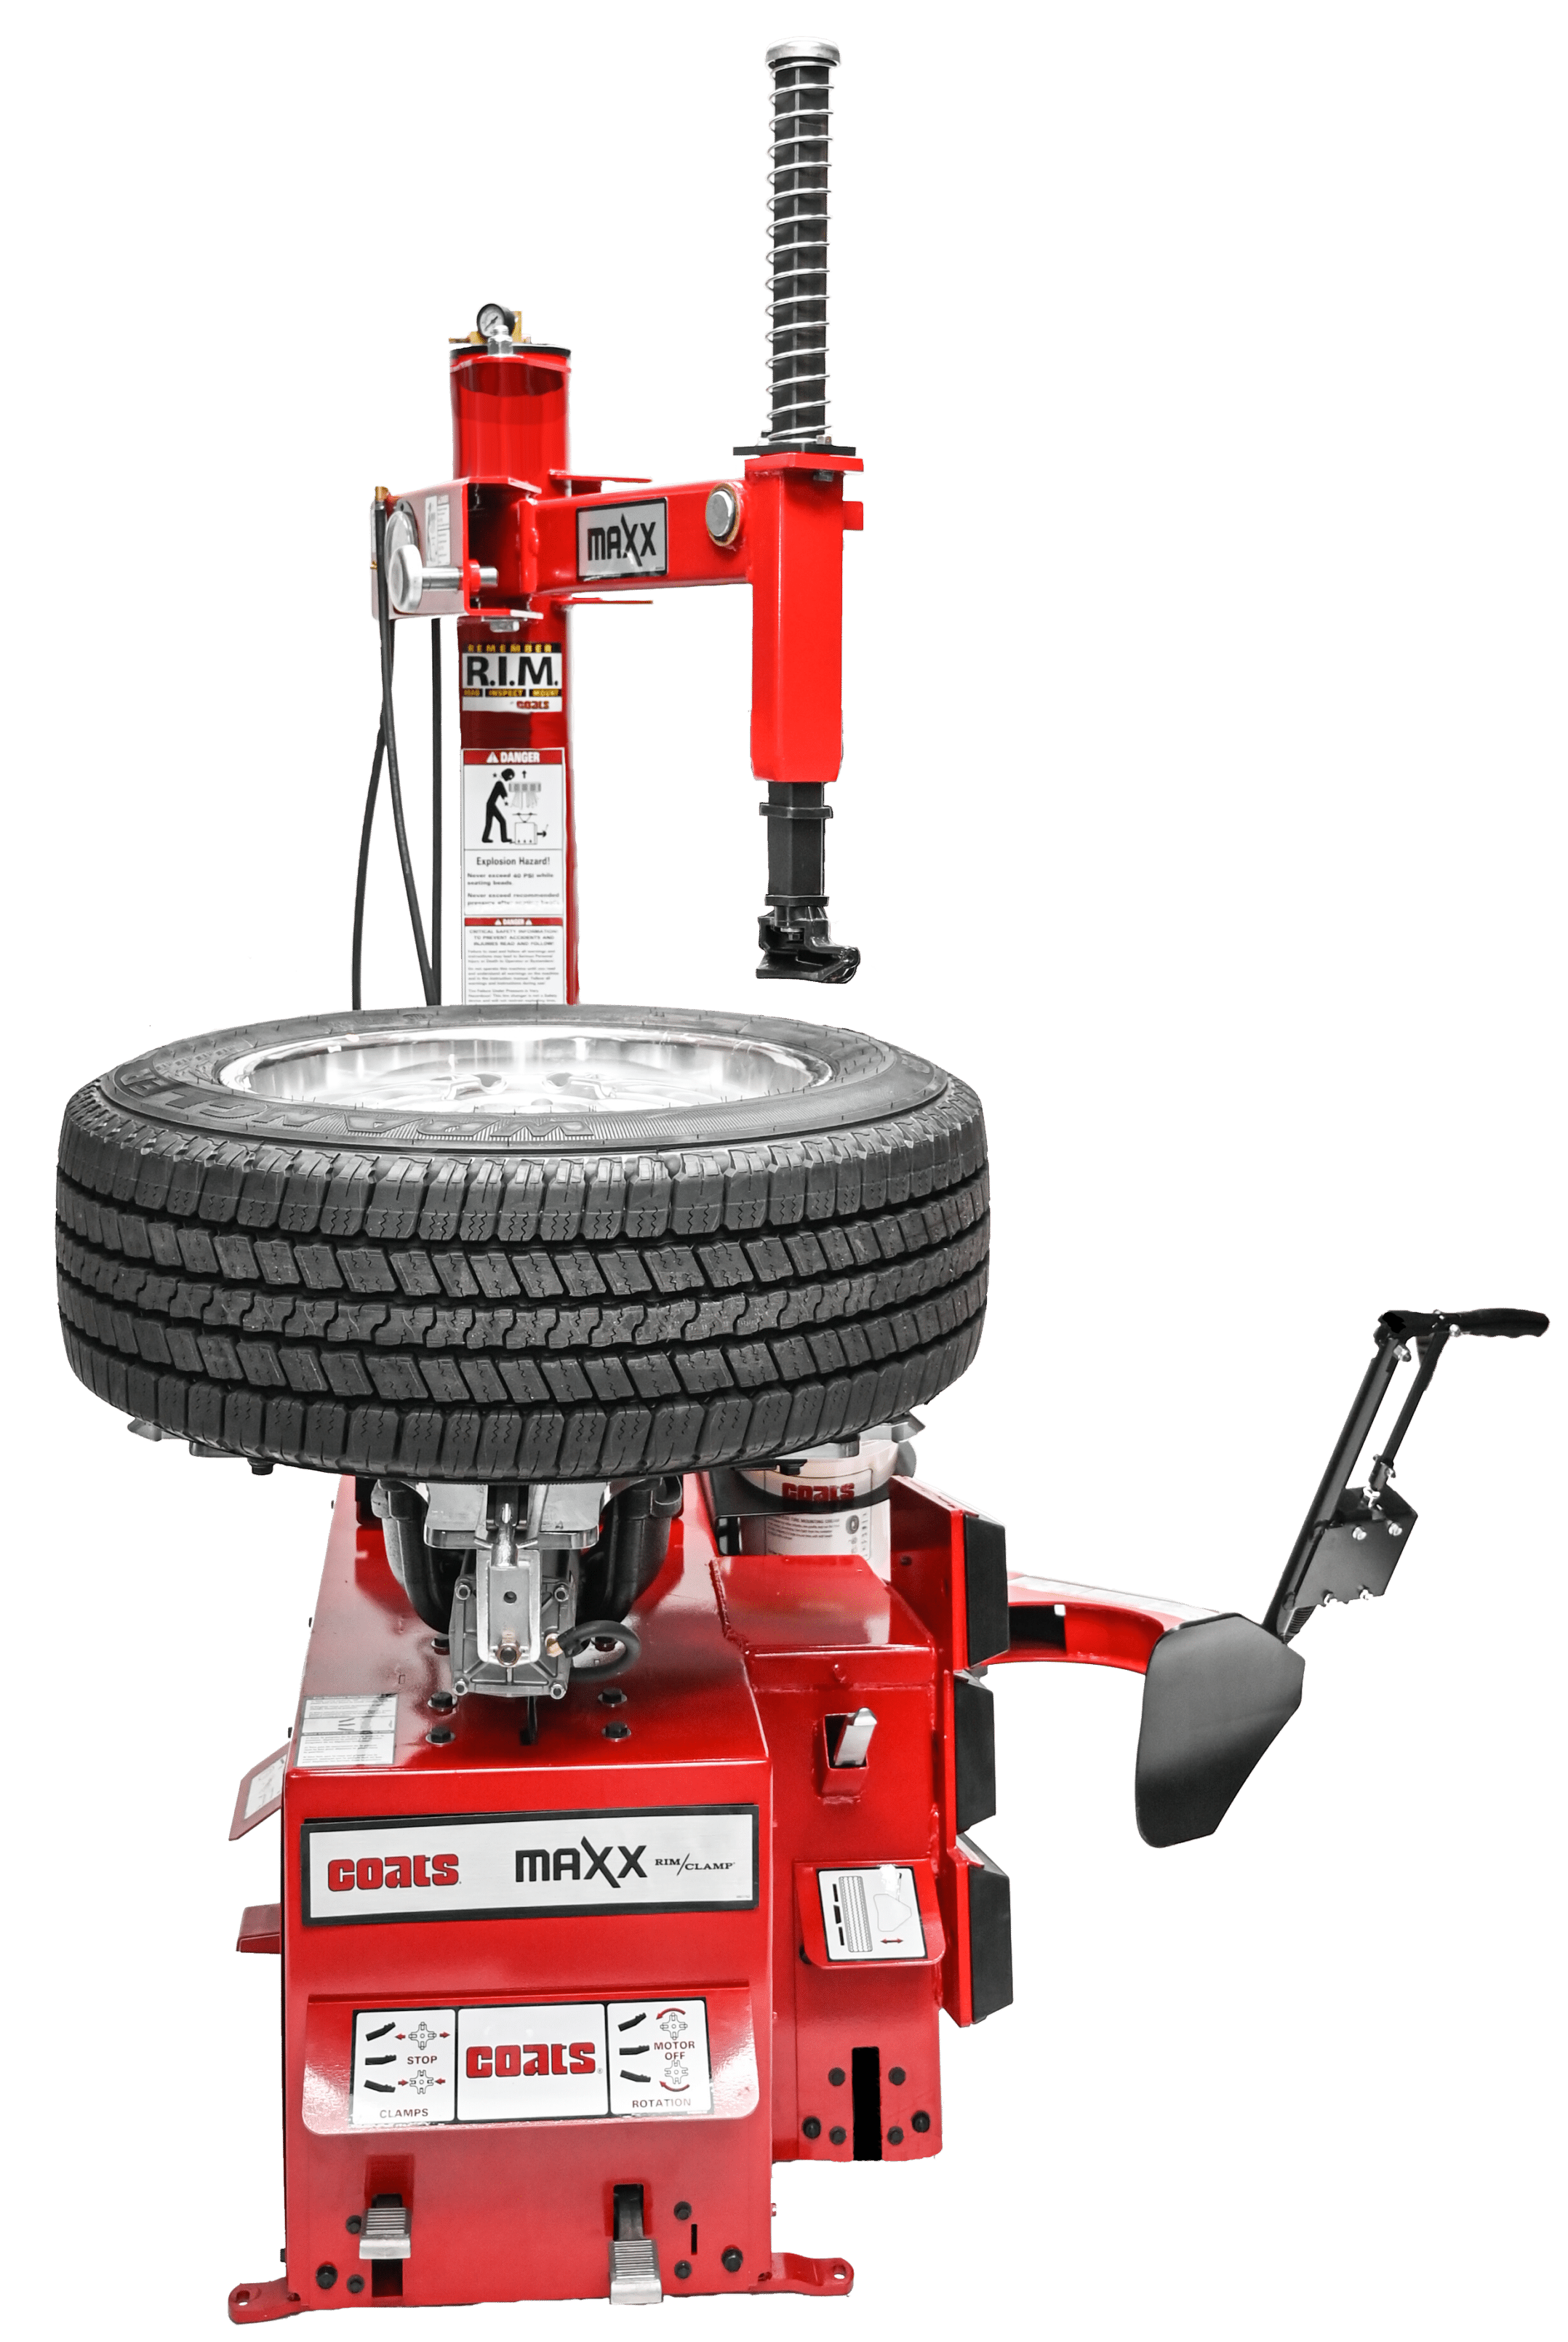
Professional installation becomes essential when you lack proper tools, physical capability, or confidence in your mechanical skills. Experienced technicians handle thousands of tire installations annually, spotting potential issues like worn wheel studs, damaged valve stems, or failing TPMS sensors that DIYers might miss. Their specialized equipment—including calibrated torque guns, precision balancing machines, and proper mounting tools—ensures consistent, manufacturer-compliant results you can’t achieve with basic home equipment.
Most professional services include valuable extras like free tire storage programs, TPMS sensor maintenance, and seasonal rotation reminders. National retailers often waive installation fees with tire purchases, making the total delivered cost more important than tire price alone. Schedule appointments early in fall before winter demand peaks—many shops offer pre-season discounts for customers who plan ahead.
Critical Snow Tire Installation Mistakes to Avoid
Installing Only Two Winter Tires
Placing winter tires solely on the front or rear axle creates dangerously unbalanced handling. Front-wheel-drive vehicles with winter tires only on the front may accelerate better but lose rear traction during braking or cornering, causing fishtailing. Rear-wheel-drive vehicles with winter tires only on the rear gain acceleration traction but lose steering control. Always install winter tires on all four wheels—the only exception is when budget forces a two-tire installation, where placing them on the rear wheels provides marginally better stability.
Ignoring TPMS Sensor Requirements
Modern vehicles with Tire Pressure Monitoring Systems require special handling during snow tire installation. TPMS sensors must be properly transferred to winter wheels or replaced with compatible units. After installation, your vehicle may need a TPMS reset procedure—consult your owner’s manual for specific steps. Ignoring this system compromises your ability to monitor critical tire pressure changes during winter driving.
Winter Tire Maintenance Checklist
Maintain optimal snow tire performance throughout the season with these essential practices:
- Monthly pressure checks: Cold temperatures cause natural pressure loss—check and adjust monthly
- Visual inspections: Look for embedded objects, cuts, or uneven wear patterns indicating alignment issues
- Tread depth monitoring: Replace winter tires at 4/32-inch depth (not the 2/32-inch standard for all-season tires)
- Rotation schedule: Rotate tires every 4,000-6,000 miles for even wear, following your vehicle’s drivetrain pattern
Proper off-season storage extends tire life—store in a cool, dry place away from sunlight, preferably in storage bags. Keep mounted tires upright or suspended, never stacked, to prevent deformation.
Final Safety Verification Before Winter Driving
Before hitting winter roads, complete these final checks after snow tire installation:
- Confirm all lug nuts maintain proper torque after initial 50-mile drive
- Verify tire pressure matches vehicle manufacturer specifications
- Inspect tires for proper seating with no visible gaps between wheel and tire
- Test drive in a safe area to confirm no vibrations or handling irregularities
When done correctly, professional-quality snow tire installation transforms winter driving from a stressful experience into a confident, controlled journey. The relatively small investment in proper installation pays exponential dividends in safety, vehicle control, and peace of mind throughout the winter season. Whether you choose DIY installation with precision tools or professional service, understanding this critical process ensures you’re prepared for whatever winter weather brings.


