
Your vehicle’s TPMS warning light flashing for 60-90 seconds before staying solid means you need to replace tire monitor sensor immediately. This critical safety system alerts you to dangerous underinflation, but when sensors fail, you lose this protection and risk compromised handling, reduced fuel efficiency, and uneven tire wear. Many drivers face $300-$700 repair bills at dealerships for what’s essentially a straightforward component replacement—a task you can complete yourself with the right tools and knowledge. This guide walks you through the entire sensor replacement process, saving you money while ensuring your vehicle’s safety systems function properly.
Ignoring a failed TPMS sensor creates multiple risks beyond the obvious safety concerns. Underinflated tires increase stopping distances by up to 20% in wet conditions and can cause catastrophic blowouts at highway speeds. The National Highway Traffic Safety Administration estimates proper tire inflation prevents over 250,000 accidents annually. By learning how to replace tire monitor sensor correctly, you maintain this vital protection without expensive service center fees.
Confirm Your TPMS Sensor Needs Replacement
Before purchasing replacement parts, verify that your TPMS warning light indicates actual sensor failure rather than simple underinflation. A flashing warning light that persists for 60-90 seconds before becoming steady specifically signals a sensor transmission problem—not low pressure—which requires sensor replacement rather than just air.
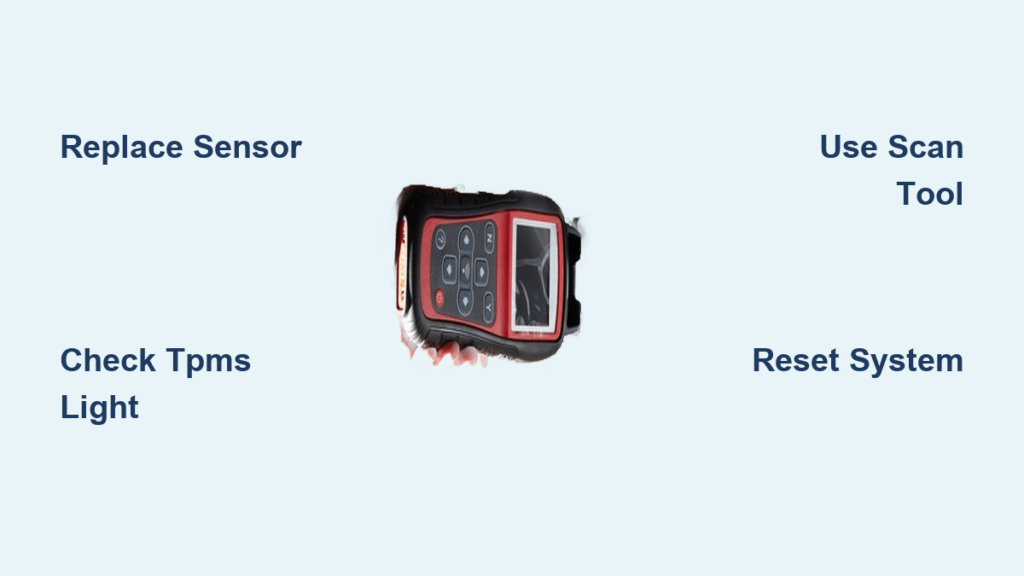
If your TPMS light remains illuminated even after inflating all tires to the recommended pressure (typically 32-35 PSI as shown on the driver’s door jamb sticker), you likely have a failed sensor. Confirm this by checking pressures with a mechanical gauge rather than relying on dashboard readings, which may be inaccurate due to the failing sensor itself. The definitive test involves a TPMS scan tool, which many auto parts stores offer for free—this device communicates directly with each wheel module to show “sensor not detected” readings for failed units.
Gather Essential Tools for Sensor Replacement

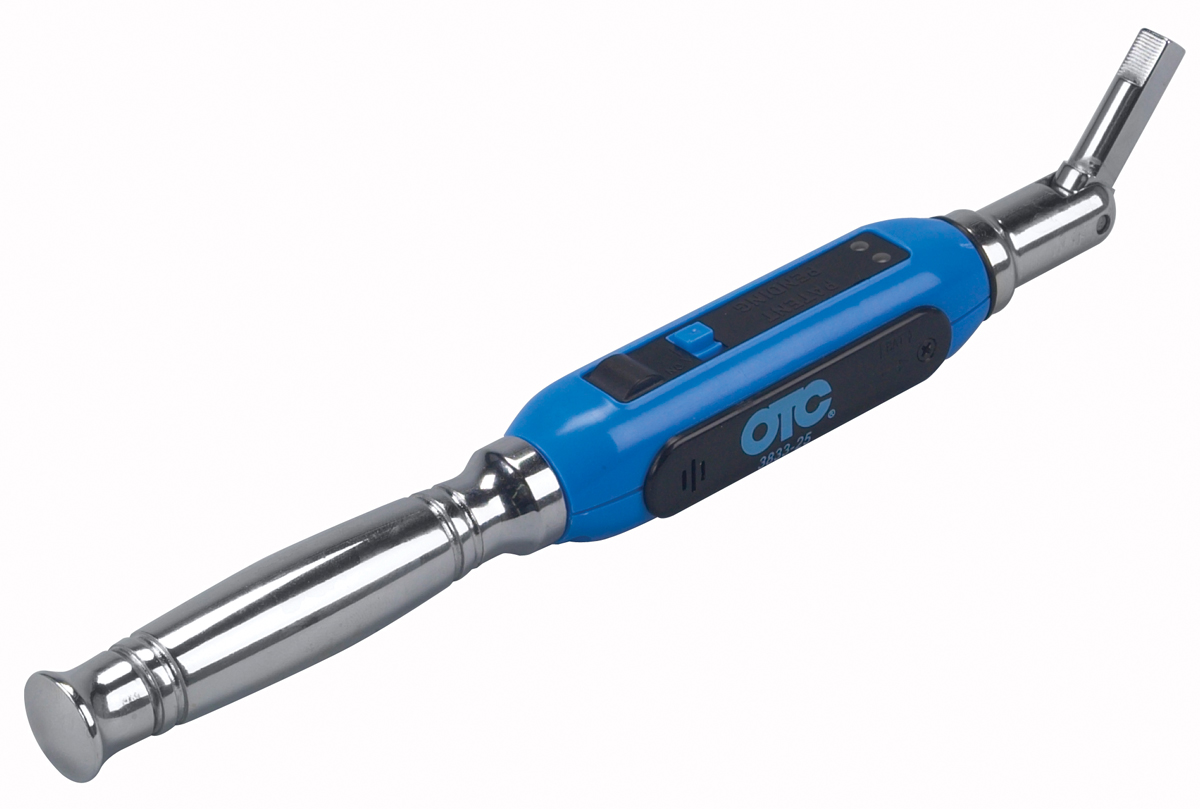
Successful TPMS sensor replacement requires both standard automotive tools and specialized tire equipment. Start with basic items: a car jack, jack stands rated for your vehicle’s weight, lug wrench, torque wrench (for proper fastener tightening), and valve stem removal tool. These prevent dangerous over-tightening that strips threads or under-tightening that causes air leaks.
The critical specialized equipment you’ll need is a tire bead breaker tool or access to a professional tire machine. This separates the tire rubber from the rim metal to access the sensor mounted inside the wheel assembly—without this capability, DIY replacement becomes impossible. Additionally, gather your new TPMS sensor (matching your vehicle’s specific frequency—315 MHz or 433 MHz), valve core removal tool, replacement valve cores, thread sealant, and safety gear including gloves and eye protection.
Remove Wheel and Access Faulty Sensor
Park on level ground, engage the parking brake, and position wheel chocks behind the opposite tires. Slightly loosen lug nuts while the tire contacts the ground to prevent wheel spinning, then lift using manufacturer-specified jack points. Once elevated, secure the vehicle with jack stands beneath reinforced frame points—never work under a vehicle supported only by a jack.
Remove the wheel completely and set it aside in a clear area. Deflate the tire by removing the valve core with your valve stem tool, then use your bead breaker near the valve stem area to separate the tire from the rim. Carefully pull back the tire sidewall to expose the wheel interior and locate the TPMS sensor attached to the valve stem inside the wheel. Unscrew the retaining nut carefully to avoid damaging rim threads, then extract the old sensor while noting its orientation.
Install New TPMS Sensor Correctly
Insert the new sensor into the mounting position and hand-tighten the retaining nut to establish initial threads. Using your torque wrench, tighten the nut to manufacturer specifications—typically 35-80 inch-pounds depending on your vehicle. This precision matters enormously: over-tightening cracks the sensor body or damages rim threads, while under-tightening causes air leaks. Consult your vehicle’s service manual for exact torque values if unsure.
Push the tire sidewall completely back onto the rim circumference, then inflate to the recommended pressure shown on your driver’s door jamb sticker. Listen carefully for air escaping around the valve stem or bead area—any hissing indicates improper sealing requiring attention before proceeding. Proper inflation ensures the tire seats correctly against the rim and maintains pressure during operation.
Reset and Relearn Your TPMS System
Return the wheel to the vehicle hub, threading lug nuts by hand initially to prevent cross-threading. Lower the vehicle and use your torque wrench to tighten lug nuts to specifications (typically 80-100 foot-pounds), following a star pattern for even pressure distribution. With the vehicle on the ground, turn ignition to “on” without starting the engine and observe the TPMS warning light.
Many modern vehicles automatically recognize new sensors after driving above 30 mph for 10 minutes. Others require a dedicated TPMS reset button (often under the steering column) to initiate relearning. Consult your owner’s manual for the exact procedure—some European vehicles specifically require professional scan tools for sensor registration. If the warning light persists after multiple relearn attempts, your vehicle likely needs professional scan tool initialization.
Verify Proper Sensor Functionality
Comprehensive testing confirms your replacement successfully restored TPMS functionality. The most thorough verification uses a TPMS scan tool, which communicates directly with each wheel module to confirm accurate pressure transmission. This tool-based check verifies not only sensor operation but also that the vehicle’s receiver properly interprets signals.
Without a scan tool, manual verification involves checking that the TPMS warning light remains off after starting and driving briefly. Monitor dashboard pressure readings for all four wheels and compare them to a separate pressure gauge—significant discrepancies suggest sensor or system issues. When one wheel fails to register despite proper installation, verify you used the correct sensor frequency (315 MHz or 433 MHz) and part number matching your vehicle’s specifications.
Extend Your New Sensor’s Lifespan
While TPMS sensors typically last 5-10 years before battery depletion, certain practices maximize longevity. Perform monthly tire pressure checks using a quality mechanical gauge when tires are cold, which identifies slow leaks early and familiarizes you with normal pressure readings that help identify sensor anomalies.
Avoid standard tire sealants, as their viscous compounds can coat sensor components and interfere with electronic circuitry—request sealant-free repairs when needed. Maintain valve stem caps at all times, as they shield valve cores from debris and moisture that could affect sensor operation. During tire rotations, request technicians inspect sensor mounting hardware for developing corrosion or physical damage.
Cost Considerations for DIY vs Professional Replacement
Understanding the complete cost picture helps you make informed decisions. Replacement sensors range from $40-$100 each, with luxury vehicles commanding higher prices. Professional installation adds $25-$75 per tire, bringing total costs to $260-$700 for all four wheels—substantially more than DIY but less than dealer pricing.
DIY installation eliminates labor costs but requires equipment access for tire bead breaking. Many tire shops perform just the bead-breaking and tire reassembly portions for modest fees, allowing you to handle sensor purchase and system relearn yourself. This hybrid approach often provides the best value for one-time projects. For complex situations like run-flat tires or vehicles requiring dealer-level programming, professional service ensures proper completion without frustration or potential damage.
Replacing your tire monitor sensor restores vital safety functionality while saving significant money compared to professional service. With proper tools and careful attention to torque specifications and system relearning, you can complete this critical maintenance task confidently. Your tires represent your vehicle’s only contact with the road—maintaining functional TPMS monitoring protects your safety, improves fuel economy, and extends tire life through proper inflation monitoring.


