Nothing derails your cross-country RV adventure faster than a sudden tire failure miles from the nearest service center. When you’re traveling in a motorhome carrying your family and essentials, understanding proper motorhome tire repair procedures becomes critical for safety and peace of mind. Unlike standard passenger vehicles, motorhome tires face unique challenges from extended storage periods, heavy weight distribution, and the physical difficulties of accessing tires on larger vehicle configurations. This guide delivers actionable strategies to diagnose problems, perform emergency repairs, and maintain tire health throughout your ownership journey.
Most RV owners mistakenly believe tire condition depends solely on tread depth, but rubber compounds degrade over time regardless of mileage. The specialized nature of motorhome tire systems means preventive maintenance and timely repairs prevent dangerous roadside emergencies that could strand you and your family. By mastering these essential tire care techniques, you’ll extend tire life, enhance safety, and ensure every journey begins with confidence in your vehicle’s roadworthiness.
Prevent Flat Tires on Your Motorhome
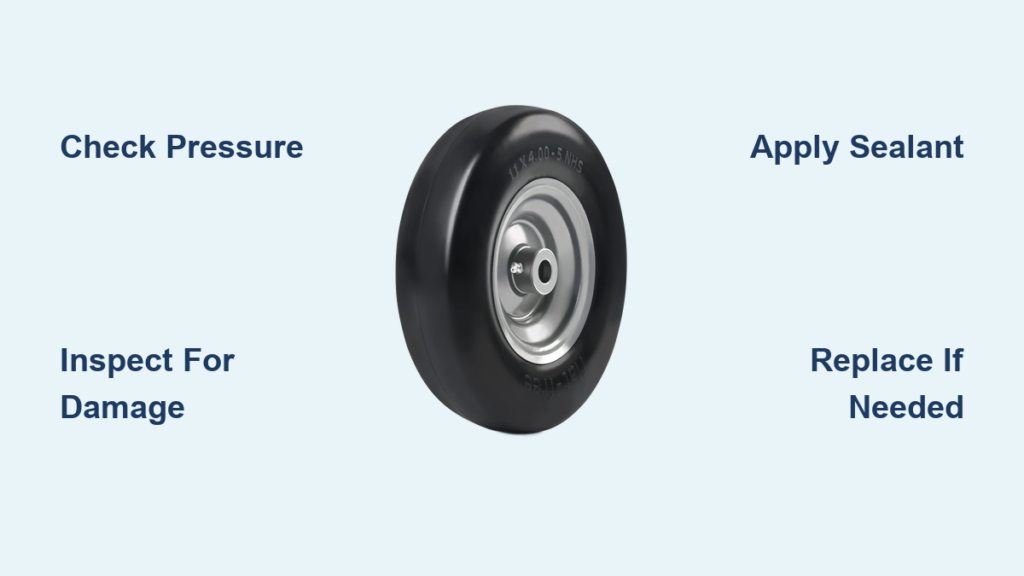
Monthly pressure checks using an accurate gauge form the foundation of effective tire maintenance for your motorhome. Temperature fluctuations significantly impact inflation, with cold weather causing pressure drops and hot conditions increasing pressure beyond recommended levels. Always check pressure before travel when tires are cool, referencing your motorhome manufacturer’s specifications rather than the maximum pressure listed on the sidewall. Underinflated tires generate excessive heat during travel, accelerating internal component degradation and increasing blowout risk by up to 50%.
Implement a systematic visual inspection routine that examines tires for dry rot, sidewall damage, and embedded objects that may cause slow leaks. Look closely at rubber surfaces for small cracks or bulges that indicate internal damage, as these often appear months before complete failure. Pay special attention to trailer tires, which experience more lateral stress during cornering due to suspension designs that place additional strain on sidewalls compared to motorized vehicles.
How Often Should You Inspect Motorhome Tires?
Weekly inspections while traveling catch developing issues before they become emergencies, while monthly checks during storage periods identify slow leaks or environmental damage. Before any extended trip, perform a comprehensive inspection that includes:
- Measuring tread depth across multiple points
- Checking for uneven wear patterns
- Examining valve stems for cracks or leaks
- Inspecting wheel rims for damage or corrosion
Pro Tip: Keep a tire inspection log noting pressure readings and visual findings—this historical data helps identify developing problems and supports warranty claims if premature failure occurs.
Diagnose Tire Issues Before They Fail

Recognizing early warning signs transforms potential roadside disasters into manageable maintenance tasks. Begin diagnosis with a thorough visual examination of each tire’s entire surface, including tread grooves, sidewalls, and the bead area where the tire contacts the wheel. Look for embedded objects like nails that may not cause immediate deflation but could begin leaking over time. Uneven wear patterns often indicate alignment issues, suspension problems, or improper inflation that requires professional attention.
Press a coin or specialized tread depth gauge into several tread grooves across each tire to measure remaining tread. While legal minimums vary, motorhome tires should maintain at least 4/32-inch of tread depth across the entire contact patch for optimal wet weather performance. Tires with significantly different tread depths across positions create handling imbalances during emergency maneuvers or strong crosswinds common on interstate highways.
What Sounds Indicate Serious Tire Problems?
Listen carefully for abnormal sounds while driving that might indicate developing tire damage:
- Rhythmic thumping: Often indicates flat spots from extended storage or hard braking
- Growling or rumbling: May signal internal belt separations or sidewall damage
- Hissing: Immediate sign of air leakage requiring prompt attention
Critical Warning: Any new sounds should prompt immediate professional inspection, as internal tire damage may not produce visible external symptoms but could lead to catastrophic failure at highway speeds.
Change a Flat Tire on Your RV
Safety must remain your top priority during any roadside tire change operation. Position your motorhome on stable, level ground away from traffic flow before beginning work. Engage the parking brake firmly and place wheel chocks on opposite wheels from the position you’re working on. For larger motorhomes exceeding single-axle weight ratings, professional roadside assistance often represents the safest option, as the equipment required to safely lift these vehicles exceeds typical consumer capabilities.
The physical challenges of motorhome tire changes stem from heavy tire and wheel assemblies combined with limited clearance between the vehicle and ground. Many RV designs place tire positions close to the vehicle body, reducing space available for jack equipment and tire removal. Hydraulic floor jacks with appropriate capacity can handle smaller RV tire changes, but always use jack stands rated for your vehicle weight when working beneath any vehicle. For dual-wheel configurations, ensure you have a method of safely storing the inner wheel during the change process.
Essential Tools for RV Tire Changes
Before hitting the road, keep these items in your emergency kit:
- High-capacity hydraulic jack rated for your motorhome weight
- Jack stands with appropriate weight rating
- Lug wrench with appropriate socket sizes
- Wheel chocks (at least two)
- Tire pressure gauge
- Flashlight or work light
- Gloves and protective eyewear
Pro Tip: Practice changing a tire at home before you need to do it roadside—this builds confidence and reveals any equipment gaps when you’re not under pressure.
DIY Motorhome Tire Repair Options

Plug kits provide temporary solutions for small punctures in the tread area that haven’t penetrated sidewalls or damaged belt structures. These kits work by sealing the puncture hole from the inside while the plug fills the void, allowing the tire to maintain pressure temporarily. However, plug repairs should be considered emergency measures only—the structural integrity of a plugged tire remains compromised, and most manufacturers do not consider plug repairs acceptable for return to service.
Sealant products offer another temporary option for minor tread punctures, injecting liquid compounds that coat the inner tire surface and seal small holes as they occur. While convenient for remote locations, sealants create messy internal contamination that complicates subsequent professional repairs. Many tire professionals recommend against using sealant products in tires that will receive professional repair due to the significant labor time required for cleanup.
Critical Warning: Sidewall damage essentially eliminates repair options regardless of damage size. The sidewalls of tires contain no reinforcing belts, making them structurally weaker than the tread area. Any puncture, cut, or crack in the sidewall requires immediate tire replacement, even if the tire hasn’t lost pressure yet. The stress concentrations in sidewalls during normal operation make repaired areas likely failure points that can lead to catastrophic blowouts.
Know When to Replace RV Tires

Age represents one of the most critical replacement factors, as rubber compounds degrade over time regardless of mileage. Most manufacturers recommend tire replacement after six to ten years from manufacture date, with the date stamped on the sidewall providing the production reference. Motorhome tires that have experienced extended storage periods may require replacement earlier than this timeframe, as degradation processes accelerate during inactivity.
Tread wear patterns provide important diagnostic information about vehicle condition and tire serviceability. Uneven wear across a single tire suggests alignment or suspension issues that should be addressed before installing new tires. Cupped wear patterns typically indicate worn suspension components, while shoulder wear on one side often points to alignment problems or underinflation. Addressing underlying issues before installing replacement tires ensures new tires achieve their expected service life.
Four Signs Your Motorhome Tires Need Immediate Replacement
- Dry rot visible as cracks in sidewalls or between tread blocks
- Bulges or blisters indicating internal structural damage
- Tread depth below 4/32-inch across the contact patch
- Manufacture date older than seven years (check sidewall code)
Pro Tip: When replacing tires, maintain matched specifications across all positions—mixing different tire types or wear levels creates handling imbalances that compromise safety during emergency maneuvers.
Extend RV Tire Life Through Proper Storage
Tire covers provide essential protection against ultraviolet radiation that accelerates rubber degradation during storage. UV exposure causes dry rot that compromises structural integrity even when tread depth appears adequate. Covers should fit loosely enough to allow airflow around the tire surface while providing complete shade coverage. White or light-colored covers reflect heat and reduce thermal stress during storage in warm climates.
Inflation pressure maintenance during storage prevents sidewall damage from vehicle weight concentration. Tires naturally lose small amounts of pressure over time, and underinflated tires develop flat spots more quickly under the weight of the vehicle. Check inflation at least monthly during storage periods and add air as needed to maintain recommended pressures. For stored RVs that won’t be moved for extended periods, storing at slightly elevated pressures of 5-10 PSI above recommended levels compensates for normal pressure loss.
Critical Warning: Parking on grass, dirt, or gravel creates uneven support and promotes moisture accumulation that accelerates deterioration. Always store your motorhome on level concrete or asphalt surfaces to minimize tire stress during inactive periods.
Key Takeaways for Motorhome Tire Repair Success
Regular inspection and pressure maintenance form the cornerstone of safe motorhome travel, identifying potential issues before they result in roadside emergencies. Implement monthly visual inspections, maintain proper inflation pressures, and address wear patterns promptly to extend tire service life while preventing dangerous failures during travel. When repairs or replacements become necessary, understanding your vehicle classification requirements and service limitations helps you make informed decisions that maximize safety.
The investment in proper tire care directly supports your broader goal of enjoying every adventure without tire-related complications. By mastering these essential motorhome tire repair techniques, you’ll transform potential roadside disasters into manageable situations while extending overall tire service life. Remember that when it comes to motorhome tire repair, prevention and timely action ensure your journeys begin and end safely—because the open road should be full of memories, not mechanical emergencies.