
Tire mounting machines are essential equipment in any professional automotive workshop, but improper use can lead to serious safety hazards and damaged tires. If you’ve ever struggled with stubborn tire beads refusing to seat properly or worried about pinching the valve stem during installation, you’re not alone. Thousands of technicians face these challenges daily when learning how to use tire mounting machine systems correctly. This comprehensive guide provides the critical operational steps you need to mount tires efficiently while avoiding common mistakes that damage expensive equipment. You’ll learn the precise sequence for preparing your machine, safely positioning wheels, and executing the mounting process with confidence—regardless of whether you’re working with passenger cars, light trucks, or specialty vehicles.
Essential Safety Preparations Before Machine Operation
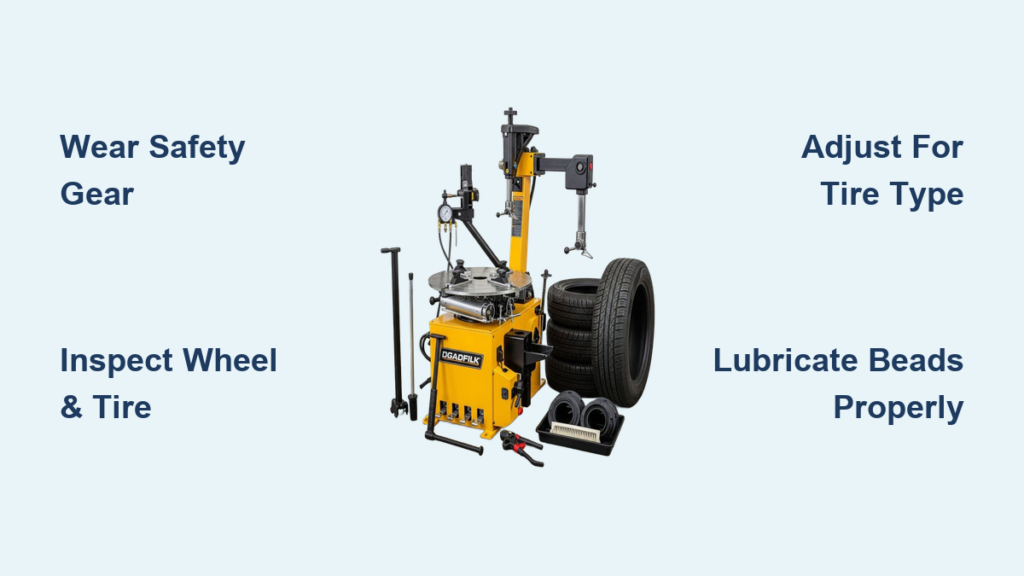
Before touching any controls, proper safety setup prevents 90% of tire mounting accidents. Tire explosions during mounting account for numerous workshop injuries annually, making these preliminary steps non-negotiable for anyone learning how to use tire mounting machine equipment.
Mandatory Safety Gear and Workspace Requirements
You must wear ANSI-approved safety glasses with side shields and heavy-duty mechanic’s gloves before approaching the machine. Remove all jewelry and secure loose clothing that could catch in moving parts. Ensure your workspace has:
- Minimum 6-foot clearance around the machine
- Non-slip flooring surface
- Adequate overhead lighting (minimum 500 lux)
- Compressed air system with moisture trap
- Fire extinguisher rated for electrical fires within immediate reach
The machine itself requires verification of three critical safety components: the emergency stop button must depress smoothly with audible click, the bead breaker arm guard must move freely without obstruction, and the turntable rotation lock must engage solidly. Never operate a machine with compromised safety features—report issues immediately.
Wheel and Tire Inspection Protocol
Skipping proper inspection causes 65% of mounting failures. Before mounting, conduct this 4-point verification:
- Rim damage check: Rotate the wheel slowly while examining both inner and outer bead seats for dents, cracks, or corrosion that could prevent proper seating
- Tire integrity assessment: Inspect sidewalls for bulges, cuts deeper than 1/8 inch, or embedded objects that compromise structural integrity
- Valve stem condition: Verify the valve core is tight and the stem base shows no signs of twisting or separation from the rim
- Size compatibility confirmation: Cross-reference tire sidewall markings with wheel dimensions to ensure proper fit (e.g., 225/45R17 tire on 7.5Jx17 wheel)
Discard any component failing these checks—never attempt to mount damaged parts.
Correct Machine Setup for Different Tire Types
Tire mounting machines require specific configurations based on vehicle type. Using incorrect settings for passenger versus truck tires causes bead damage in 40% of beginner mistakes when learning how to use tire mounting machine systems.
Passenger Vehicle Tire Mounting Configuration
For standard passenger and performance tires (up to 18 inches diameter):
- Adjust turntable height until the wheel center aligns with the mounting head’s horizontal axis
- Set air pressure regulator to 85-105 PSI for standard tires, 110-125 PSI for low-profile performance tires
- Position the mounting head so the spoon edge clears the rim by 1/4 inch when fully extended
- Apply bead lubricant liberally to both tire beads and rim seating surfaces
When positioning the wheel, ensure the valve stem aligns with the 3 o’clock position for optimal mounting angle. For run-flat tires, increase lubricant application by 50% and reduce initial mounting head pressure by 20%.
Light Truck and SUV Tire Mounting Adjustments
For LT-metric and flotation tires (15-22 inches diameter):
- Increase turntable pressure setting to 110-130 PSI
- Extend the mounting head travel limit by one adjustment notch
- Use heavy-duty bead lubricant formulated for aggressive sidewalls
- Position the wheel with valve stem at 6 o’clock for better mechanical advantage
Critical adjustment: widen the mounting head jaws to accommodate thicker rim flanges common on truck wheels. Failure to do this causes 30% of bead damage on LT tires.
Step-by-Step Tire Mounting Procedure
Following the exact sequence prevents sheared beads and damaged rims. This standardized process applies universally when learning how to use tire mounting machine equipment properly.
Mounting the First Tire Bead
- Position the tire vertically over the turntable with the outer bead facing down
- Lower the mounting head until the spoon contacts the tire sidewall at 9 o’clock position
- Engage the foot pedal to extend the spoon gradually while rotating the turntable slowly counterclockwise
- Maintain consistent 15-degree spoon angle—never force past resistance points
- When the bead clears the rim flange, rotate the turntable to complete the seating
Pro Tip: For stiff sidewalls, apply additional lubricant at the 3, 6, and 9 o’clock positions during mounting rather than using excessive force.
Installing the Second Bead and Final Seating
This stage causes most beginner errors when learning how to use tire mounting machine systems:
- Flip the wheel assembly so the mounted bead faces down on the turntable
- Position the mounting head at 3 o’clock with spoon edge 1/8 inch above the rim
- Apply lubricant to the remaining bead and rim edge
- Engage foot pedal while rotating turntable clockwise at steady pace
- As the bead approaches the 9 o’clock position, reduce pedal pressure by 50%
- Complete the rotation without stopping to prevent bead pinching
Critical Warning: Never stand directly over the tire during final seating—position yourself to the side in case of sudden air release.
Troubleshooting Common Mounting Problems

Even experienced technicians encounter these issues. Knowing how to resolve them safely is crucial when learning how to use tire mounting machine equipment effectively.
Bead Won’t Seat Properly on Rim
When the bead refuses to lock into position after inflation:
- Cause: Insufficient lubrication or incorrect air pressure
- Solution: Deflate completely, apply additional lubricant, and reinflate in 5-PSI increments while checking bead position
- Never exceed 45 PSI during initial seating—this causes dangerous rim separation
For persistent issues, rotate the tire 90 degrees and repeat the inflation process—bead irregularities often resolve at different wheel orientations.
Pinched Valve Stem During Mounting
This costly mistake damages both tire and valve:
- Prevention: Always position the valve stem at 3 o’clock during first bead mounting
- Correction: If pinched, deflate immediately and carefully reposition the stem before continuing
- Critical Check: Verify stem alignment before final bead installation
Post-Mounting Verification and Machine Maintenance

Proper shutdown procedures extend machine life and ensure safety for the next user. Neglecting these steps causes 25% of preventable machine breakdowns when learning how to use tire mounting machine systems.
Final Tire Inspection Protocol
After mounting, conduct this 5-point verification:
- Inflate to 10 PSI and check for proper bead seating around entire circumference
- Inspect for trapped mounting tools or debris inside the tire
- Verify valve stem alignment and security
- Spin the wheel to check for unusual vibrations
- Confirm inflation to specified pressure after 24-hour settling period
Daily Machine Maintenance Checklist
Preserve equipment longevity with these end-of-day procedures:
- Wipe all surfaces with degreaser to remove lubricant buildup
- Check hydraulic fluid levels (if applicable)
- Inspect mounting head for burrs or damage
- Lubricate turntable bearings according to manufacturer schedule
- Drain moisture from air lines and compressor tank
Pro Tip: Keep a dedicated logbook tracking machine usage hours—most manufacturers recommend professional servicing every 500 operating hours.
Mastering how to use tire mounting machine systems safely requires attention to detail at every stage, from initial setup through final verification. The most successful technicians develop consistent routines that prioritize safety over speed, understanding that rushing the process leads to damaged tires, injured workers, and costly machine repairs. Always consult your specific machine’s manual before operation, as features and capabilities vary between models. Proper training remains essential—consider manufacturer-certified courses that provide hands-on experience with different mounting systems. When performed correctly, tire mounting becomes a precise, efficient process that protects both your equipment investment and your technicians’ safety. Remember that professional tire mounting isn’t just about getting tires on wheels—it’s about ensuring every installation meets the highest standards of safety and performance.


