
If you’ve ever struggled to change a tire on an expensive alloy rim only to discover unsightly scratches afterward, you understand the frustration. Standard tire irons that work fine on steel rims can quickly destroy soft aluminum alloy wheels through careless contact. The solution? A duck head tire tool—a simple plastic attachment that professional tire shops have relied on for decades to protect valuable rims during tire changes. This guide shows you exactly how to use a duck head tire tool effectively, whether you’re working on car, truck, trailer, or specialty vehicle rims. You’ll discover why this $20 attachment transforms difficult, damage-prone tire changes into smooth, professional operations that preserve your investment in high-end wheels.
Install Duck Head Attachment to Your Tire Changer

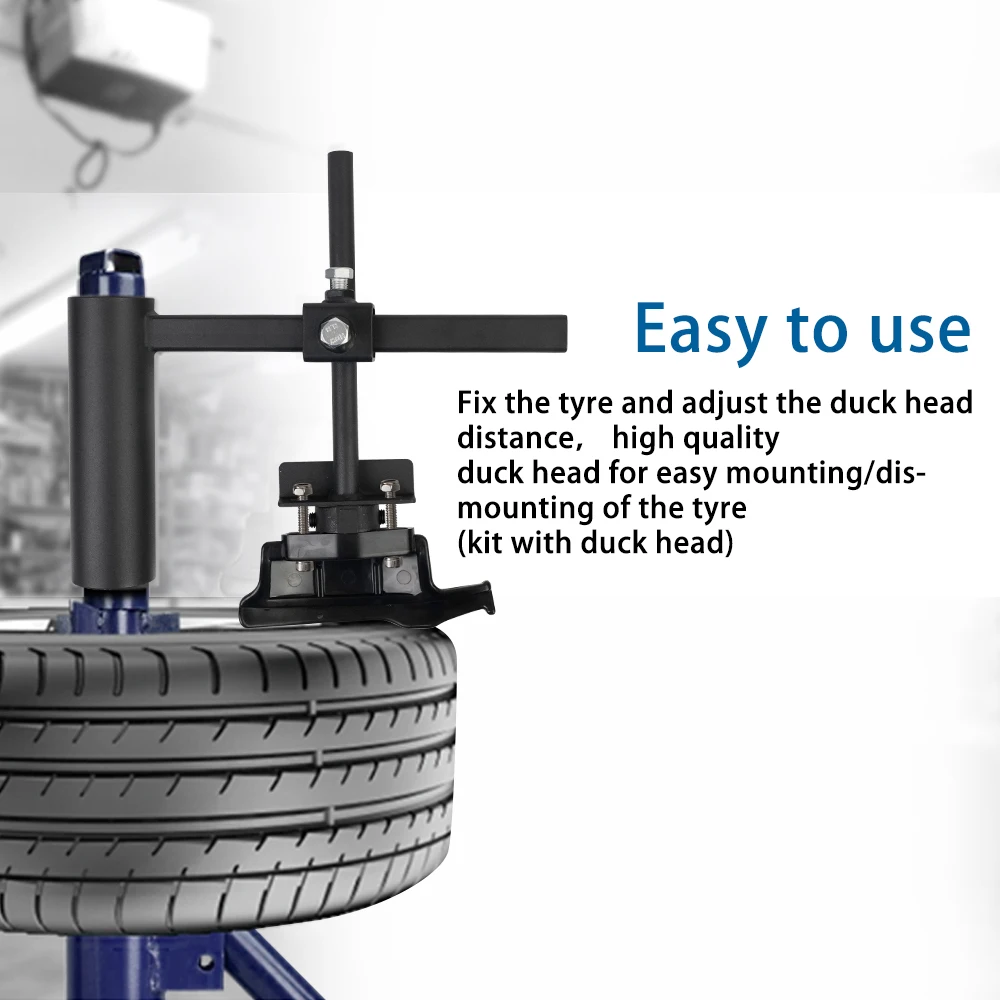
Proper installation ensures your duck head tool functions correctly and protects your rims during every tire change. Locate the 2-inch vertical pipe on your manual tire changer—this is the standard mounting point found on most budget and professional models. Slide the mounting bracket over this pipe, positioning it at the appropriate height for your wheel size. For most passenger vehicles, position the duck bill just above the rim’s outer edge when the wheel is mounted on the changer.
Secure the attachment with two 5/16-inch bolts, tightening them firmly but not excessively. Some designs include a horizontal crosspiece with a set screw—tighten this just enough to prevent sliding while allowing manual adjustment. Before using, rotate the tire changer through a full revolution to verify clearance—your duck head should hover just outside the rim without contact at any point. If it touches, raise the attachment slightly on the mounting post. A properly installed duck head stays securely in position through repeated use, with the nylon bill maintaining its protective position outside the rim’s edge.
Verify Correct Height and Positioning
The critical factor for successful duck head operation is proper positioning relative to your rim. With the wheel mounted on your changer, position the duck head so the bill extends approximately 1/8 to 1/4 inch beyond the rim’s outer edge. This small gap creates the perfect channel for the tire bead to follow without contacting the metal rim. For larger rims, you may need to raise the attachment; for smaller wheels, lower it accordingly. The horizontal crosspiece should align with the tire’s bead area—too high or too low prevents the bead from properly engaging with the duck bill during rotation.
Remove Top Tire Bead Using Duck Head Technique
Removing the top bead is the first step in tire demounting and where the duck head provides immediate value. Start by generously lubricating both tire beads with mounting lubricant—this reduces friction and makes the bead much easier to manipulate. Position the wheel on your changer with the valve stem at the 6 o’clock position. Using a small tire iron (not a heavy-duty bar), lift the top bead over the duck bill at the 12 o’clock position.
Lift and Rotate Method for Top Bead Removal
Insert your small tire iron just enough to hook the bead over the duck bill, then immediately begin rotating the tire counter-clockwise while gradually withdrawing the iron. The key to success is starting the rotation as soon as the bead clears the bill—this engages the duck head’s design to smoothly peel the bead from the rim. Continue rotating until the entire top bead has separated from the rim. The nylon surface allows the bead to roll rather than scrape, eliminating rim contact. This technique requires significantly less force than traditional methods and works effectively even on stubborn low-profile tires when proper lubrication is applied.
Remove Bottom Tire Bead Efficiently with Duck Head
With the top bead removed, the bottom bead requires a similar but slightly modified approach. Thoroughly lubricate the bottom bead, paying special attention to the area around the valve stem where the bead often seats most tightly. Position your small tire iron at the 6 o’clock position and lift the bottom bead over the duck bill.
Complete Demounting Without Rim Contact
Once the bead is positioned over the duck bill, begin rotating the tire counter-clockwise again. The bottom bead will follow the same path as the top bead, separating cleanly from the rim without metal-to-rim contact. You may need to use the tire iron to gently nudge the bead if it catches at any point, but the duck head design significantly reduces resistance compared to traditional methods. Continue rotating until the entire bottom bead has cleared the rim, at which point the tire is completely demounted and ready for inspection or replacement.
Mount New Tire Using Duck Head Technique
Installing a new tire with the duck head follows the reverse logic of removal but requires careful bead positioning. Start by liberally applying mounting lubricant to both beads of your new tire—this is crucial for preventing bead damage during installation. Position the tire on the rim with the valve stem at the bottom, then work the bottom bead onto the rim by hand as far as possible.
Positioning for Successful Top Bead Installation
The critical step comes when mounting the top bead. Keep the top bead positioned below the duck bill yet above the rear section of the duck head—this creates the proper angle for the bead to roll onto the rim safely. As you rotate the tire clockwise, the duck bill guides the top bead onto the rim without catching. Maintain consistent pressure and rotation speed, adding more lubricant if you encounter resistance. Continue rotating until the entire top bead is seated, then inflate the tire to the manufacturer’s specifications and verify both beads have sealed properly around the entire circumference.
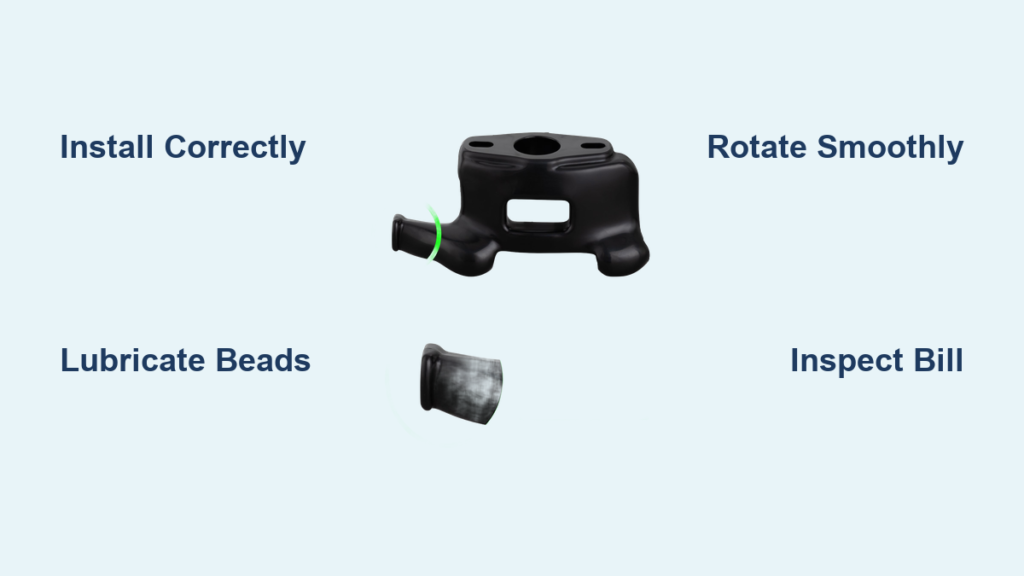
Essential Pro Tips for Perfect Results
Professional tire technicians have refined duck head usage over decades—incorporate these expert techniques for flawless results every time. Keep your nylon duck bill clean and free of embedded debris; small stones or metal shavings can scratch rims despite the protective design. Inspect the bill regularly for wear patterns, replacing it when significant grooves appear—typically after several hundred tire changes.
Optimize Your Technique
Use a lightweight bead lifter rather than a heavy tire iron for the initial lift over the duck bill; the lighter tool provides superior control and minimizes accidental rim contact. When working with run-flat tires or extremely low-profile rubber, apply extra lubricant to the bead area—this makes a dramatic difference in installation ease. For DIY builders, remember that 2-inch tubing fits perfectly inside 2.5-inch tubing with 0.25-inch wall thickness, but you must remove the internal weld seam from nested tubing sections using a hammer and chisel or specialized tools.
Avoid These Common Duck Head Mistakes
Even with a duck head attachment, certain errors can lead to rim damage or difficult tire changes. Failing to use sufficient lubricant is the most frequent mistake—the extra minute spent applying mounting grease prevents bead damage and makes the entire process smoother. Rushing the initial bead lift and not getting the tire fully over the duck bill before rotation causes the bead to catch, potentially damaging both tire and rim.
Neglecting height verification before starting work results in the attachment contacting the rim during rotation, defeating the entire protective purpose. Some technicians forget to position the tire correctly relative to the valve stem, making bead seating difficult later. Using a worn duck bill creates new scratching risks, so inspect the nylon piece regularly and replace it when showing signs of wear—don’t wait until it’s severely damaged.
Maintain Your Duck Head for Long-Term Protection
Proper maintenance extends your duck head’s life and ensures consistent rim protection. Periodically check the mounting bolts for tightness, as vibration from regular use can cause them to loosen. Clean the nylon bill with soap and water after heavy use to remove accumulated lubricant and debris, inspecting for embedded particles that could scratch rims. Store the attachment in a dry location to prevent corrosion of metal components.
The nylon bill will eventually wear from constant contact with tire beads, typically showing visible grooves after several hundred changes. Replacement heads cost less than $20 online, so keep a spare on hand. For DIY builders, the same maintenance principles apply—keep hardware tight, protect the nylon surface, and replace worn components promptly. A well-maintained duck head attachment pays for itself in protected rims and easier work, transforming what was once a stressful chore into a quick, professional operation. Once you’ve experienced scratch-free tire changes on your alloy rims, you’ll wonder how you ever managed without this simple yet brilliant tool.


