
Removing the spare tire from your Chevy Colorado is a straightforward maintenance task that most Colorado owners can complete in 15-30 minutes using basic tools already stored in the vehicle. Whether you need to replace a flat tire or simply check your spare’s condition, understanding the spare tire removal process ensures you’re prepared when roadside emergencies strike. This guide covers the complete procedure for all Chevy Colorado model years, including essential safety precautions and troubleshooting tips for common issues you might encounter.
The Chevy Colorado features a few different spare tire mounting configurations depending on the model year and trim level. Most Colorado trucks from 2004-2012 and 2015-present utilize an underbody-mounted spare tire system, while some extended cab and bed-mounted configurations may vary slightly. Regardless of your specific configuration, the fundamental principles remain consistent: locate the access point, engage the winch mechanism, lower the spare tire, and release it from the mounting assembly. Understanding your particular setup before you need it can save significant frustration during an actual roadside emergency. Always verify your specific model’s configuration before attempting removal.
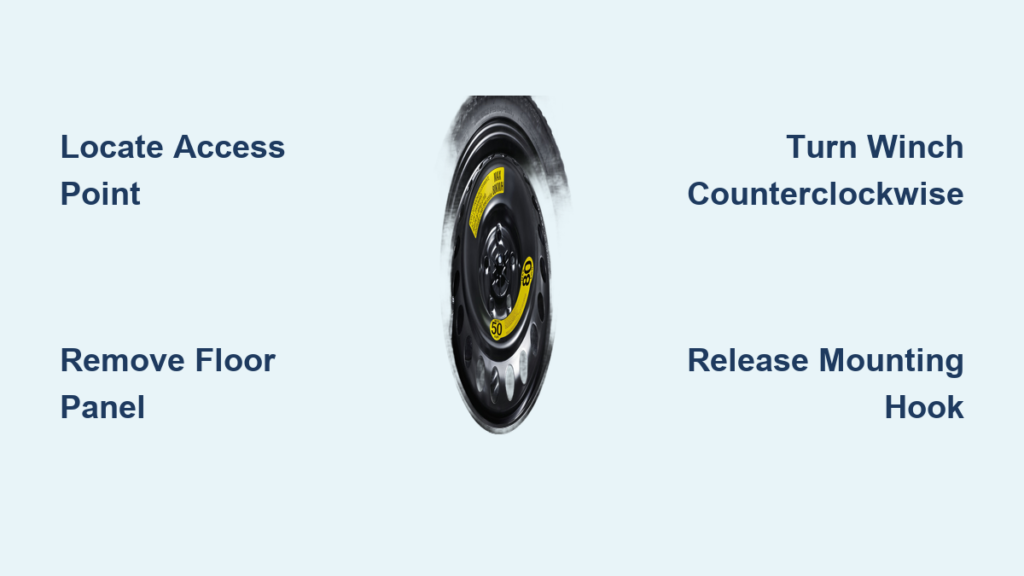
Locate Your Chevy Colorado’s Spare Tire Access Point
Before attempting to remove the spare tire, you need to identify its location and the corresponding access point in your Chevy Colorado. The underbody-mounted spare tire is the most common configuration across Colorado model years, positioned beneath the rear cargo area. The access point typically consists of a small rectangular or circular cutout in the rear floor cargo panel, often marked with a tire icon or “spare tire” label. Removing the cargo floor panel or rubber mat in the truck bed reveals this access point, which is secured with a cap or cover that twists or pulls off by hand.
For Colorado models with a bed-mounted spare tire carrier (found on some crew cab and extended cab configurations with larger spare tires), the mounting assembly attaches directly to the bed floor or behind the cab. These systems usually feature a hand-crank winch mechanism accessible from the truck bed or through a small access door in the bed floor. Newer Colorado models (2015-present) almost exclusively use the underbody-mounted system with a cable winch accessed through the rear floor panel in the cargo area.
Take a moment to locate and familiarize yourself with your specific access point before you need to use it. Knowing exactly where the spare tire access is located—and ensuring it’s not obstructed by cargo or debris—will make the actual removal process much smoother when you’re dealing with a flat tire in less-than-ideal conditions. If you’re unsure, consult your owner’s manual for the exact location specific to your model year.
Access the Winch Mechanism Through Cargo Floor Panel

Once you’ve located the spare tire access point, the next step is accessing the winch mechanism that raises and lowers the spare tire. For most Chevy Colorado models, the winch mechanism is accessed through the cargo floor panel in the rear of the truck bed. Begin by removing any cargo, tools, or debris from the truck bed floor, then lift or slide out the removable floor panel. Set this panel aside in a safe location where it won’t get damaged or in your way.
Behind the floor panel, you’ll find a circular or rectangular rubber grommet or cap covering the winch access hole. This protective cover prevents dirt, water, and debris from entering the winch mechanism housing. Simply pry this cap out using your fingers or a flat-head screwdriver if it’s snug. Once removed, you should see the spare tire winch mechanism, which typically consists of a hexagonal or square-shaped nut (often called a “spare tire hold-down nut”) that you turn to raise or lower the tire.
Some Colorado models also include a dedicated spare tire tool kit stored elsewhere in the vehicle, typically in the rear cargo area or under a seat. This kit often includes an adapter that fits onto the winch nut, providing additional leverage for turning the mechanism. Check your owner’s manual to confirm the exact location of any spare tire removal tools specific to your Colorado model year. If you can’t find the factory tool, a standard socket wrench will usually work as a substitute.
What to Look for When Accessing the Winch
When you remove the access cover, look for any signs of corrosion or damage to the winch mechanism. You should see the square or hexagonal drive point where your tool will connect. If the area appears excessively corroded or covered in road salt residue, apply penetrating oil before attempting to turn the mechanism. This will prevent stripping the drive point and make the removal process much smoother. If you notice significant rust buildup, this could indicate the need for maintenance after you’ve completed the tire removal.
Essential Tools for Chevy Colorado Spare Tire Removal
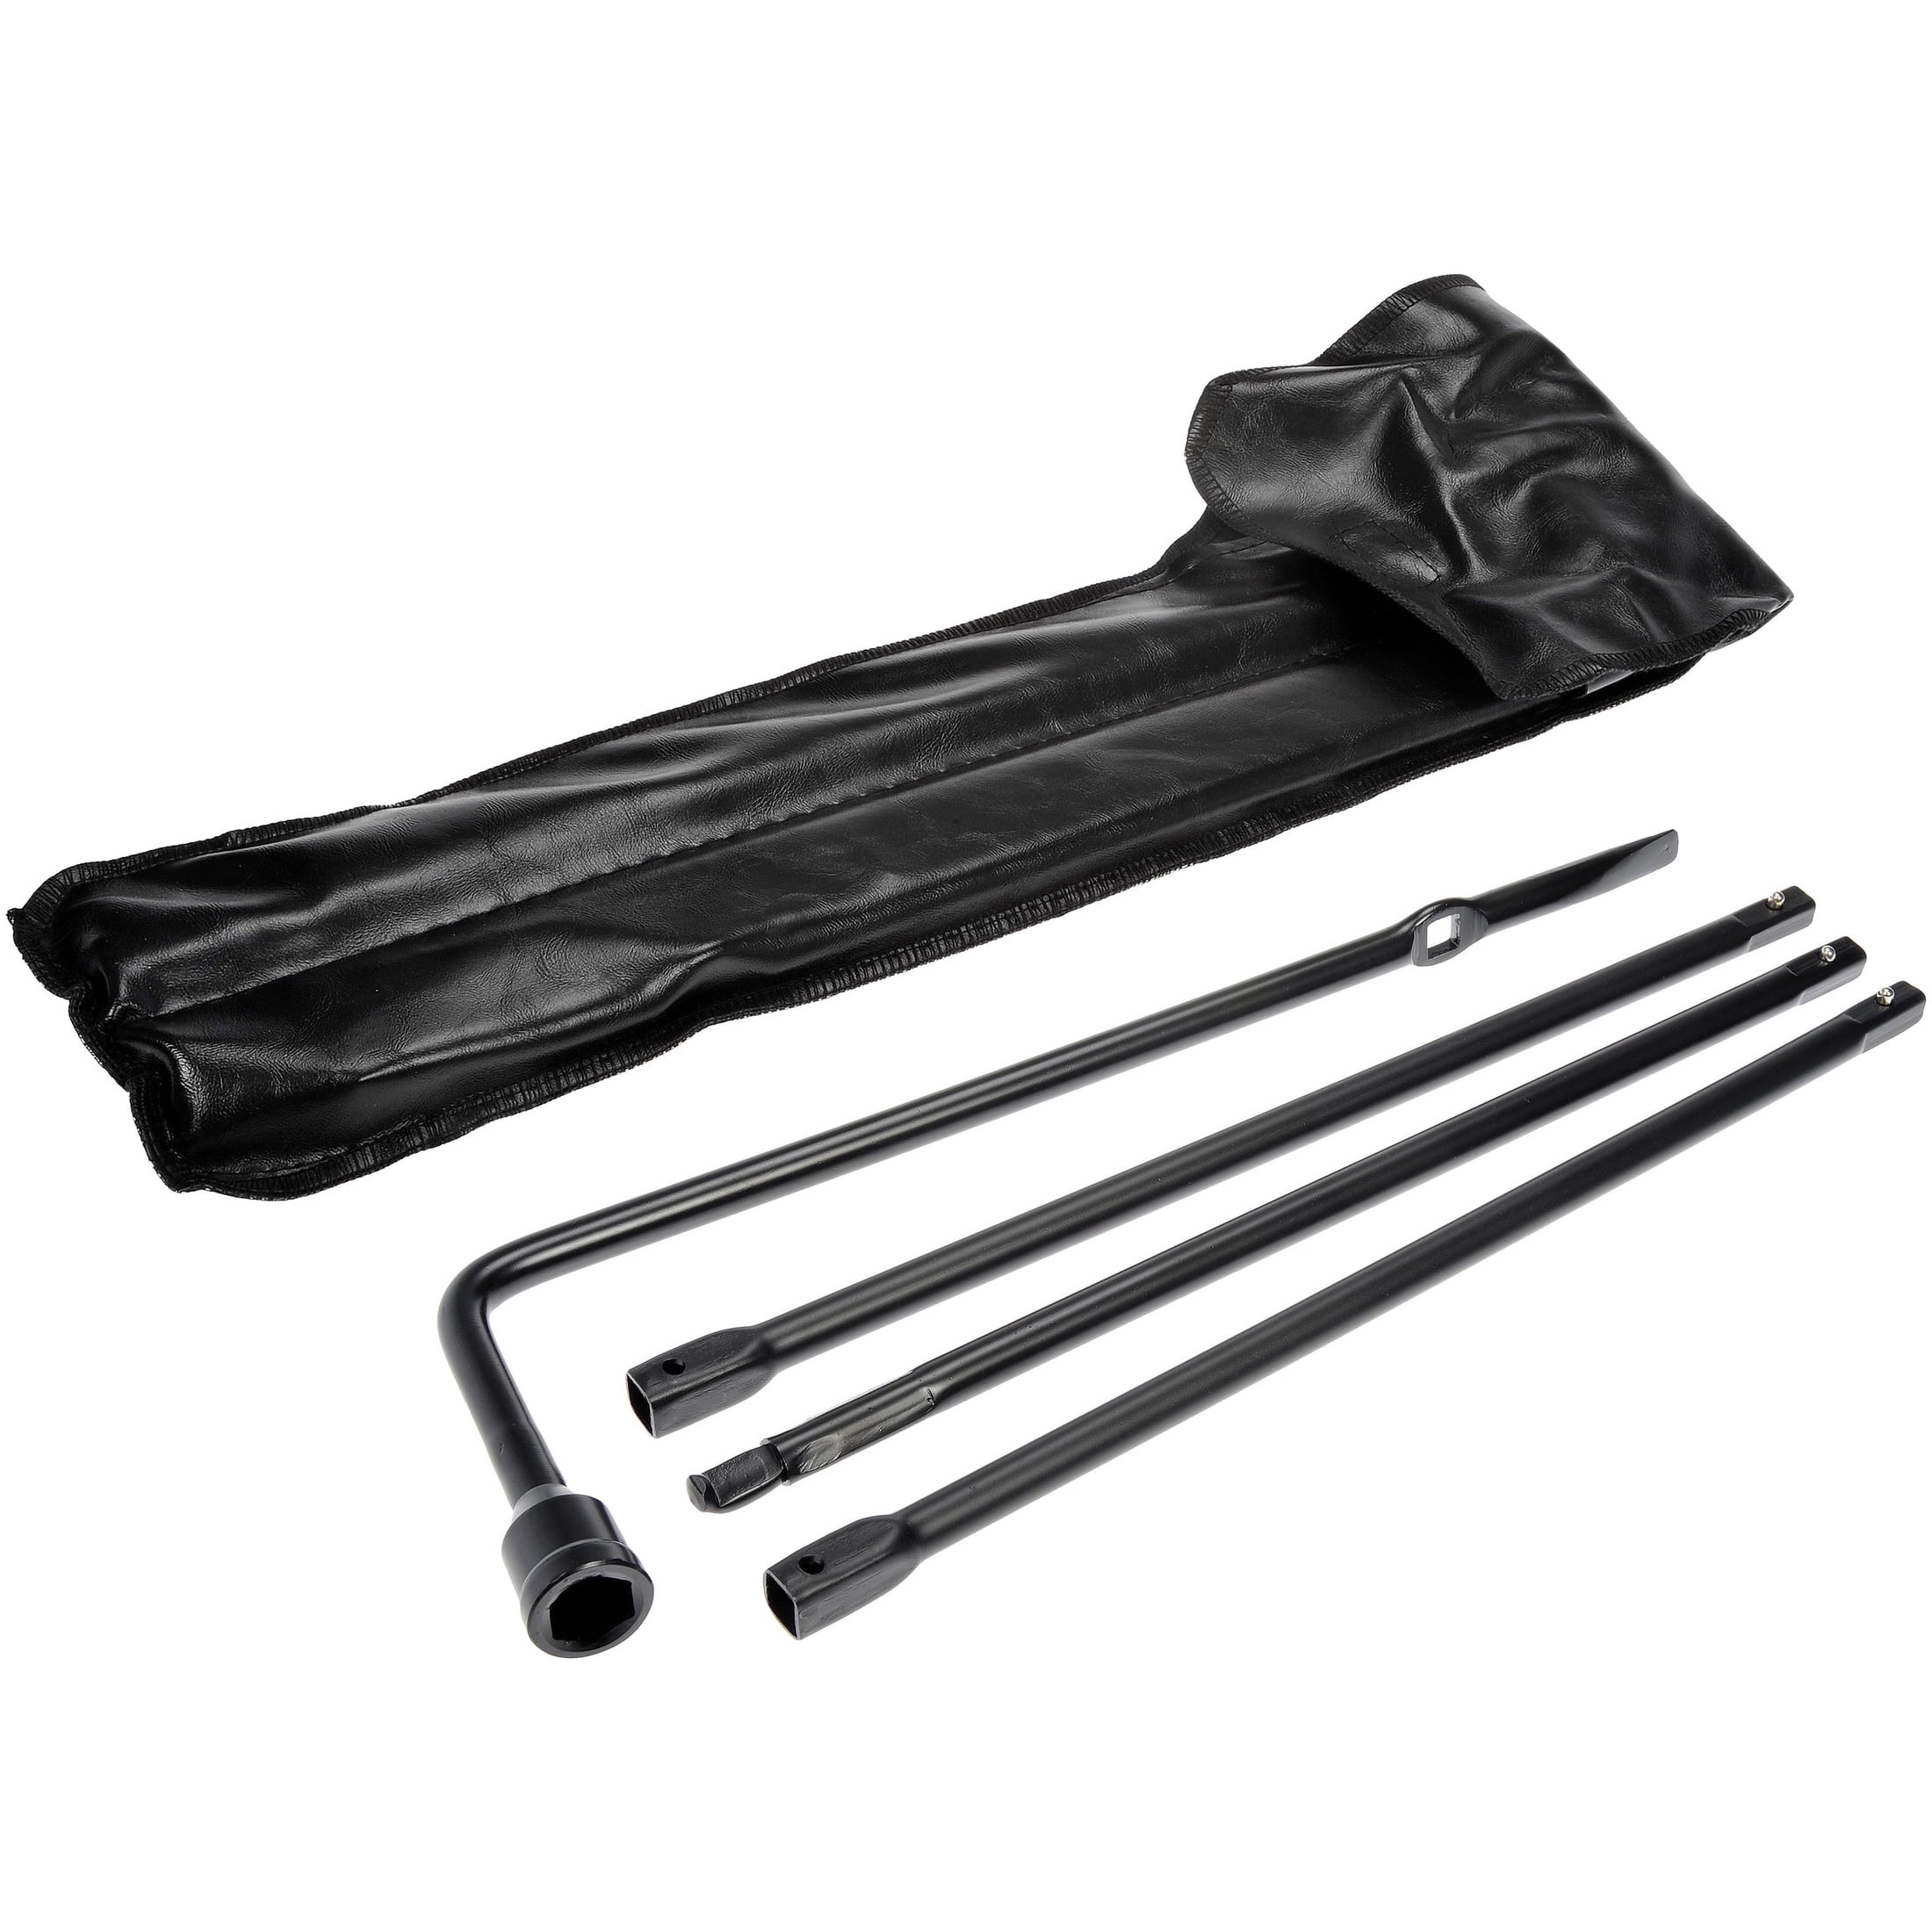
The good news is that removing the spare tire from your Chevy Colorado typically requires no specialized tools beyond what the vehicle already provides. Most Colorado models include a spare tire removal tool kit in the truck bed or cargo area, which usually contains an adapter that fits onto the winch nut. This adapter typically features a 3/8-inch or 1/2-inch square drive hole, allowing you to use a standard ratchet, breaker bar, or the provided handle to turn the winch mechanism.
In addition to the factory-provided tool, you’ll want to have the following items on hand for a complete spare tire removal process:
- Jack and jack stands: Essential if you need to safely lift the vehicle for better access or to remove the flat tire
- Lug wrench: Used to remove the lug nuts from the flat tire (this is typically stored in the Colorado’s cargo area)
- Wheel chocks: To prevent the vehicle from rolling during the process
- Work gloves: Protect your hands from dirt, rust, and sharp edges on the tire and mounting hardware
- Penetrating oil: Helpful if the winch mechanism or mounting hardware has become corroded or seized over time
If you don’t have the factory spare tire tool adapter, a standard 3/8-inch or 1/2-inch socket and ratchet extension typically works as a substitute. Simply insert the socket onto the winch nut and use the ratchet to turn it clockwise (to raise the tire) or counterclockwise (to lower the tire). A breaker bar can provide additional leverage if the mechanism is stiff from disuse.
Why Your Chevy Colorado Spare Tire Won’t Lower Properly
Even with proper technique, spare tire removal can encounter several common issues that require troubleshooting. One frequent problem is a seized or corroded winch mechanism that refuses to turn despite applying significant torque. In this situation, apply a generous amount of penetrating oil directly to the winch nut and let it soak for 10-15 minutes before attempting to turn it again. If the nut still won’t budge, try attaching a breaker bar or length of pipe for additional leverage, but be careful not to strip the nut or snap the cable.
Another common issue is a broken or frayed spare tire cable that prevents proper raising or lowering. Inspect the cable visually for any broken strands, corrosion, or kinks before attempting to use the winch. If the cable appears damaged, do not attempt to use the spare tire system—instead, have the cable and winch assembly inspected and replaced by a qualified mechanic. Driving with a damaged spare tire cable is extremely dangerous, as the spare could become detached during driving.
How to Free a Stuck Spare Tire Mounting Hook
If the spare tire won’t release from the mounting hook despite releasing the retaining clip, the mounting bracket may have become bent or corroded in a way that prevents normal release. Try gently rocking the tire side-to-side while pulling down on the mounting hook to help free it. In severe cases, you may need to use bolt cutters or other tools to disconnect the tire, though this will require replacing the mounting hardware afterward.
A pro tip: Spray penetrating oil around the mounting hook area and let it sit for 15-20 minutes before attempting to release the tire. This often loosens corrosion that’s binding the components together. If you’re still having trouble, try having a helper apply upward pressure on the spare tire while you work the mounting hook mechanism—this can relieve tension enough to free the stuck components.
Lower the Spare Tire Using Correct Winch Technique
With access to the winch mechanism and your tools ready, you can now operate the winch to lower the spare tire for removal. The winch nut typically requires turning in a counterclockwise direction to lower the spare tire and clockwise to raise it. However, always verify this direction by turning the nut slightly and observing which direction releases the cable tension. Applying penetrating oil to the winch nut before beginning can help if the mechanism has become corroded from exposure to moisture and road salt.
Insert your tool adapter onto the winch nut and begin turning it slowly and steadily. As you turn the nut, you’ll feel the cable begin to pay out, and the spare tire will gradually descend from its mounted position beneath the truck. Keep turning until the spare tire is fully lowered to the ground but still suspended by the cable above the ground. It’s crucial to stop lowering before the tire actually touches the ground, as you’ll need the cable tension to release the mounting hook from the tire’s center hole.
During this process, listen and feel for any unusual resistance or grinding sounds, which could indicate a corroded or damaged winch mechanism. If you encounter significant resistance, stop immediately and inspect the system for damage or corrosion before proceeding. Forcing a seized winch mechanism can cause the cable to snap or break, creating a dangerous situation and requiring professional repair. If the cable feels stiff, try turning in the opposite direction slightly to break any corrosion bonds before continuing.
Release Your Chevy Colorado Spare Tire From the Mounting Assembly

Once the spare tire is lowered to just above ground level, you need to disconnect it from the winch cable mounting assembly. The spare tire attaches to the cable via a large J-hook or mounting bracket that passes through the center hole of the spare wheel. This mounting assembly typically includes a retaining clip or cotter pin that prevents the tire from accidentally detaching during driving.
Reach under the vehicle (or access from the side) and locate where the cable attaches to the spare tire. You’ll need to release the retaining mechanism that secures the J-hook to the wheel. This is often accomplished by rotating or depressing a retaining clip while pulling the J-hook down through the center of the wheel. Some Colorado models use a simple hook design where you lift the tire slightly to release tension, then guide the hook out of the wheel center.
With the retaining mechanism released, carefully guide the spare tire away from the mounting cable and remove it from beneath the vehicle. Have a helper assist you if the tire is heavy or awkward to maneuver. Set the spare tire aside in a safe location where it won’t roll away, and inspect it for any visible damage, dry rot, or excessive wear before using it as a replacement. Check the tire pressure immediately—you’ll likely need to inflate it to the recommended PSI before use.
Safety Precautions for Removing Spare Tire from Chevy Colorado
Working beneath a vehicle or with heavy tire components requires proper safety precautions to prevent injury. Always ensure your Chevy Colorado is parked on level, stable ground before attempting any spare tire work. Apply the parking brake and chock the wheels that remain on the ground to prevent the vehicle from rolling. If you’re removing a flat tire from the vehicle, follow proper jacking procedures using the manufacturer’s specified jack points, and always support the vehicle on jack stands before working underneath.
When handling the spare tire, be aware that it may be extremely heavy—often weighing 30-50 pounds depending on the wheel and tire combination. Lift with your legs, not your back, and consider asking for assistance if the tire is difficult to maneuver. Inspect the spare tire and mounting hardware for any signs of damage, rust, or excessive wear before relying on it. A damaged spare tire can fail catastrophically when in use, potentially causing a serious accident.
Finally, after completing any spare tire removal or replacement, test the winch mechanism to ensure it operates smoothly and that the spare tire mounts securely. Clean and lubricate the winch nut and mounting hardware periodically as part of your vehicle maintenance routine to prevent corrosion and ensure reliable operation when you need it most. Remember that a properly maintained spare tire system could be your lifeline during a roadside emergency.


