
Ever pulled out of your driveway only to notice your car feels unstable, bouncy, or just “off”? The culprit might be something as simple as incorrect tire pressure. Learning how to set tire pressure properly is one of the most impactful yet frequently neglected maintenance tasks for any vehicle owner. Under-inflated tires can decrease your fuel efficiency by up to 3% for every 1 PSI drop across all four tires, while over-inflated tires create dangerous handling issues and uneven wear patterns that shorten tire life. The good news is that mastering how to set tire pressure takes less than ten minutes once you know the right approach, and doing it correctly delivers immediate benefits for safety, wallet, and vehicle performance.
When you understand how to set tire pressure according to your vehicle’s specific requirements, you’ll notice improved braking, better handling in wet conditions, and a smoother overall ride. This comprehensive guide walks you through every step of the process—from locating your exact pressure specifications to maintaining proper inflation through seasonal changes—so you can keep your tires performing at their best year-round.
Locate Your Vehicle’s Exact Tire Pressure Specifications
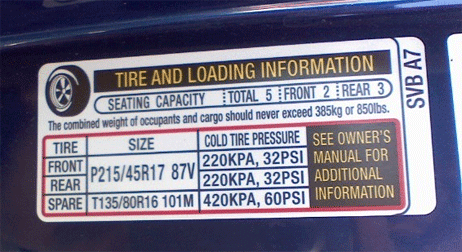
Your car’s ideal tire pressure isn’t determined by guessing or following generic advice—it’s precisely engineered by the manufacturer for your specific model. The most reliable place to find this critical information is the sticker permanently affixed to your driver’s side door jamb, which provides cold tire pressure recommendations for both front and rear tires under normal driving conditions. This specification accounts for your vehicle’s weight distribution, suspension design, and intended performance characteristics.
Why Door Jamb Information Trumps Tire Sidewall Numbers
Many drivers mistakenly inflate their tires to the maximum pressure listed on the tire sidewall, not realizing this number represents the tire’s safety limit rather than the optimal pressure for their vehicle. Following these maximum numbers typically results in over-inflation, which reduces the tire’s contact patch with the road, compromises traction, and creates an uncomfortable, harsh ride. Your vehicle manufacturer has already determined the ideal pressure through extensive testing—always prioritize the door jamb sticker or owner’s manual over sidewall markings.
Adjusting for Heavy Loads and Special Conditions
When planning a road trip with a fully loaded vehicle or towing a trailer, standard pressure recommendations may need adjustment. Consult your owner’s manual for specific guidance, as many manufacturers provide detailed load inflation tables showing exactly how much extra pressure to add based on cargo weight. For example, a family sedan might require an additional 4 PSI in rear tires when carrying five passengers plus luggage. Failing to make these adjustments can cause excessive sidewall flexing, leading to dangerous heat buildup and premature tire failure during long journeys.
Check Tire Pressure When Tires Are Cold for Accurate Readings
Temperature significantly impacts tire pressure readings, with pressure increasing approximately 1-2 PSI for every 10°F rise in temperature. This means checking your tires after driving creates falsely high readings that lead to under-inflation when corrected. For the most accurate baseline measurement, always check pressure first thing in the morning before driving or after your vehicle has been parked for at least three hours.
Understanding Temperature’s Effect on Tire Pressure
Seasonal temperature swings dramatically affect tire pressure without any air loss. A tire inflated to 35 PSI on a warm 75°F day might read only 31 PSI during a chilly 45°F morning—a 4 PSI drop that triggers your TPMS warning light but doesn’t indicate an actual leak. This natural fluctuation explains why many drivers experience “low pressure” warnings during colder months, even with properly maintained tires. Recognizing this pattern helps you avoid unnecessary inflation adjustments.
Handling Pressure Checks After Driving
If you must check pressure after driving, note the reading but understand it’s approximately 3-4 PSI higher than the cold specification due to heat buildup from friction. Rather than adjusting immediately, drive carefully to your destination, then recheck after the tires have cooled. Attempting to set tire pressure based on hot readings almost always results in dangerous under-inflation once the tires return to ambient temperature.
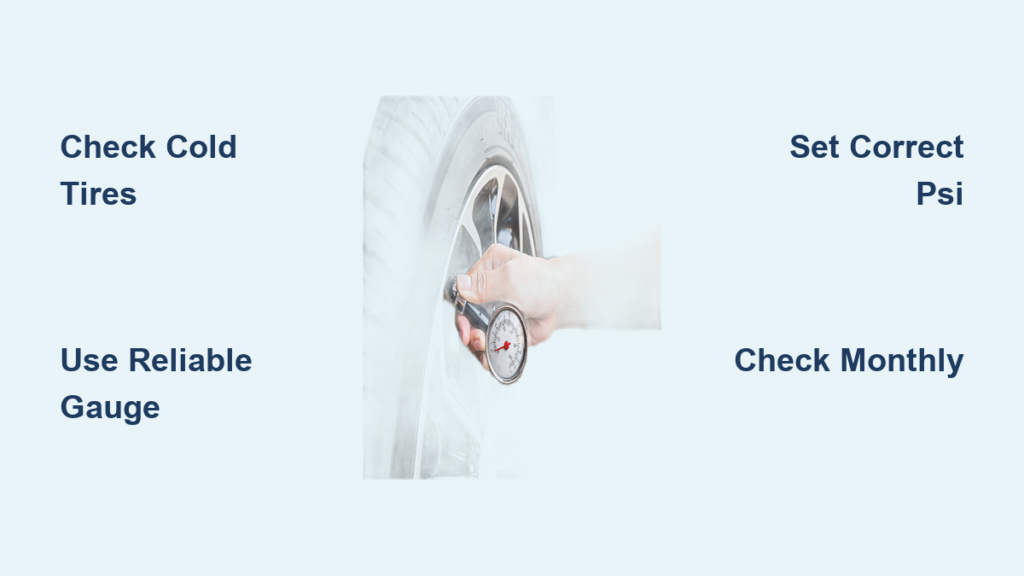
Use a Reliable Pressure Gauge for Precise Measurements

Digital pressure gauges offer superior accuracy and readability compared to traditional analog models, with most quality options costing less than $15. Look for features like a sturdy metal chuck, backlit display for nighttime checks, and a bleed valve that allows precise pressure reduction. Store your gauge in your glove compartment so it’s always available for quick checks.
Digital vs. Analog Gauge Performance
While analog dial gauges work acceptably when new, their internal springs wear over time, causing increasingly inaccurate readings that undermine your efforts to set tire pressure correctly. Digital gauges maintain consistent accuracy but require occasional battery replacement. Whichever type you choose, test its reliability monthly by comparing readings with a known-accurate gauge at a trusted service station.
Proper Gauge Technique for Perfect Readings
Achieving accurate pressure measurements requires proper technique: firmly press the gauge straight onto the valve stem until you hear a brief hiss, then hold it steady for 2-3 seconds before removing. A crooked angle or loose connection allows air to escape, giving false low readings. Check each tire twice to confirm consistency, and don’t forget the spare—many drivers discover their emergency spare is flat only when they need it most.
Add Air with Precision at Public or Home Stations
Most gas stations feature air pumps near the convenience store, typically requiring coins or credit card payment. Keep a few quarters in your glove compartment for these occasions, as station pumps often don’t accept small electronic payments. For frequent use, consider investing in a quality portable air compressor that plugs into your vehicle’s 12V socket.
Verifying Public Pump Accuracy
Station air pumps frequently develop calibration issues from heavy use and weather exposure. Always compare the station’s gauge reading with your personal gauge before inflating—significant discrepancies mean finding another location or using your own equipment. If multiple stations show the same reading but differ from your gauge, have your gauge professionally calibrated to ensure you’re working with accurate measurements.
The Right Way to Inflate Without Overfilling
Add air in 10-second bursts followed by pressure checks—this prevents overshooting your target pressure. If you accidentally overinflate, use the small pin in your gauge’s bleed valve to release air gradually while monitoring the pressure. Trying to inflate directly to your target in one attempt almost always results in overfilling, wasting time as you repeatedly add and release air to reach the precise specification.
Maintain a Consistent Tire Pressure Monitoring Schedule
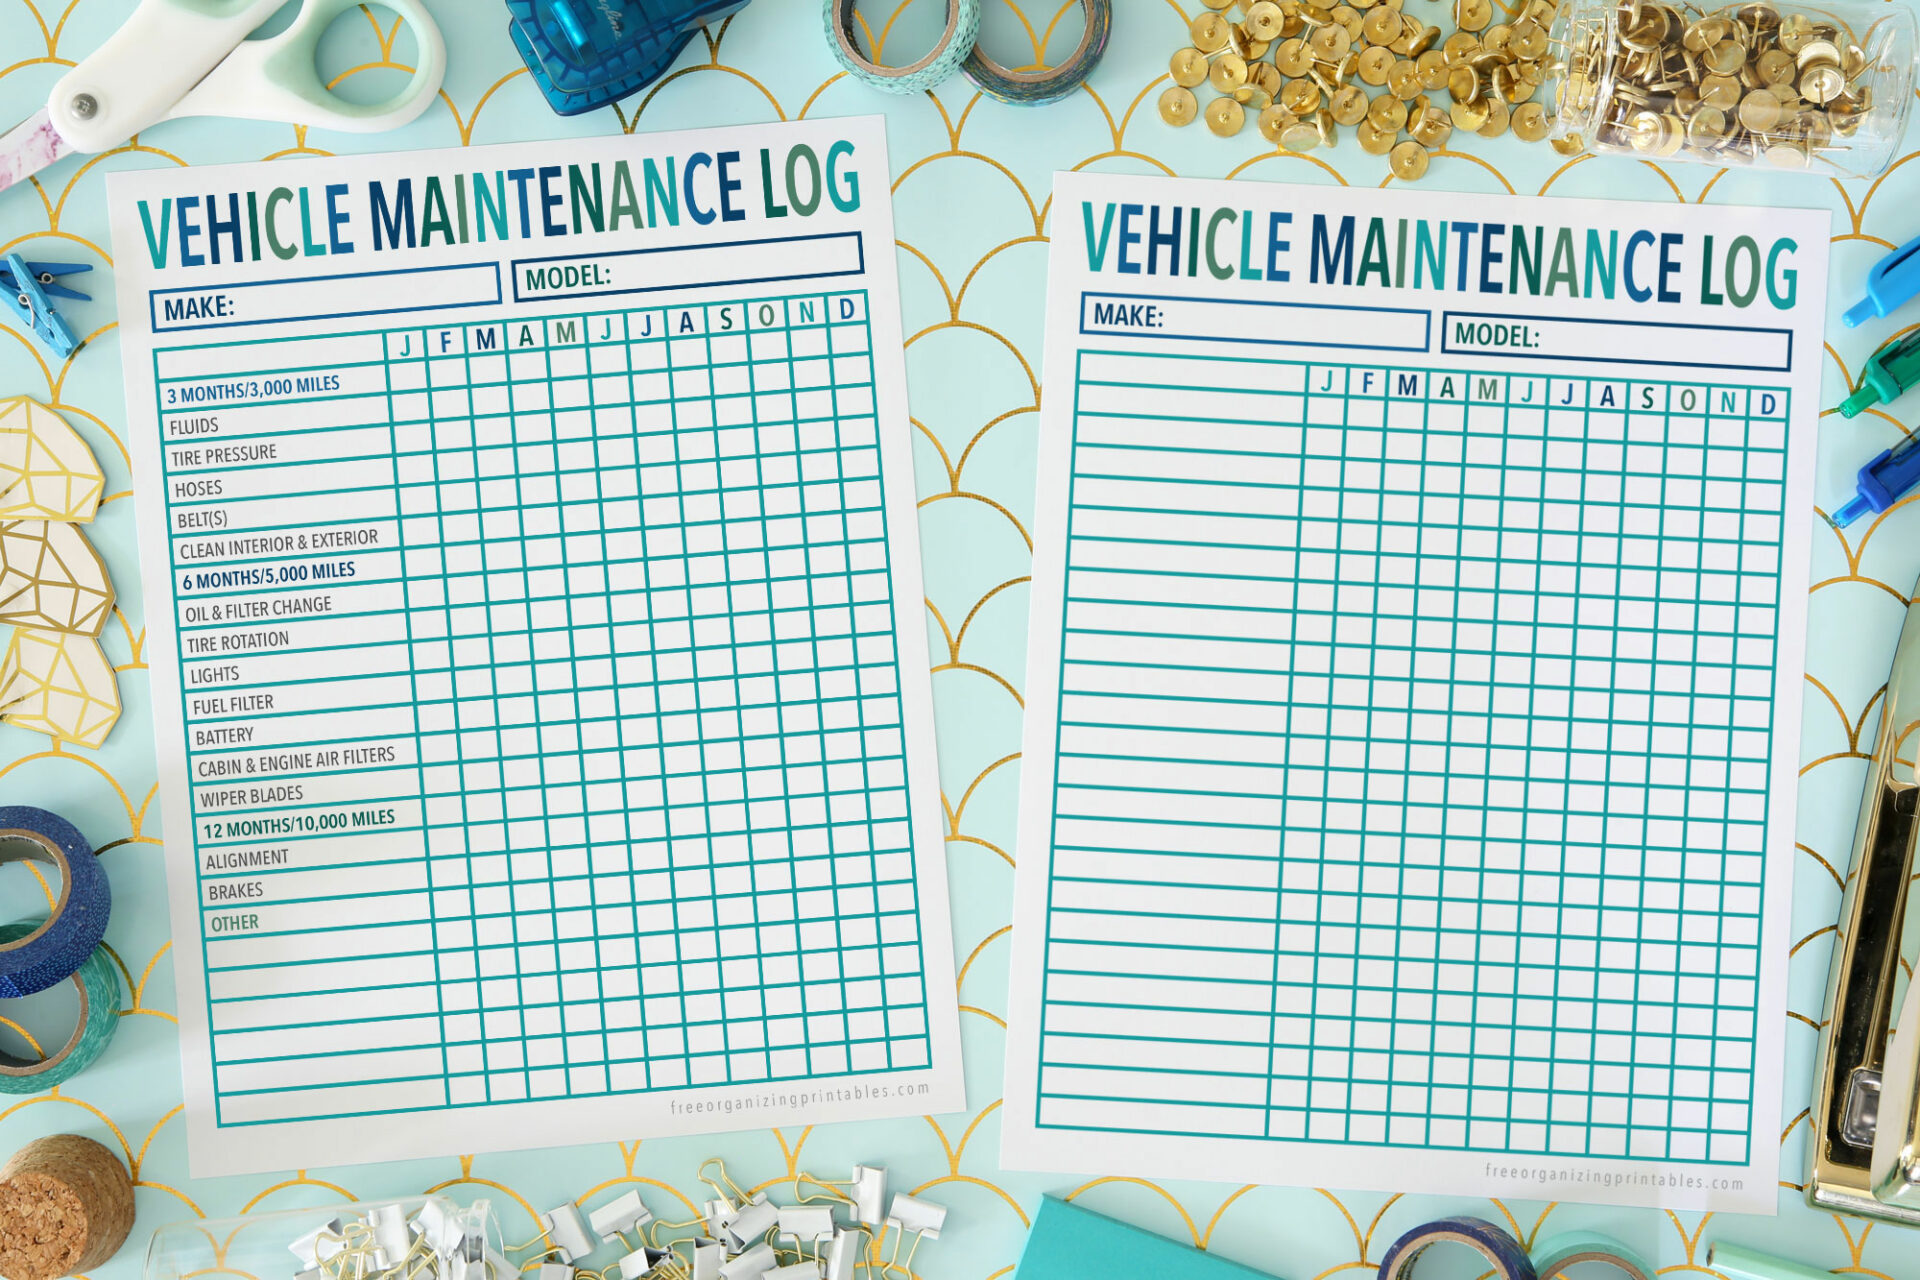
Establish a monthly tire pressure check routine—perhaps on the first Sunday of each month or when you pay your car insurance premium. This regular habit catches slow leaks early, before they develop into dangerous low-pressure situations. Seasonal transitions, particularly when temperatures drop significantly, warrant additional checks as colder weather naturally reduces tire pressure.
What Your Visual Inspection Should Reveal
Complement pressure checks with thorough visual examinations of each tire’s tread and sidewalls. Look for embedded nails or glass shards, irregular wear patterns indicating alignment issues, bulges suggesting internal damage, and cracks developing in the rubber. These visual cues provide early warnings of problems that pressure readings alone might miss, allowing timely intervention before minor issues become major repairs.
Understanding TPMS Limitations
Modern tire pressure monitoring systems only alert you after pressure drops 25% below specification—meaning you’ve already sacrificed fuel efficiency and handling performance by the time the warning light appears. Don’t rely solely on TPMS; regular manual checks maintain optimal pressure before problems escalate. Reset your TPMS system after adjusting pressure to ensure accurate future monitoring.
Properly maintaining your tire pressure delivers immediate benefits you’ll feel every time you drive. When you consistently set tire pressure to the manufacturer’s specifications, you’ll notice improved steering response, shorter stopping distances, and a smoother ride—all while extending your tires’ lifespan by thousands of miles. The small investment of time required to check and adjust your tire pressure monthly pays substantial dividends in safety, performance, and cost savings. Make this simple maintenance task part of your regular vehicle care routine, and you’ll enjoy more confident, efficient, and economical driving for the life of your vehicle.


