
Nothing derails your weekend trail ride faster than wrestling with a stubborn tire that refuses to seat properly. If you’ve ever struggled to set the bead on a dirt bike tire, you know the frustration of watching air escape while the tire edge stubbornly stays out of position. This critical step creates the airtight seal your inner tube needs to function safely, and skipping it properly can lead to dangerous front-end wobble or sudden loss of control mid-corner. Whether you’re replacing a worn rear tire in your garage or dealing with a flat in the middle of nowhere, mastering how to set the bead on a dirt bike tire separates prepared riders from stranded ones. This guide delivers proven techniques that work when standard methods fail.
Getting that bead seated requires understanding why certain approaches succeed where others fall short. The right combination of lubrication, air pressure, and mechanical assistance makes all the difference between a five-minute fix and hours of wasted effort. Let’s dive into the specific methods that guarantee success every time you tackle this essential maintenance task.
Gather Essential Tire Tools
Before attempting to set the bead on your dirt bike tire, assemble the right equipment to avoid wasted effort and frustration. A high-volume air source stands as your most critical tool—standard bicycle pumps often lack the power needed to overcome stubborn bead resistance. Invest in a quality floor pump that reaches at least 50 PSI or carry a portable air compressor for trailside emergencies. Many riders discover too late that their regular pump “wasn’t cutting it” and must resort to gas station compressors when stranded.
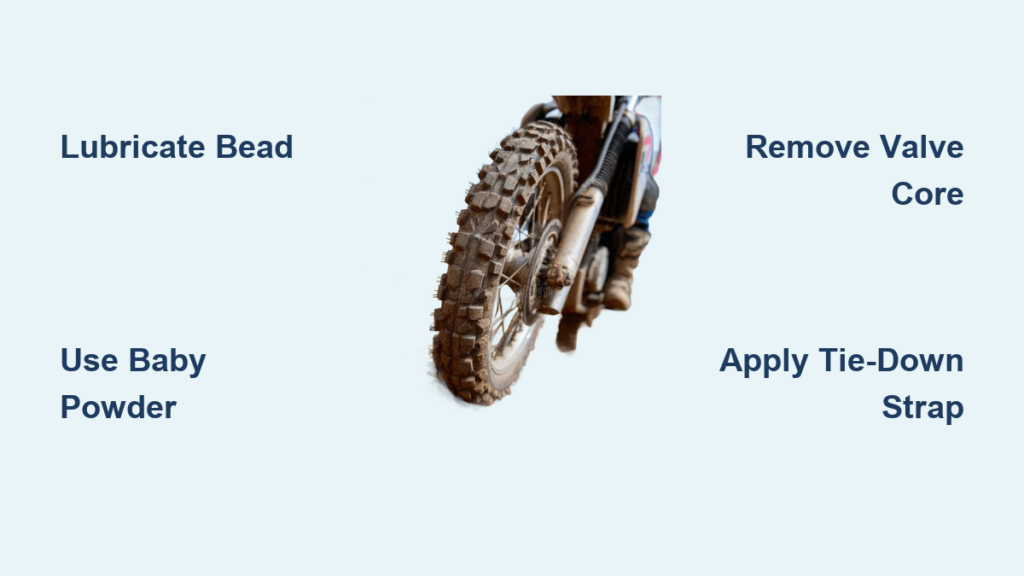
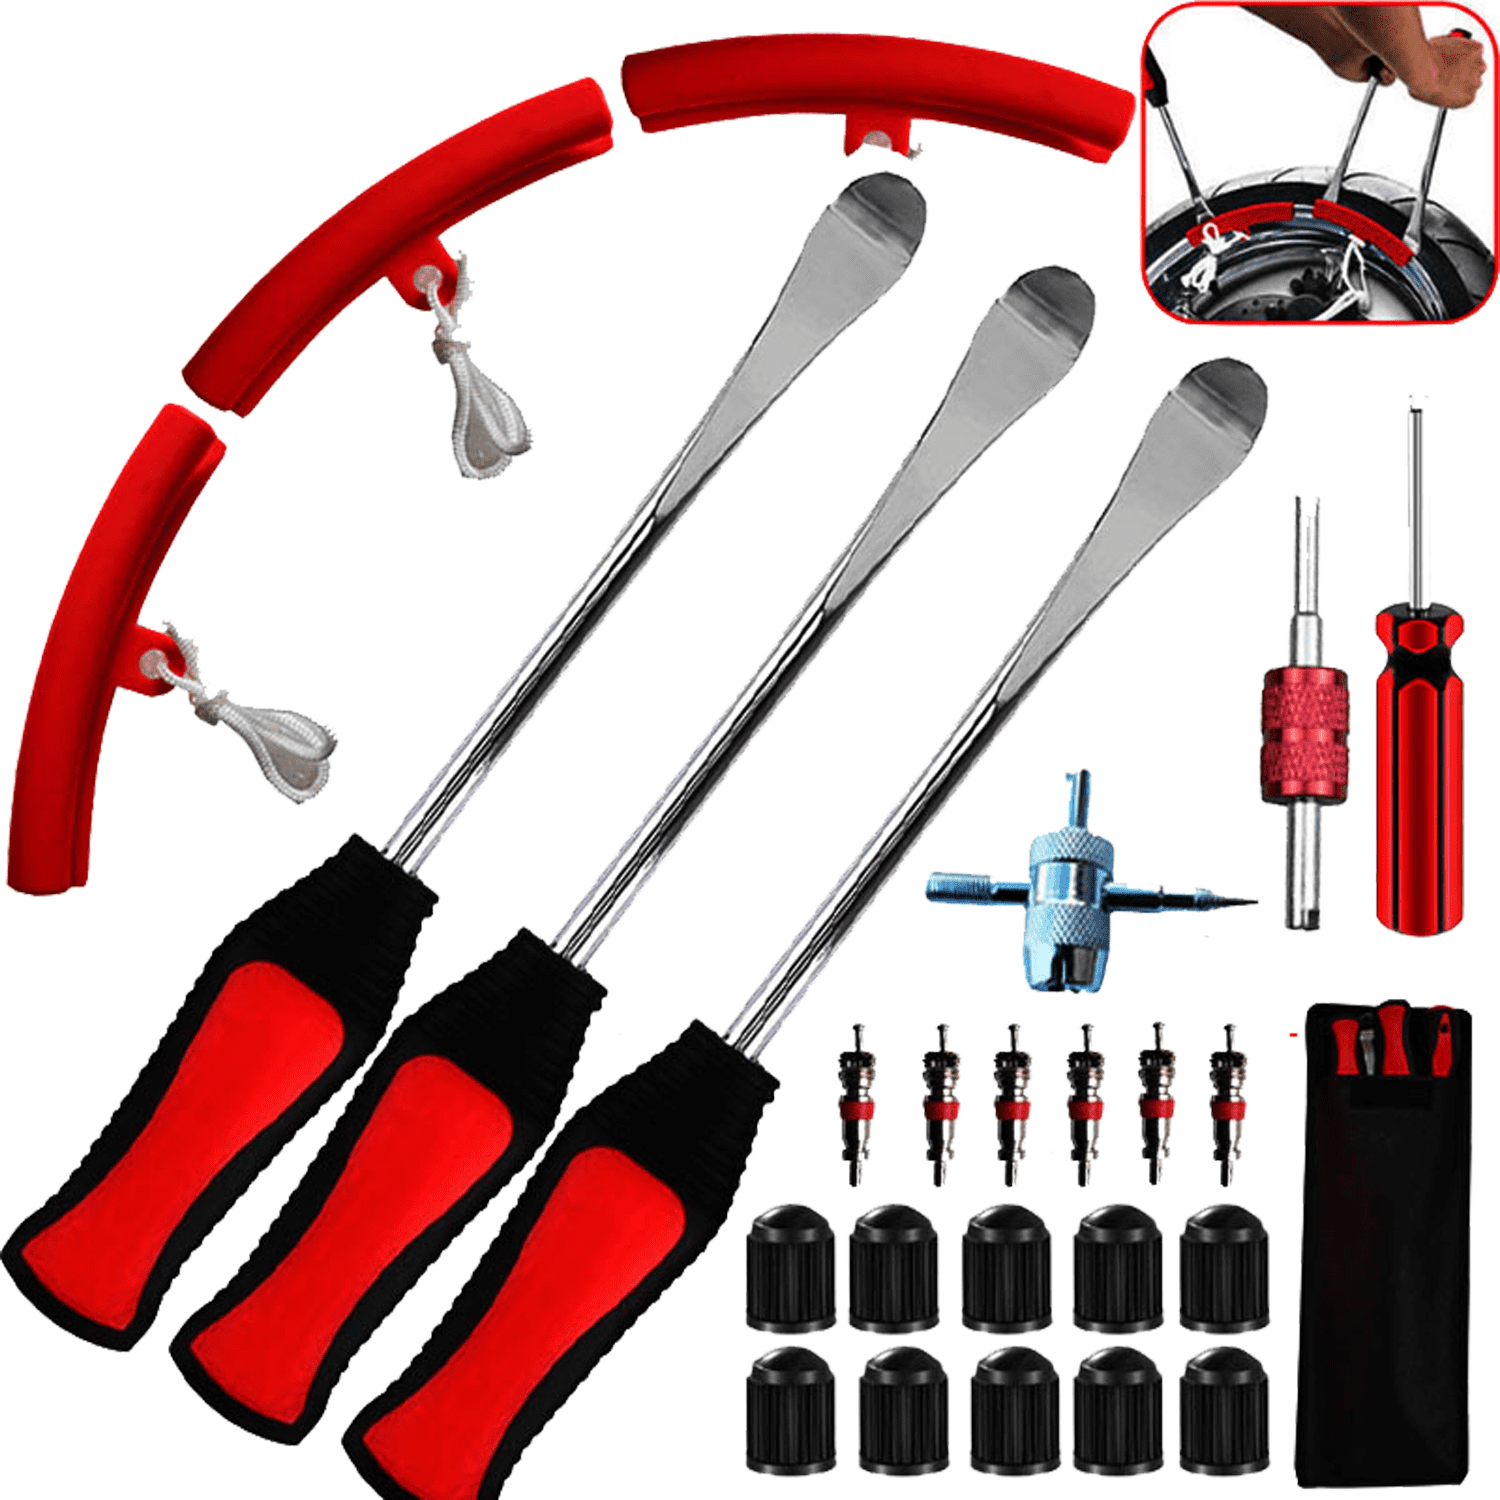
Plastic tire levers prevent rim damage while manipulating stubborn beads into position. A valve stem core removal tool enables the rapid inflation technique that solves most seating problems. For extreme cases, pack a ratcheting tie-down strap and deadblow hammer in your trail kit. Never attempt bead seating without baby powder, dish soap, or WD-40 for lubrication—these household items make the difference between success and failure when friction fights against your efforts.
Master Lubrication Techniques
Proper lubrication represents your first and most effective weapon when learning how to set the bead on a dirt bike tire. Without reducing friction between the bead and rim, even high air pressure fails to seat the tire properly. Dish soap mixed with water creates an inexpensive, readily available solution—apply generously around the entire bead circumference until the surface feels “nice and slick” to the touch. The soap allows the bead to slide smoothly into the rim channel as air pressure builds inside the tube.
WD-40 serves as an equally effective alternative that also penetrates rust and debris on older rims. Spray directly on the bead area and wipe away excess before inflating. Some riders combine both methods, using soap for the primary lubrication and WD-40 for stubborn spots that resist seating. Specialized tire mounting lubes work well but cost significantly more than these household alternatives that deliver identical results for most applications.
Apply Baby Powder to the Inner Tube
Coating your inner tube with baby powder before installation prevents the tube from sticking to the tire’s interior during inflation—a common cause of bead seating failures. Generously apply powder to the entire outer surface of the tube and the tire’s inner walls before assembly. This creates a slippery interface that allows the tube to expand evenly without bunching or twisting.
One rider learned this lesson the hard way after forgetting to use baby powder during a rear tire change, vowing to use it for the front tire installation next time. Without this simple step, the tube can adhere to the tire’s interior, causing uneven expansion that prevents proper bead seating. The powder ensures the tube moves freely as air pressure builds, dramatically increasing your success rate on the first attempt.
Use Proper Air Pressure Methods

Achieving sufficient air pressure requires understanding both the amount needed and how to apply it effectively. Most dirt bike tires require 30-50 PSI during the bead seating process—significantly higher than normal riding pressure of 12-15 PSI. One rider reported exceeding 50 PSI to seat a particularly stubborn bead, while others found success between 30-40 PSI for standard applications.
The key technique involves inflating well beyond normal pressure, holding for several seconds to allow the bead to settle into the rim channel, then releasing to riding pressure. After initial seating, maintain elevated pressure for about an hour before final adjustment—this gives the tire time to fully settle onto the rim. Never exceed pressures that could damage the tire or tube, as safety should always come first when setting the bead on a dirt bike tire.
Remove Valve Stem Core for Quick Inflation
When standard inflation fails, removing the valve stem core creates a sudden air rush that often seats stubborn beads. This technique works because air enters the tube rapidly without restriction, expanding the tube forcefully against the tire walls. Use your valve stem core tool to completely remove the core, then attach your air source and inflate quickly.
Watch the bead area carefully as you inflate—the rapid pressure increase should push the bead outward into the rim channel. Once seated, remove the air source, reinstall the core, and continue to normal riding pressure. This method proves especially valuable when using a hand pump that lacks sufficient volume. Be prepared for a brief air burst when removing the core, and never exceed safe pressure limits for your specific tire.
Apply Tie-Down Strap for Stubborn Beads
For extremely resistant beads, a ratcheting tie-down strap provides mechanical force that makes the difference between success and failure. Position the strap around the tire’s circumference opposite the valve stem and gradually tighten until the sidewalls compress inward. The proper tension pushes the beads outward against the rim flanges without crushing the tire against the wheel.
With the strap in place, reinstall the valve stem core if removed and proceed with inflation. This external compression assists internal air pressure in forcing the beads into position. Experienced riders swear by this technique for difficult installations, though it requires some experimentation to find the right tension for your specific situation.
Add Heat and Use Mechanical Techniques
Warming the tire before installation makes the rubber more pliable and easier to seat. Place the tire in direct sunlight for 15-20 minutes—the heat softens the rubber significantly, reducing the physical effort needed during installation. On cold days, you can place the tire near a heat source (never directly on it) for similar results.
When mechanical assistance is needed, a deadblow hammer delivers controlled force without damaging components. Release all air, then gently strike the sidewall at the beginning and end of the unseated section. Work progressively toward the center, using the hammer blows to encourage the bead to slide into the rim channel. For persistent problem spots, pry the tire away from the rim, apply additional lubricant, then reinflate to high pressure.
Diagnose and Fix Rimlock Issues
Rimlocks—a feature on many dirt bike rims—often cause persistent bead seating problems when improperly handled. The most common error involves positioning the tube incorrectly around the rimlock. The tube must route around the rimlock on the inside, not the outside where it interferes with proper seating.
One rider discovered their tire wouldn’t seat because they had the tube positioned around the rimlock incorrectly. Repositioning the tube solved the problem immediately. When working with rimlocks, apply extra lubricant around this area and use a tire iron to carefully manipulate the bead past the rimlock before attempting to seat it. Always verify tube positioning before starting the inflation process.
Avoid Common Bead Seating Mistakes
Several preventable errors cause most bead seating failures. Incorrect tube positioning around rimlocks creates immediate problems that require starting over. Insufficient lubrication generates friction that even high pressure cannot overcome. Using an inadequate pump wastes time and energy when you need rapid air delivery.
Never attempt to ride with an unseated bead—this causes dangerous front-end wobble as the bead drops to the rim center during cornering. One rider described it as “the weirdest front end wobble I’ve ever felt.” Skipping the baby powder step leads to tube bunching and uneven expansion. Rushing the process without verifying even seating all around the rim creates hidden dangers that only appear during riding.
Complete Safety Checks After Installation
After successfully setting the bead on your dirt bike tire, thorough verification ensures safe riding conditions. Visually inspect the bead all around the rim to confirm even seating—no sections should sit higher or lower than others. Check that the valve stem sits straight without pulling at an angle, which indicates tube bunching underneath.
Rotate the wheel to check for wobble or runout that would indicate improper seating. Verify tire pressure before and after your first short ride to ensure everything functions correctly. During that initial ride, pay special attention to handling characteristics, particularly in corners where an unseated bead reveals itself through irregular behavior. If anything feels wrong, stop immediately and recheck your work.
Mastering how to set the bead on a dirt bike tire transforms a potentially dangerous situation into a routine maintenance task you can handle confidently anywhere. By combining proper lubrication, strategic air pressure application, and mechanical techniques for stubborn cases, you’ll never get stranded due to a seating problem again. Remember to always verify even seating all around the rim before riding, as safety should never be compromised for convenience. With these proven methods in your toolkit, you can tackle tire changes with confidence whether you’re in your garage or miles from the nearest road. The key to success lies in preparation, patience, and knowing exactly which technique to apply when standard methods fail.


