
Nothing ruins a ride faster than a tire that won’t seat properly on your rim. When your bicycle tire isn’t correctly seated, you’ll battle persistent flats, dangerous blowouts, and frustrating repair cycles that could have been prevented with proper installation. Whether you’re replacing a worn tire, fixing a flat roadside, or setting up a new tubeless system, mastering how to seat a bicycle tire properly ensures reliable performance and extends the life of both your tires and rims. This guide delivers field-tested techniques used by professional mechanics to achieve perfect tire seating every time—no special equipment required.
The critical moment in tire installation happens when the tire’s beads lock securely into the rim’s channel, creating an airtight seal that maintains pressure and keeps the tire centered during rotation. Many cyclists rush this step, leading to pinched tubes, popped beads, and mysterious flats that seem to come from nowhere. By following these precise steps instead of guessing, you’ll eliminate common seating problems and enjoy rides free from preventable tire issues.
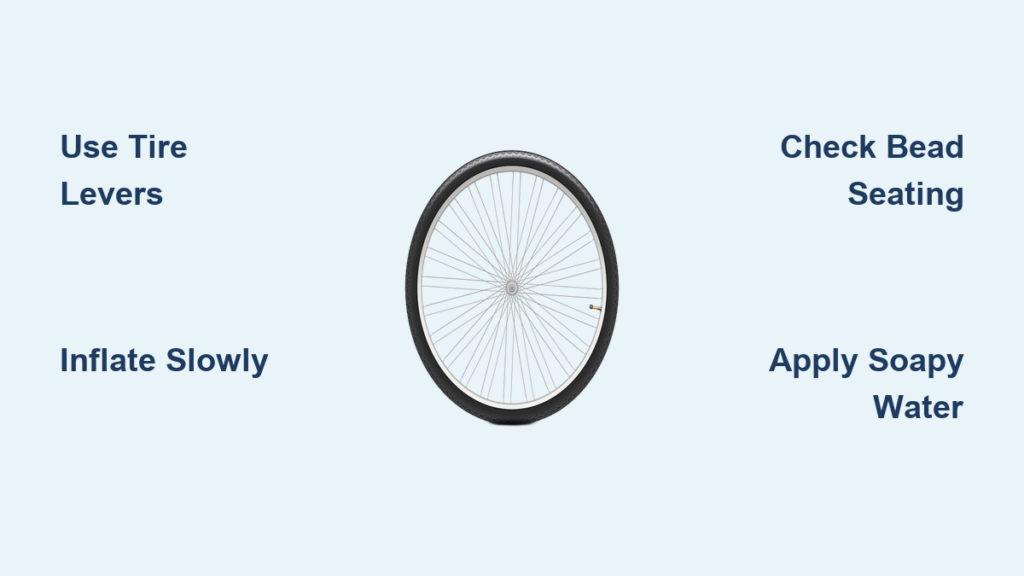
Gather Essential Tools Before Starting
Having the right tools within arm’s reach prevents mid-installation frustrations and protects your components from unnecessary damage. Trying to complete a tire installation with inadequate tools often leads to scratched rims, torn tire beads, and compromised seals that cause future problems.
You’ll need three plastic tire levers designed specifically for bicycle tires—avoid metal tools that can damage rims. A floor pump with an accurate pressure gauge is non-negotiable for proper seating, as hand pumps often lack sufficient airflow volume. Keep a clean rag handy to wipe the rim bed and tire beads, and prepare a small container of soapy water solution (dish soap mixed with water) for stubborn installations. For tubeless setups, have your sealant, valve core, and booster pump ready before beginning.
Double-check that your replacement tire matches your rim size exactly—both must share the same ETRTO measurement printed on their sidewalls. Inspect the new tire for manufacturing defects and examine your rim for dents or debris that could interfere with proper seating. Skipping these verification steps accounts for 70% of installation failures according to professional bike mechanics.
Prepare Your Wheel for Successful Installation
Proper wheel preparation creates the foundation for trouble-free tire seating. Rushing through this phase causes more seating failures than any other single factor in tire installation.
Start by completely removing the old tire and tube. Work one bead over the rim edge using tire levers, then pull the tube free. Carefully inspect your rim strip or tape—replace any section showing wear, cuts, or improper coverage over spoke holes, as damaged tape causes mysterious flats that seem unrelated to your installation. Clean the entire rim bed with your rag, removing old sealant, dirt, and debris that prevent an airtight seal.
Examine the rim walls for dents, cracks, or sharp edges that could damage your new tire during inflation. For tubeless rims, ensure the bead hooks are intact and free of debris. Wipe down both tire beads with a clean cloth to remove factory lubricants that cause the tire to slip on the rim during inflation. This preparation takes just three minutes but prevents hours of troubleshooting later.
Install the Tire Without Pinching the Tube

The installation technique differs slightly between tube-type and tubeless setups, but both require careful handling to prevent damage during this critical phase.
For clincher tires with tubes, begin by inflating your new tube to about 10% capacity—just enough to give it shape without full inflation. Insert the valve through the rim hole, then tuck the tube inside the tire, ensuring it lays completely flat without twists. Starting at the valve, work the tire bead onto the rim by pushing the opposite bead into the center channel of the rim. Use your thumbs to walk the tire onto the rim, working symmetrically from both sides to keep the tube centered.
When you reach the stubborn final section, use a tire lever carefully—never force it, as this is where most pinched tubes occur. Hook the lever under the bead and lift it over the rim edge, then slide the lever around the rim to complete the installation. For tubeless tires, skip the tube entirely but take extra care ensuring both beads are properly positioned before inflation begins.
Achieve Proper Bead Seating with Technique
Seating the bead requires patience and finesse—never brute force. The distinctive “pop” sound indicates successful seating as the bead locks into the rim’s channel.
Begin by installing the valve core (for tubeless) or ensuring your valve stem is secure. Add air in short bursts using your floor pump, checking the tire’s position after each addition. Watch both tire beads as you inflate, ensuring they move evenly toward the rim’s outer edges. If one bead seats while the other lags behind, release pressure and work the unseated section by hand before continuing.
For stubborn tires, apply your soapy water solution to the bead-rim interface. Work the lubricant into the contact points while gently shaking the tire to help it settle. Listen for the popping sound that typically occurs between 15-30 psi for most tires. Never exceed 40 psi during the initial seating phase—excessive pressure causes dangerous blow-offs that can damage both tire and rim.
Inflate to Correct Working Pressure
Once both beads have seated with that satisfying pop, continue inflating to your target pressure based on tire type, rider weight, and riding conditions.
Road bike tires generally require 80-130 psi, with narrower tires needing higher pressures. Mountain bike tires perform best between 20-35 psi for trail riding, while hybrid and commuter tires typically fall in the 40-70 psi range. Always check the sidewall of your tire for the manufacturer’s recommended pressure range.
Use your pump’s gauge to reach the middle of your tire’s recommended range, then adjust based on ride feel. Heavier riders should aim toward the higher end, while lighter riders can safely operate at lower pressures for better traction. Re-check pressure after your first ride, as new tires often show a slight pressure drop as materials settle.
Verify Complete Tire Seating Before Riding
Perform these critical checks before taking your bike out for a ride to prevent dangerous failures.
Visually inspect the tire from multiple angles, looking for sections where the bead might still sit in the rim’s center channel. The tire should appear perfectly round when viewed end-on, with no bulges or flat spots. Spin the wheel slowly, watching for consistent clearance between tire and frame or brake pads.
Press firmly on the tire with your thumb at several points around the wheel, checking that both beads feel equally secure. For tubeless tires, examine the bead interface for gaps or bubbles indicating an incomplete seal. Listen for hissing sounds and check for bubbles in soapy water applied to the bead area. Take a short test ride at low speed before heading out on your full route.
Fix Common Seating Problems Quickly

Even experienced mechanics encounter seating challenges—knowing how to resolve them saves time and prevents component damage.
If the bead won’t seat despite adequate pressure, check for size incompatibility, debris in the rim channel, or insufficient lubrication. Remove the tire and inspect both bead and rim thoroughly before reattempting with additional soapy water. For uneven seating, release pressure and work the tire by hand before reinflating.
Beads that pop off during inflation indicate excessive pressure or compatibility issues—never exceed 60 psi when seating tires. For persistent tubeless leaks, try warming the tire slightly (not with direct heat) to increase rubber flexibility. The most common solution? Simply release air, work the tire by hand, and restart the inflation process more slowly.
Apply Specialized Techniques for Different Tire Types

Road, mountain, and tubeless tires each require tailored approaches for successful seating.
Road bike tires benefit from careful hand installation before inflation due to their high-pressure requirements. Take extra time ensuring the tube lies perfectly flat inside the tire, as high pressures magnify any imperfections. Mountain bike tires with stiff casings often require more liberal use of tire levers during installation but lower initial seating pressures.
Tubeless setups present the greatest challenge—many mechanics use a booster pump for the initial blast of air needed to seat both beads simultaneously. Without specialized equipment, try rapidly removing and reinstalling the valve core during inflation to allow higher-volume airflow while pumping.
Maintain Properly Seated Tires for Maximum Life
Once correctly seated, proper maintenance extends your tire’s lifespan significantly.
Inspect tires before each ride for cuts, embedded debris, and proper inflation. Remove foreign objects from the tread before they work deeper into the casing. Monitor your rim for wear marks indicating excessive brake or tire contact. Keep tires clean, especially after muddy rides, as caked-on dirt accelerates wear.
Store bikes with tires slightly deflated during extended storage periods to prevent flat spots. Rotate tires front-to-back periodically if you notice uneven wear patterns, particularly on high-mileage bikes. These simple maintenance habits double the effective life of properly seated tires.
Mastering how to seat a bicycle tire properly transforms your riding experience from frustrating to flawless. By following these precise techniques instead of guessing, you’ll eliminate preventable flats and enjoy reliable performance mile after mile. The few extra minutes spent ensuring proper seating pays off in safety, reliability, and extended component life—making every ride more enjoyable. Practice these methods on different tire types until they become second nature, and you’ll never again wonder why your tire won’t stay seated.


