
Nothing kills the joy of a perfect bike ride faster than a sudden rear tire puncture miles from home. When your rear tire goes flat during a commute or trail adventure, knowing how to replace it efficiently transforms you from stranded rider to self-sufficient cyclist. Unlike front tire changes, rear tire replacement involves navigating the complexities of your bike’s drivetrain, cassette, and chain tension—all while working with a wheel that bears 60% of your combined weight. Mastering this essential skill means you’ll never have to abandon a ride or pay for unnecessary shop services. In the next few minutes, you’ll learn a systematic approach that gets you back on the road in under 45 minutes, regardless of whether you ride a road bike, mountain bike, hybrid, or e-bike.
This guide cuts through the confusion of rear tire replacement with actionable steps tailored to your specific bike configuration. You’ll discover why rear tire changes require different techniques than front tires, how to avoid common installation mistakes that cause repeat flats, and professional tricks for ensuring perfect bead seating every time. Whether you’re preparing for roadside emergencies or performing routine maintenance, these proven methods work for both tube and tubeless setups. By the end, you’ll have the confidence to handle any rear tire situation with the right tools, proper technique, and safety checks that guarantee a smooth ride.
Gather Essential Tools and Materials
Grabbing the wrong tools mid-replacement turns a simple job into a frustrating ordeal. Before touching your wheel, verify you have these non-negotiable items: two plastic tire levers (metal ones risk rim damage), a floor pump with pressure gauge, and a spare inner tube matching your tire size (usually printed on the tire sidewall). For rear wheel removal, identify your axle type—most modern bikes use quick-release skewers or thru-axles requiring a 5mm or 6mm hex key. Don’t forget a rag to wipe grime from your hands and work area.
Smart cyclists keep a dedicated tire repair kit in their saddlebag or pannier. This should include tire levers, two spare tubes, a mini pump, and a patch kit for emergency roadside fixes. For tubeless setups, add sealant, valve core tool, and a small container of tire sealant. Road cyclists should prioritize lightweight CO2 inflators for faster inflation, while mountain bikers benefit from carrying a tire boot to temporarily patch large sidewall cuts. Organize these items in a waterproof bag so you’re never caught unprepared when that dreaded “thump-thump” of a flat tire hits during your ride.
Prepare Your Bike for Rear Wheel Work
Skipping proper preparation leads to damaged derailleurs and pinched chains. Begin by shifting to your smallest rear cog—this slackens the chain for easier wheel removal. For rim brake bikes, squeeze the brake lever and flip the quick-release lever to disengage the brakes completely. Disc brake models don’t require brake disengagement, but avoid squeezing the brake lever while the wheel is out to prevent piston misalignment.
Stabilize your bike using the best method for your situation. A repair stand provides optimal access, but roadside repairs often require flipping the bike upside down—resting it on handlebars and saddle while supporting the frame. If you’re on a trail, position the bike against a tree with the drivetrain side facing up. For disc brake bikes, place a rag between rotor and caliper to prevent accidental lever squeezing. This preparation phase takes under two minutes but prevents 90% of common replacement mistakes that damage expensive components.
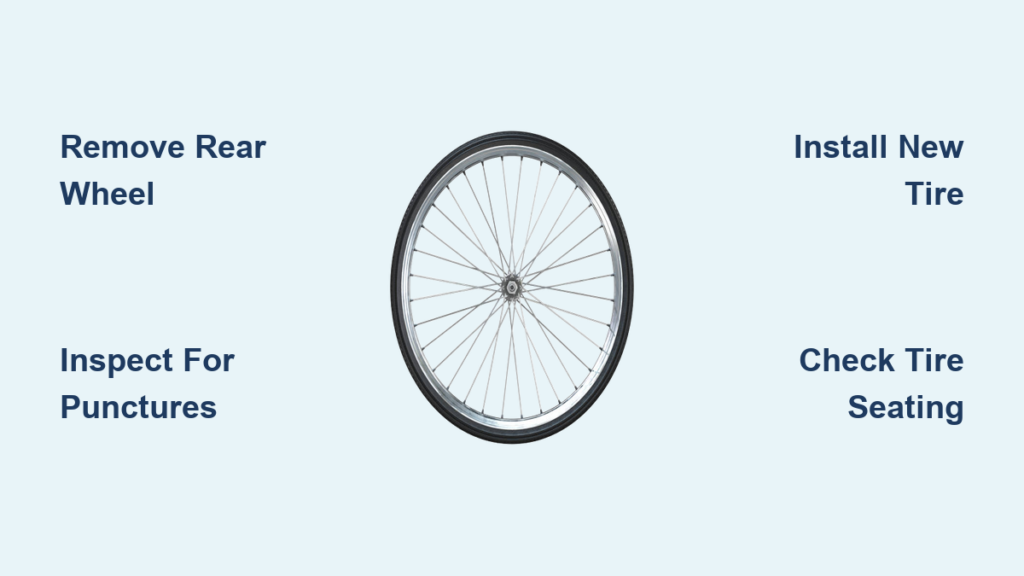
Remove the Rear Wheel Correctly

The rear wheel’s connection to your drivetrain demands careful extraction. Start by opening the quick-release lever or loosening the thru-axle—never force it if resistance feels excessive. For quick-release wheels, loosen the adjustment nut slightly before flipping the lever open. With the axle disengaged, gently pull the wheel backward while guiding the derailleur away from the cassette. The chain should naturally drop off the smallest cog as the wheel clears the frame.
If the wheel resists removal, check two common culprits: insufficient chain slack or brake rub. Shift to a larger cog to create more clearance, or verify your brakes are fully disengaged. Never yank the wheel—this can bend the derailleur hanger. Once free, place the wheel cassette-side up on your work surface. Take a quick photo of your derailleur position and brake alignment before proceeding; this visual reference speeds up reinstallation. For thru-axle systems, remember to keep the axle secure—you’ll need it for reassembly.
Take Off the Old Tire and Tube
Deflate the tube completely by pressing the valve core—unscrew Presta valves first to release air faster. Insert a tire lever between the tire bead and rim, hooking it over a spoke to hold position. Work your way around the wheel with a second lever, prying the tire bead over the rim edge. Focus on one side of the tire first, completely removing that bead before tackling the other side. When the first bead is off, carefully pull out the tube starting at the valve stem.
Examine the old tire meticulously for the puncture cause. Run your fingers along the interior surface to find embedded glass, thorns, or wire fragments—these often cause repeat flats if missed. Check both tire and rim for damage: look for cuts in the tire casing, protruding spoke ends, or damaged rim tape covering the spoke holes. If you find the culprit, remove it immediately. This inspection prevents the new tube from suffering the same fate as the old one within minutes of installation.
Install the New Tire Properly
Mounting requires precision to avoid pinched tubes and improper seating. Check your new tire for rotation arrows—mount it so the arrow points forward when installed. Start at the valve hole, pressing one bead onto the rim by hand. For the second bead, work gradually around the wheel rather than forcing one section. If resistance increases, deflate slightly and reposition—the tube may be pinching between tire and rim.
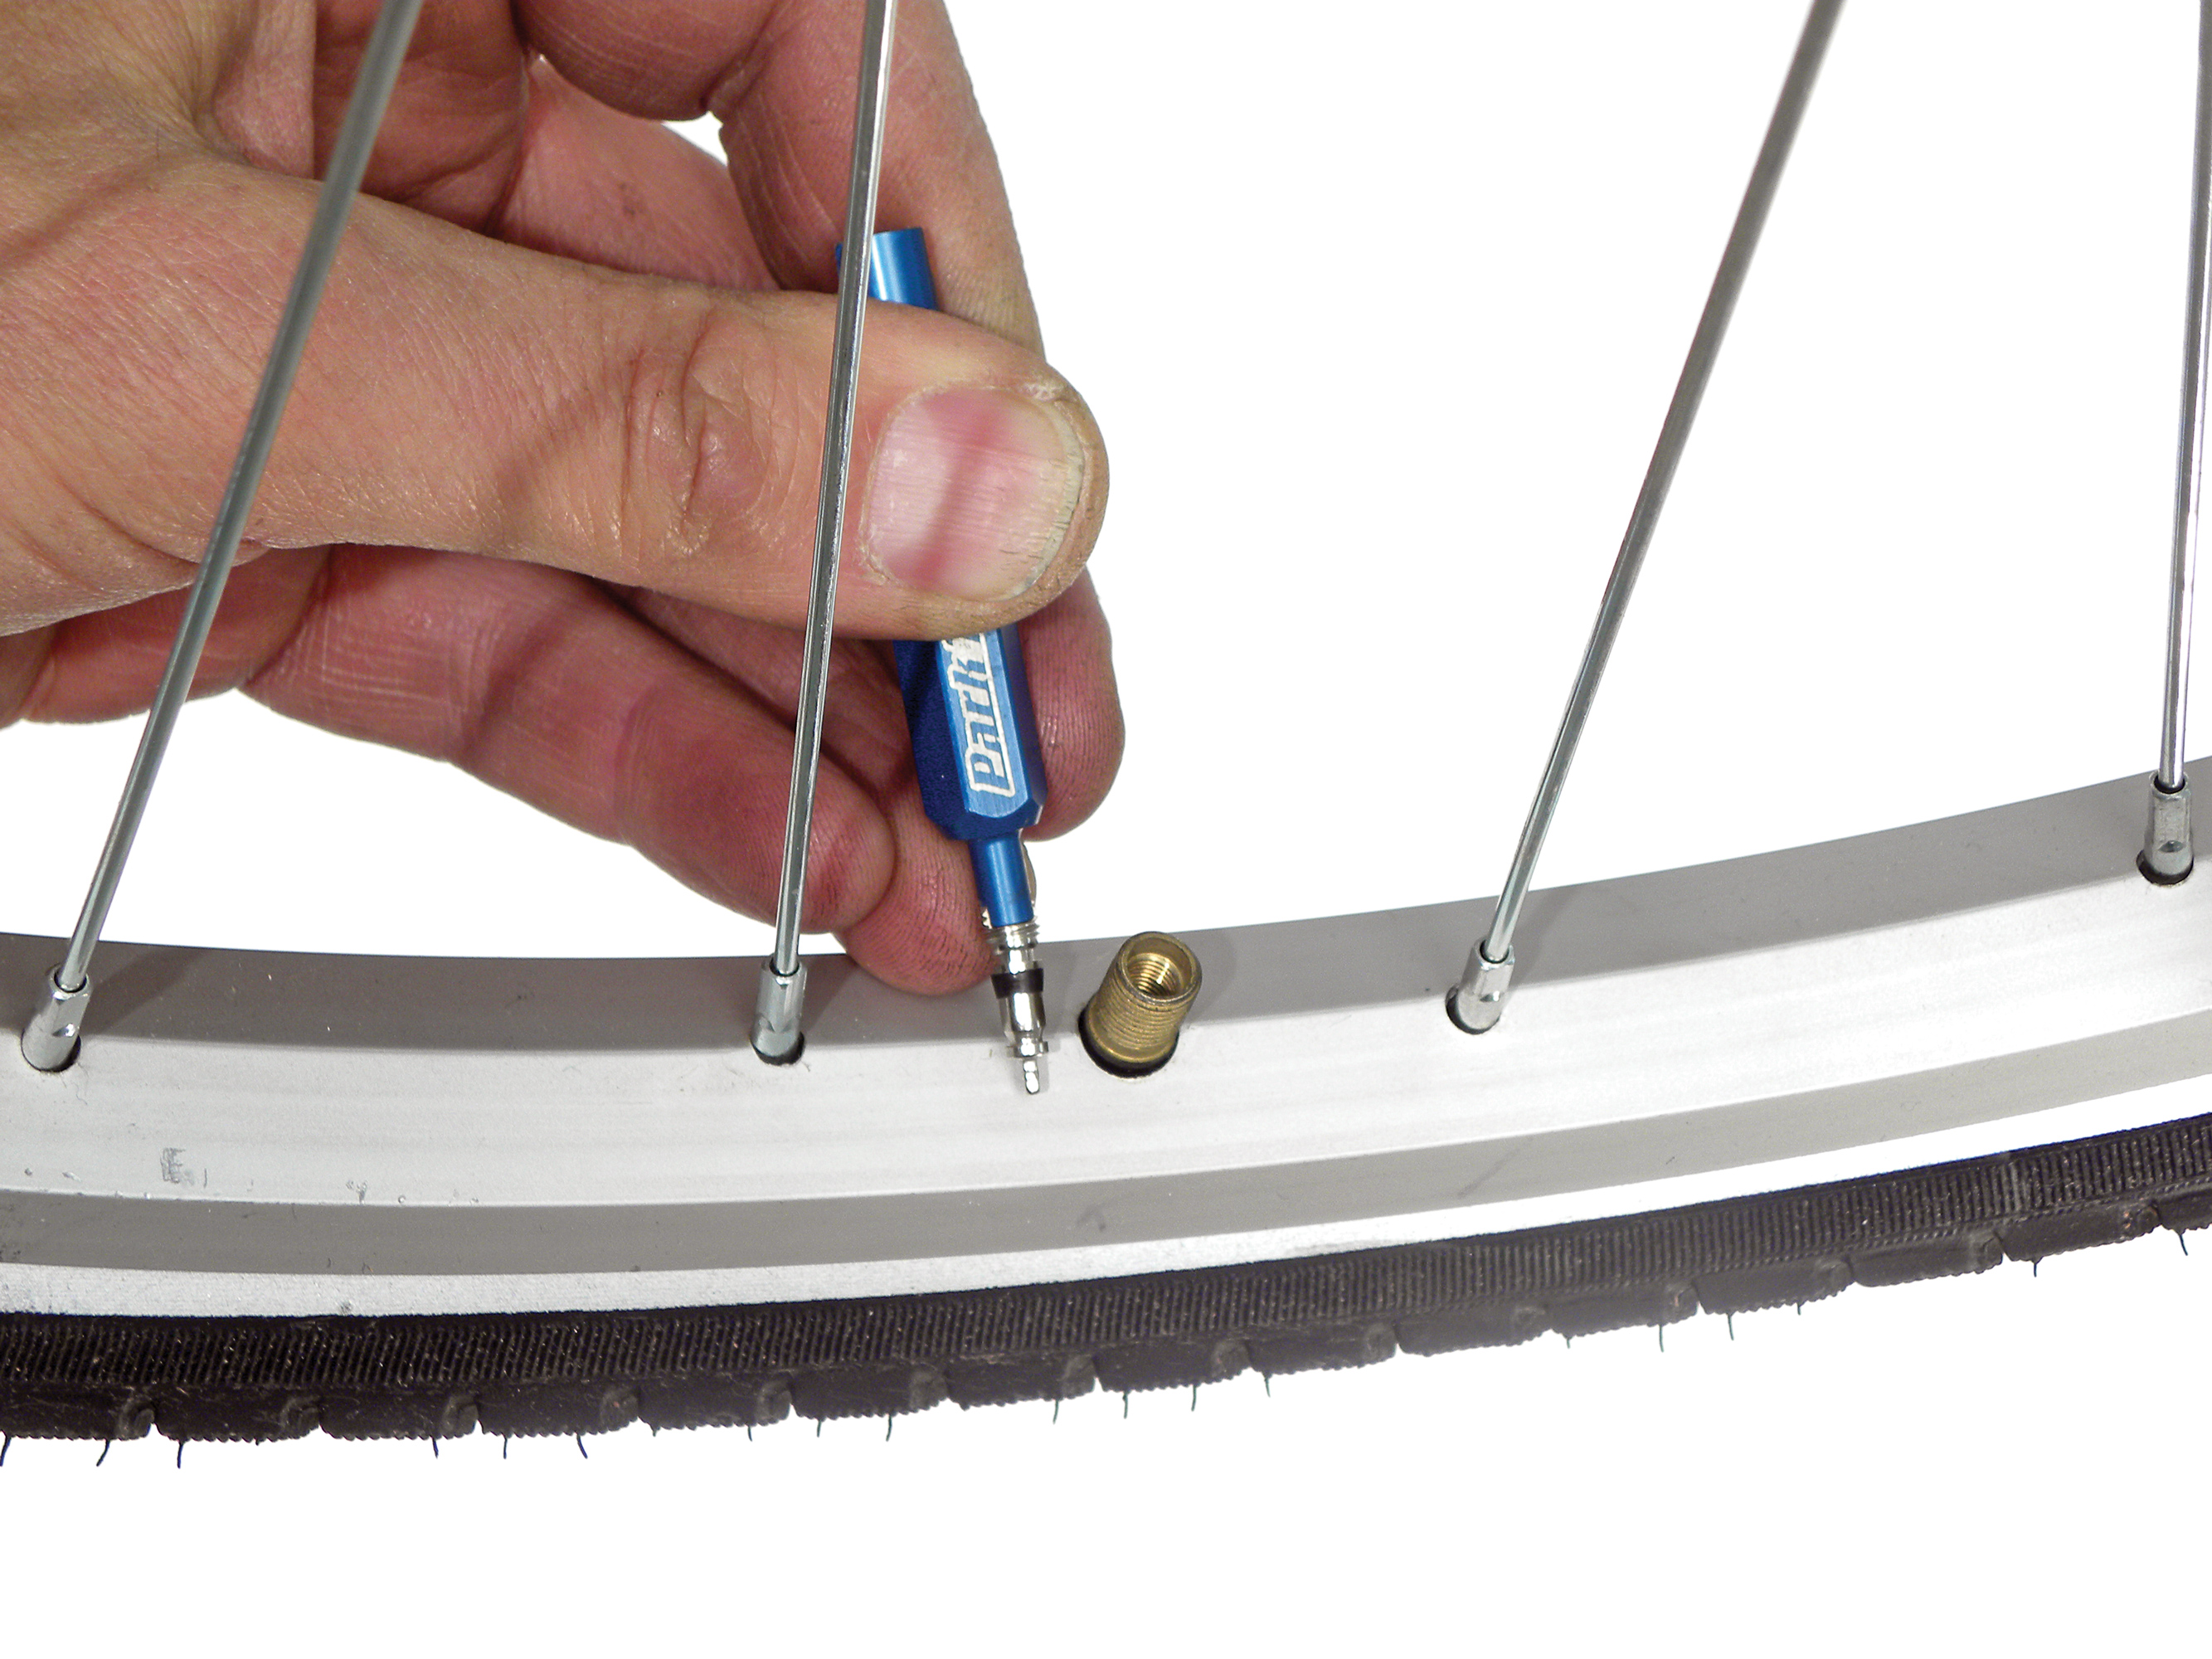
Special attention to the valve stem prevents frustrating leaks. Create a small depression in the tire around the valve hole, insert the valve through the rim, then gently pull the tube to ensure no folds exist. The tube should sit freely without tension. Before inflating, double-check that the tube isn’t trapped between tire and rim by running your fingers around the entire circumference. Proper installation prevents 80% of “mystery flats” that occur immediately after replacement.
Inflate and Seat the Tire Correctly
Initial inflation demands patience to avoid explosive bead pops. Begin with short pump bursts while checking both sides of the tire for even seating. Listen for distinct “pops” as the bead locks into the rim’s hook—this confirms proper seating. For road tires, inflate to 30-40 PSI first to verify seating before reaching your target pressure (usually 80-120 PSI). Mountain bike tires typically seat between 20-35 PSI.
Tubeless setups require different technique. Inflate rapidly to “burp” the sealant into place, then check for air leaks along the bead line. Add sealant through the valve stem if needed—most systems require 30-60ml depending on tire volume. Rotate the wheel to distribute sealant evenly, then wait 10 minutes before final inflation. Never inflate tubeless tires to full pressure immediately—this risks dangerous bead separation.
Perform Safety Checks Before Riding
Rushing this phase risks dangerous failures. Spin the wheel and verify 2-3mm clearance between tire and frame/brakes. Squeeze the tire sidewalls to check for soft spots indicating leaks. Ensure the wheel sits centered in the dropouts with equal spacing on both sides. Test brake function before your first pedal stroke—disc brakes may require lever pumping to re-engage pads.
Take a 5-minute test ride at low speed on smooth pavement. Listen for rubbing sounds and feel for vibrations that indicate improper seating. After 200 meters, stop and recheck tire pressure—some air loss is normal initially. Inspect the tire bead again for even seating all around the rim. These checks prevent 95% of post-replacement failures that could leave you stranded miles from help.
Extend Your New Tire’s Lifespan
Proactive maintenance doubles tire longevity. Check pressure before every ride using a reliable gauge—underinflation causes sidewall damage while overinflation increases puncture risk. Clean tires after muddy rides to prevent grit from working into the casing. Rotate tires every 500 miles by moving the rear tire to front position—this evens wear since rear tires wear 30-40% faster.
Replace tires when tread wear indicators disappear or when you notice frequent flats from worn casings. Store bikes indoors away from UV exposure, which degrades rubber compounds. For tubeless systems, refresh sealant every 3-6 months depending on riding conditions. These simple habits prevent premature replacements and keep you rolling safely.
Troubleshoot Common Replacement Issues
Persistent flats after replacement usually indicate missed debris or pinched tubes. Remove the tire again and inspect the rim tape—damaged tape exposes spoke holes that puncture tubes. For tires that won’t seat evenly, deflate completely and work the stubborn section by hand while applying soapy water to the bead. Never use excessive force with tire levers—this damages both tire and rim.
If your tube keeps blowing at the valve stem, you’ve likely pinched it during installation. Reinstall carefully, ensuring the valve sits straight through the rim hole. For tubeless tires that won’t hold air, check valve core tightness and add more sealant before reinflating. These solutions resolve 90% of post-replacement issues that frustrate novice mechanics.


