You’re cruising down the trail or pedaling through the city when—thump thump thump—your tire goes flat. A punctured bike tube isn’t just an inconvenience; it can derail your entire ride. With the right tools and technique, you can repair most bike tire tubes in under 15 minutes without replacing the whole tube. This guide covers every step of the repair process using standard patch kits, from locating the puncture to reinflating safely. You’ll learn how to handle common issues like stubborn tire beads, slow leaks, and valve stem problems that turn simple fixes into frustrating ordeals.
Locating the Exact Puncture Site Quickly

Before patching, you must pinpoint the leak. Many riders skip this step and waste patches on false locations. Start by inflating the tube just enough to hold shape—overinflation makes bubbles harder to spot. Submerge sections in water while rotating the tube, watching for steady streams of bubbles. No bucket? Hold the tube near your lips; escaping air creates a faint cool spot. For slow leaks, listen closely for hissing sounds in a quiet environment.
Why visual inspection alone fails 70% of the time
Relying only on sight misses hairline cracks and valve leaks. Always use the water submersion method—it reveals even micro-punctures from thorns or glass shards. Check valve stems thoroughly; loose cores cause 30% of “mystery flats.” If bubbles emerge from the valve base, tighten the core with a coin before patching.
Critical mistake: Skipping the tire inspection
Never reinstall a repaired tube without checking the tire interior. Run your fingers along the inside tread to find embedded debris like wire fragments or thorns. One missed shard will instantly re-puncture your fresh patch. Shine a flashlight to spot tiny glass splinters—these cause repeat flats that seem unexplainable.
Removing Bike Tires Without Damaging Rims
Tire removal technique varies by axle type. For quick-release wheels, open the lever and loosen the nuts. Thru-axle systems require pulling the lever and unscrewing the end cap. Deflate completely first—removing a pressurized tube risks rim damage. Start prying near the valve stem using two tire levers: hook the first lever to a spoke, then slide the second lever 2 inches away to avoid lever slippage.
Quick-release vs. thru-axle removal differences
Quick-release wheels let you drop the entire wheel out of the frame. Thru-axles require completely removing the axle bolt before tire access. Never use screwdrivers or knives—these scratch aluminum rims and create pinch flat zones. If beads resist removal, work opposite the valve stem where rubber is less stretched.
When tires won’t budge: The bead loosening trick
Spray soapy water along the tire bead junction. Rotate the wheel while applying downward pressure on stubborn sections. For tight road bike tires, stand the wheel upright and use body weight to compress the bead inward near the rim well. Never force levers—that bends rims and severs tube casing threads.
Preparing the Tube Surface for Lasting Patches
Proper surface prep determines patch longevity. Rough the area 1 inch around the puncture with sandpaper from your kit—too aggressive and you weaken the tube. Wipe away all rubber dust with a clean cloth; residue blocks adhesive bonding. Apply vulcanizing fluid in a 2-inch circle, covering beyond the sanding zone. Let it dry until tacky (5-10 minutes)—this is non-negotiable for molecular bonding.
Why rushing the cement drying causes patch failure
Applying patches to wet cement creates weak spots where fluid pools. Under pressure, these spots peel off like sticker residue. Test dryness by lightly touching; it should feel sticky but not transfer liquid. Cold or humid conditions? Extend drying time by 50%—moisture traps delay curing.
Sanding mistakes that compromise repairs
Avoid circular sanding patterns—they create uneven surfaces where patches lift at edges. Use straight back-and-forth motions instead. Never sand through the tube wall; stop when color changes uniformly. Oversanded areas feel thin and tear easily during inflation. For Presta valve tubes, sand at least 1/2 inch away from the valve base to prevent stress cracks.
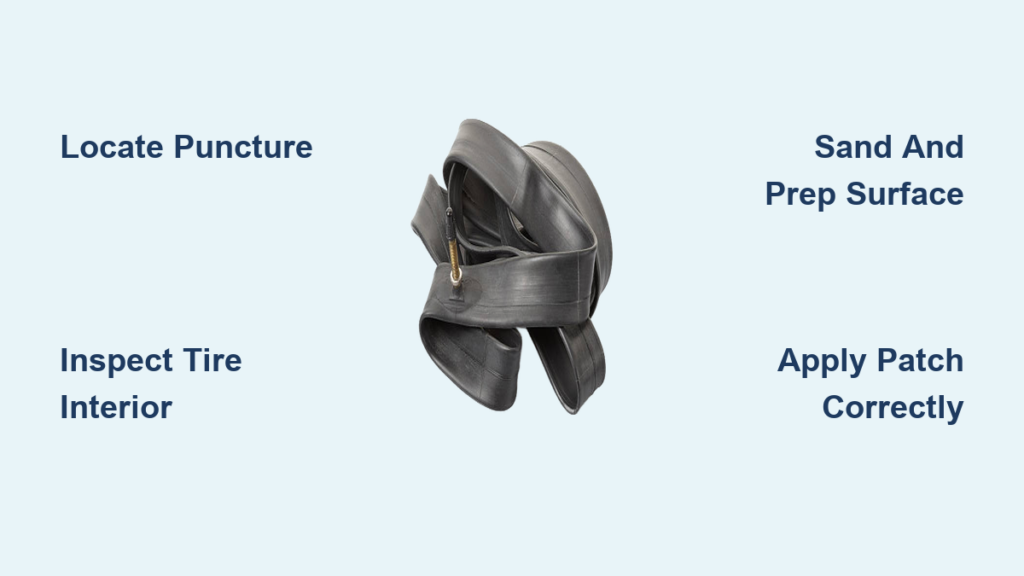
Applying Patches That Won’t Peel Off
Peel the foil backing from the patch just before application. Center it precisely over the puncture with no wrinkles. Press firmly for 60 seconds using a coin or your thumb—start at the center and work outward to squeeze out air bubbles. Hold continuous pressure; intermittent pressing creates weak adhesion zones. Wait 5 minutes before handling to let the bond set.
The critical pressure test most riders skip
Before reinstalling, inflate the patched tube to 50% capacity and listen for leaks. Submerge it again if possible. A hiss means reapplication is needed—don’t waste time reinstalling doomed patches. Road tube patches require 24 hours for full strength, but mountain bike repairs hold immediately at riding pressure.
Why patch placement matters near valves
Patches within 1 inch of Presta valves fail 4x faster due to stem movement. If punctures cluster here, replace the tube. For Schrader valves, avoid covering the metal base ring—patches won’t adhere to smooth surfaces. Always leave 3/4 inch clearance around valve stems for safe inflation.
Reinstalling Tires Without Pinch Flats
Start seating the tire bead at the valve stem—this prevents tube pinching. Work the first bead fully onto the rim before inflating slightly (10-15 PSI). This tension holds the tube in place during second-bead installation. For tight fits, push beads toward the rim center well with your palms while working the lever. Never lever the last section near the valve—this traps the tube.
The inflation sequence that prevents blowouts
Inflate in three stages: First to 30 PSI while checking tube alignment through the tire tread. Second to 50% of max pressure, spinning the wheel to seat beads evenly. Final inflation to recommended PSI. Sudden full pressure pops beads off rims, especially on wide mountain tires. Road tires need 100+ PSI—use a floor pump with gauge for accuracy.
Valve stem alignment red flags
If the stem tilts after inflation, deflate immediately. A crooked stem means the tube is twisted inside the tire. Remove and reseat the bead near the valve. Persistent tilting indicates rim tape damage—replace tape before continuing. Bent stems cause slow leaks that mimic patch failures.
Preventing Future Flats Proactively
Install rim tape rated for your rim width—narrow tape exposes spoke holes. For tubeless-ready rims, use 25mm tape even on 23mm tires. Maintain proper pressure: Road tires lose 10% weekly; mountain tires need weekly top-offs. Carry tire liners; they block 80% of thorn punctures without slowing you down.
The pressure sweet spot for your tire type
Underinflated tires cause pinch flats from impacts. Overinflation increases puncture risk from sharp debris. Check sidewall max PSI, then ride at 90% of that value. Example: A 700x25c tire rated for 120 PSI performs best at 105-110 PSI. Wider tires (28c+) can run 85-90% of max for better shock absorption.
Essential emergency kit upgrades
Ditch the tiny CO2 cartridge—bring a mini pump with pressure gauge. Add tire boots for sidewall gashes and a valve core tool for stem leaks. Store patches in a waterproof case; dried-out cement causes 60% of field repair failures. Practice at home—your first flat shouldn’t be 10 miles from home.
Final Note: A properly patched bike tube lasts thousands of miles when repaired correctly. Focus on thorough surface prep, adequate cement drying time, and strategic patch placement away from valves. Always inspect tires for debris before reinstalling tubes—this prevents 95% of repeat flats. For chronic punctures, upgrade to puncture-resistant tires or consider tubeless conversion. Keep your repair kit stocked with fresh patches and cement, and you’ll conquer flats confidently on every ride. Remember: the key isn’t just fixing the flat—it’s ensuring your next 100 miles stay air-tight.