
That sinking feeling when you spot fresh black streaks across your freshly washed vehicle is all too familiar to car owners. These unsightly tire scuff marks from rubber transfer can appear overnight after routine driving or parking, instantly ruining your car’s appearance. The good news is most tire scuff marks sit only on the surface of your clear coat layer, meaning you can often remove them yourself without expensive professional detailing. This guide delivers proven, step-by-step methods for eliminating those frustrating black streaks while protecting your paint finish.
Why Your Car Gets Tire Scuff Marks
Tire scuff marks, commonly called paint transfer, happen when rubber compounds bond to your vehicle’s painted surface. The natural oils in tire rubber create that stubborn black residue you see after contact with another vehicle’s tires. Understanding how these marks form helps you choose the right removal strategy and prevent future damage.
Common scenarios that cause tire scuff marks include close-following at high speeds where debris gets thrown from other vehicles’ tires, parking lot encounters with curbs or adjacent vehicles, and even minor contact during routine driving. Tire blowouts on nearby vehicles can spray rubber fragments across your paintwork, creating scattered marks that seem to appear out of nowhere. The critical distinction between surface scuffs and deeper scratches determines your removal approach—scuffs affect only the clear coat layer, while scratches penetrate into the paint itself.
Perform the fingernail test to confirm what you’re dealing with: lightly run your nail across the mark. If it glides smoothly without catching, you have a surface scuff that responds well to non-abrasive methods. If your nail catches in a groove, you’re dealing with a deeper scratch that may require professional attention.
How to Identify Scuff vs. Scratch Damage
Before reaching for cleaning products, properly assess the damage to avoid using overly aggressive techniques on simple scuffs. Examine the affected areas in good lighting—natural sunlight or bright LED work lights work best. Surface scuffs typically appear as dark streaks that wipe away partially with finger pressure, while deeper scratches show visible grooves in the paint.
Consider when the scuffing occurred and how long the marks have been present. Fresh tire scuff marks from within the past few days often respond to simple solvent application, while marks that have sat for months or years may require multiple treatment sessions. This doesn’t mean older scuffs are impossible to remove—it simply means you should plan for a more patient, progressive approach.
Must-Have Supplies for Effective Scuff Removal
Gathering the right supplies before you begin saves time and frustration during the removal process. The method you choose determines which products you need, so having options available allows you to progress through removal strategies efficiently.
Chemical Solvents That Break Down Rubber Transfer:
– Bug and tar removers (Meguiar’s or Turtle Wax)
– WD-40 (versatile for both prevention and removal)
– Lighter fluid (gentler alternative to gasoline)
– Goof-Off commercial solvent (for stubborn marks)
Abrasive Compounds for Stubborn Marks:
– Meguiar’s Ultimate Compound (excellent for rubber marks and micro-scratches)
– Meguiar’s Cleaner Wax (decades of proven effectiveness)
– Rubbing compound (last resort for clear coat damage)
– Brasso metal polish (surprisingly effective for light damage)
Physical Cleaning Tools:
– Melamine sponges (Magic Eraser or generic equivalents without detergent)
– Clay bars or synthetic clay mitts (for embedded contamination)
– Multiple microfiber towels (switch frequently to avoid reintroducing material)
Bug and Tar Remover Method for Fresh Scuffs
Start with this non-abrasive approach for scuff marks less than a week old. Begin by washing the affected area thoroughly to remove loose dirt that could scratch your paint during treatment. Work in a shaded area to prevent solvents from drying too quickly.
Apply bug and tar remover to a clean microfiber rag (not directly to the paint) and press against the scuff mark with gentle pressure. Rub in straight lines rather than circles, working in small sections. Allow the product to dwell for 30-60 seconds before gently wiping away the loosened material.
For stubborn marks, repeat the application 2-3 times with fresh sections of your rag each time. Most fresh scuffs disappear after 3-5 minutes of patient work with this method. If you don’t see improvement after three applications, move to the melamine sponge technique.
Magic Eraser Technique for Paint and Wheel Scuffs
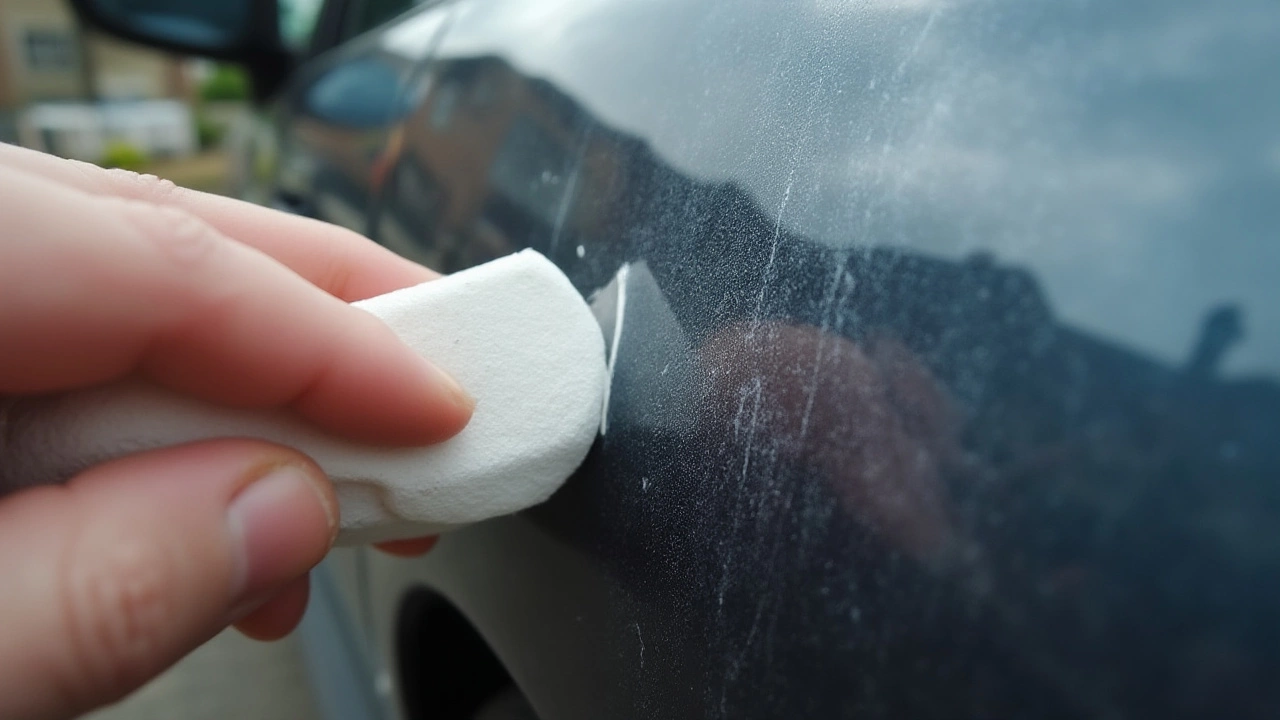
When chemical solvents fall short, the melamine sponge technique offers remarkable effectiveness at minimal cost. These micro-abrasive sponges mechanically remove transferred rubber without requiring specialized compounds.
Wet the sponge thoroughly with plain water and wring out excess moisture. Lightly scrub the scuff marks using gentle pressure and straight-line motions. Fresh scuff marks often disappear in just 30 seconds of gentle scrubbing, while stubborn marks may require approximately 14 strokes per spot.
This method works equally well on both painted surfaces and wheels, making it particularly valuable when scuffing appears across multiple areas of your vehicle. The simplicity is a major advantage—you don’t need to worry about chemical reactions or proper ventilation. Simply scrub, rinse, and evaluate your progress.
Professional-Grade Clay Bar Treatment
For scuff marks that resist both solvents and melamine sponges, clay bar treatment provides deep contaminant removal. Break off a golf ball-sized piece of clay and knead it until pliable. Spray the affected area with dedicated clay lubricant or a water-and-soap mixture.
Glide the clay bar back and forth over the lubricated surface using light pressure. You’ll feel resistance as the clay picks up contamination—that resistance decreases as the contamination is removed. If you drop the clay at any point, discard it immediately to avoid scratching your paint.
Synthetic clay mitts offer a practical alternative—they can be rinsed clean if dropped and reused many times. After claying, wipe the area with a clean microfiber towel. At this point, most surface-level scuff marks have significantly improved or disappeared entirely.
Compound Polishing for Persistent Scuff Marks
When scuff marks persist after chemical and clay treatments, compound polishing addresses both remaining rubber transfer and any micro-scratches introduced during previous attempts. Select Meguiar’s Ultimate Compound for best results.
Apply four 1/4-inch drops of compound to your buffing pad, then spread it across the affected area using your polisher at the lowest speed setting. Once coverage is complete, increase to the highest speed setting and work with light to medium pressure using slow, overlapping passes.
Check progress every 30 seconds by wiping away compound with a clean microfiber towel. The compound turns from opaque to clear as the abrasives break down, indicating when that section has been adequately treated. Continue until the scuff marks have faded, then wipe clean.
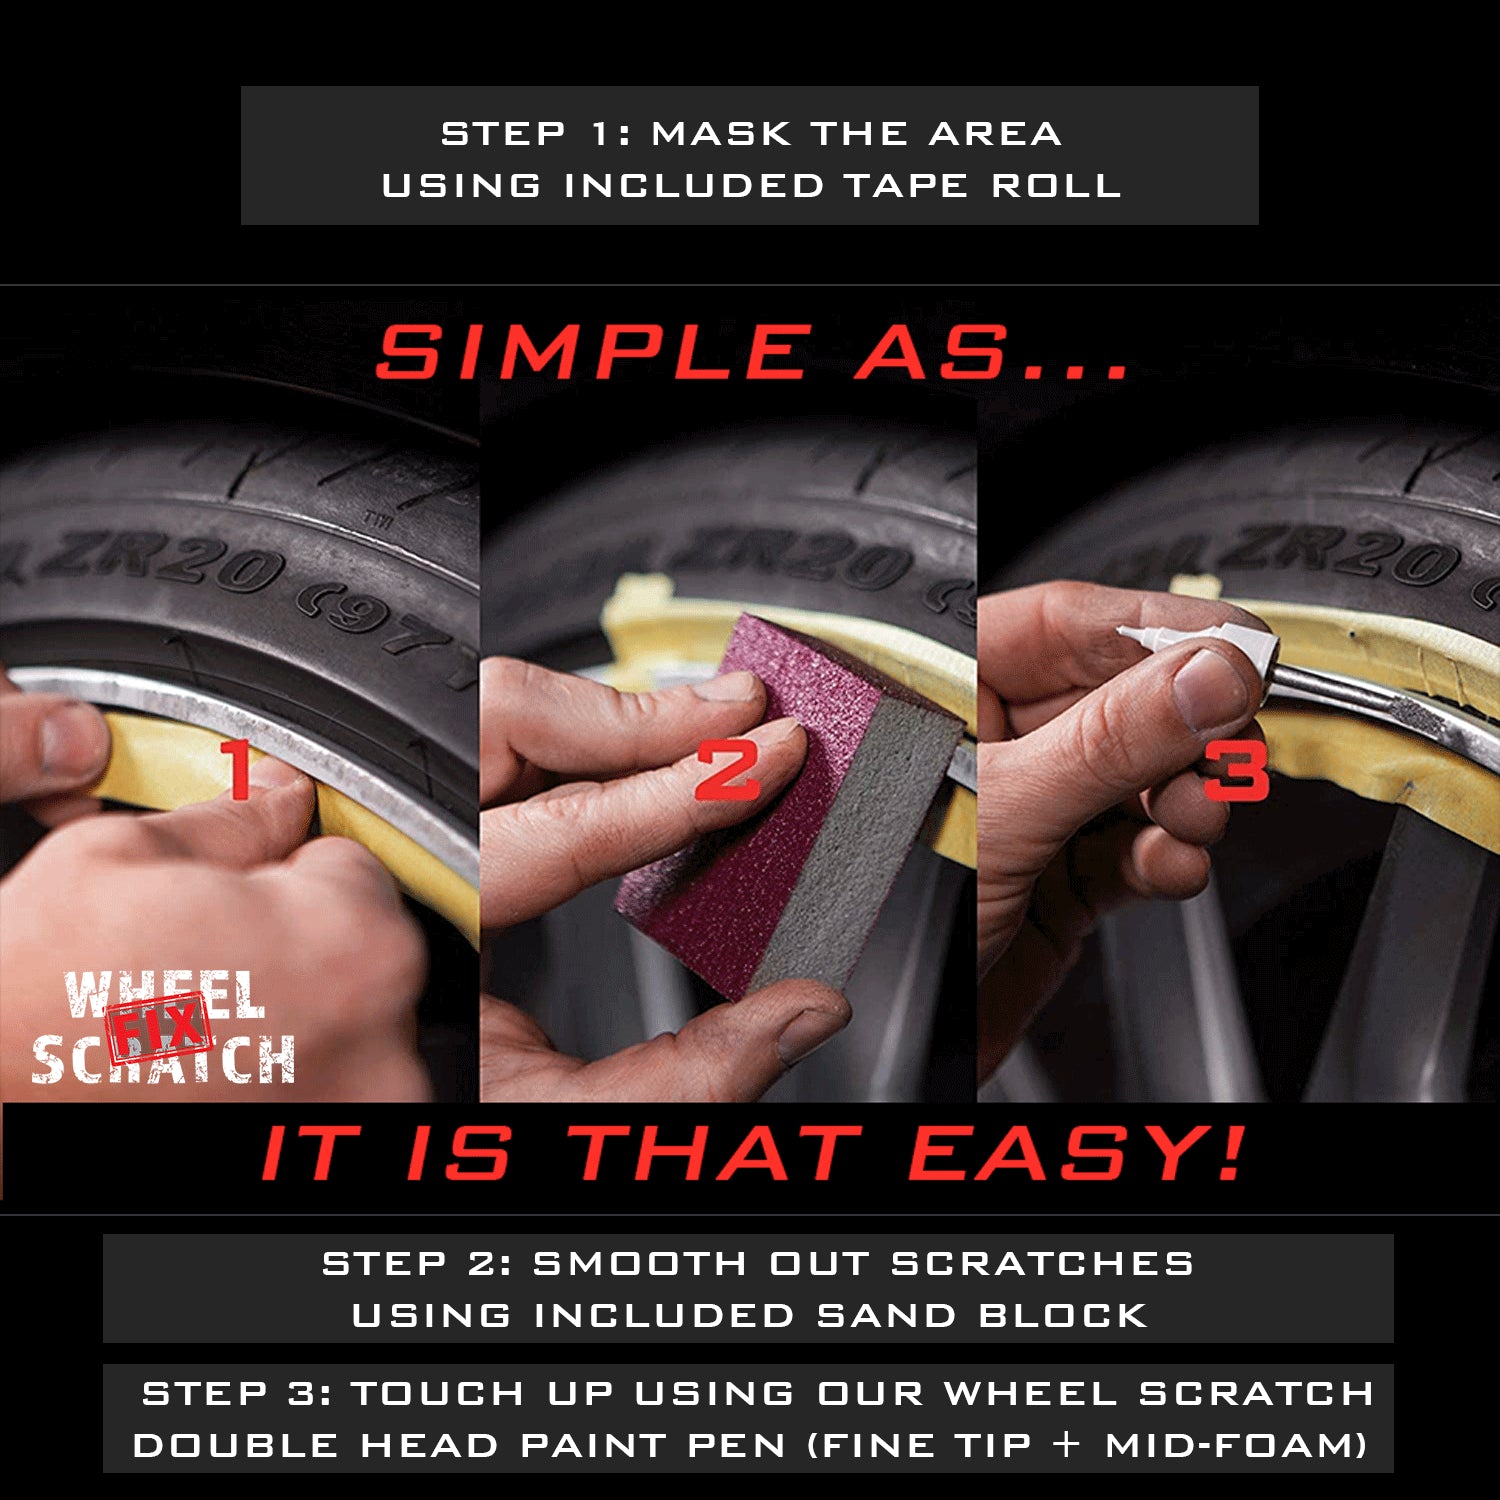
Repairing Clear Coat Damage from Severe Scuffs
For scuff marks that have actually damaged the clear coat, follow this two-step process. First, test any aggressive treatment in an inconspicuous area to ensure your paint finish can tolerate the process.
Apply rubbing compound with a foam pad using moderate pressure in small circular motions. Check progress frequently—stop when the scuff disappears to avoid creating a visible depression. Immediately follow with a polishing compound to restore gloss to the treated area.
Finish by applying car wax to the repaired area and surrounding panels to restore protection and ensure consistent appearance. For small areas of bare paint visible after treatment, apply touch-up paint in thin layers with a fine brush, allowing each layer to dry completely before applying the next.
Proven Prevention Strategies to Avoid Future Scuffs
Stopping tire scuff marks before they occur saves time and frustration. Maintain adequate following distance when driving behind other vehicles, especially on highways or at track events. When you see a tire blowout on another vehicle, safely position your car to minimize exposure to the spray zone.
For track enthusiasts, pre-coating wheels with WD-40 before sessions helps prevent tire marks from adhering—just be careful to avoid getting it on the tire surface where it could affect traction. Regular washing and detailing prevents rubber from bonding deeply to your paint surface.
When parking in tight spaces, visualize your tire positions relative to adjacent vehicles and obstacles. Some drivers use protective films on vulnerable areas like bumpers and side mirrors, creating a barrier that accepts scuffing while protecting the underlying paint.
When Professional Detailing Is Worth the Investment
While most tire scuff marks respond to DIY treatment, certain situations warrant professional help. Extensive scuffing covering large panels or multiple areas may overwhelm home methods, particularly if the marks have accumulated over years without treatment.
Scuffing resulting from accidents or hit-and-run incidents may qualify for insurance coverage. Document the damage with photographs and obtain professional estimates before filing claims. Deep scratches that penetrate through the clear coat into the primer or metal layer require professional assessment—attempting aggressive DIY removal often creates visible low spots that look worse than the original damage.
Final Waxing and Protection Steps
After successfully removing tire scuff marks, proper finishing ensures consistent appearance across all treated surfaces. Apply car wax to the treated area using a foam applicator pad, working in thin, even coats. Many detailers recommend waxing the entire panel—not just the treated section—to ensure the finish matches surrounding areas.
Inspect your work in various lighting conditions, as early morning or late afternoon sun reveals imperfections that indoor lighting might miss. Store your remaining supplies properly—keep melamine sponges in sealed containers, wrap clay bars in their original packaging, and store compounds in climate-controlled locations.
By following this progressive approach—from gentle solvents to more aggressive compounds as needed—you can restore your vehicle’s appearance while protecting its paint finish. Start with the least aggressive method appropriate for the situation, maintain patience throughout the process, and your car will look showroom-fresh again without expensive professional services.


