
Picture this: You’re miles from the nearest service station with a shredded tire, and you’ve just discovered your Mercedes Sprinter’s spare tire isn’t in the trunk or under the hood like most vehicles. Unlike conventional cars, the Sprinter tucks its spare underneath the rear of the van in a steel cage carrier—a space-saving design that leaves cargo room intact but creates confusion when you need to access it quickly. Knowing exactly how to remove spare tire from Mercedes Sprinter prevents roadside panic and gets you back on the road faster.
This guide covers the specific process for VS30 generation Sprinters (2019 models and newer), where Mercedes relocated all emergency tools under the front passenger seat—a major shift from previous models. You’ll learn the precise sequence for releasing the carrier hooks, proper techniques for lowering the heavy steel cage safely, and critical torque specifications you must follow to avoid damaging your vehicle. Whether you’re preparing for potential emergencies or currently stranded with a flat, this step-by-step procedure ensures you can access your spare tire efficiently.
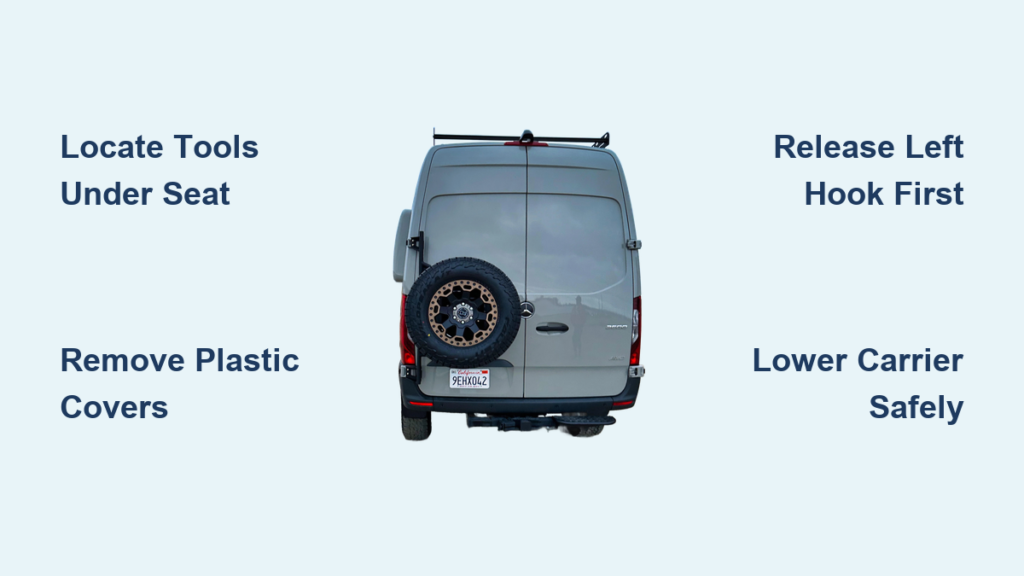
Locate Emergency Tools Under Front Passenger Seat
Before attempting to lower the spare tire carrier, you must gather the required tools from their storage location—a crucial first step many owners miss when searching in traditional spots like the rear cargo area.
Remove Tool Compartment Cover Correctly
Start by locating the pad covering the storage compartment beneath the front passenger seat. This pad is secured by two screws that require only a 1/4 turn counterclockwise to release. Push up from the bottom edge of the pad after loosening the screws, then lift it straight out to expose the tools underneath. If you’re working in low light conditions, use your phone flashlight to clearly see the compartment contents before reaching in blindly.
Identify All Necessary Tools Before Starting
Beneath the pad, you’ll find the tow bar and additional tools specific to your van’s configuration. The hydraulic jack and spare tire rack lift bar reside in the “STEPPING BOARD” compartment—lift this board up and slide it out of its pocket to access them. The jack handle comes in three pieces and stores in the spare tire rack itself, serving dual purposes for both vehicle lifting and carrier manipulation. If your lug wrench isn’t immediately visible, check underneath remaining flooring in the passenger area, as Mercedes tool configurations vary by market and van specification.
Access Rear Step Release Mechanism Correctly
With your tools gathered, move to the rear of the van and open both rear doors to expose the section of the step hidden when doors are closed—a step many first-time users overlook when searching for the release mechanism.
Locate Hidden Plastic Covers in Rear Step Area
Examine the rear step area where it meets the rear bumper. You should see two small plastic covers positioned in the lower section of the step—these protect the release mechanism bolts and snap into place with small retaining clips. These covers are positioned approximately 6 inches apart on either side of the step, directly above where the spare tire carrier hooks engage with the chassis.
Safely Remove Plastic Covers Without Damage
Use a flat head screwdriver to carefully pry each cover upward, working from the outer edge toward the center to avoid breaking the plastic tabs. Apply gentle pressure while working the screwdriver tip under the edge, then slide it along the perimeter to release all retaining clips. Set these covers aside in a safe location since you’ll need to reinstall them after completing your tire change—losing them means dirt and moisture will enter the bolt mechanisms.
Release Carrier Hooks in Proper Sequence (Critical!)

This is where most Sprinter owners encounter problems—releasing the hooks in the wrong order makes the carrier difficult to manage or causes it to swing unexpectedly. You must release the driver’s side (left side when facing the rear) first, then proceed to the passenger side (right side).
Left Side First: Loosen Driver’s Side Bolt Completely
Begin with the left bolt, turning it counterclockwise with your lug wrench. You’ll need approximately 20 full turns to fully release this hook from the carrier—this might feel excessive, but the bolt must retract completely to disengage its hook. Don’t attempt to rush this process or remove the bolt entirely; you only need to loosen it enough to release the hook’s grip while keeping the bolt in place.
Right Side Second: Complete Passenger Side Release
Only after completing the left side should you move to the right bolt. Loosen this bolt counterclockwise as well, though you won’t need as many turns once the left side is already released. The carrier’s design means the left hook bears more initial load, which is why sequence matters—reversing this order can cause the carrier to bind or become difficult to lower smoothly.
Lower Spare Tire Carrier Without Strain
With both hooks released, the carrier can now be lowered, but its weight and awkward angle make this step challenging for many owners, especially when working alone on uneven ground.
Single-Person Carrier Lowering Techniques
The most effective single-person method involves inserting the spare tire rack lift bar into the right side of the rack and using it as a lever. Hook the extensions into the edge of the spare wheel cage for additional leverage while carefully lowering the carrier. Keep your feet firmly planted and bend at the knees rather than your waist to avoid back strain during this maneuver.
Using Your Hydraulic Jack as Mechanical Advantage
Position the hydraulic jack beneath the center of the rear rack bar—the horizontal bar supporting the spare tire. Pump the jack to raise the carrier slightly, which takes weight off the hooks and allows smoother manipulation. This technique works in reverse too: raising the carrier with the jack makes it easier to engage or disengage the hooks without straining. Lower the carrier until it rests on the ground with the spare tire fully accessible.
Remove Spare Tire from Carrier and Inspect
With the carrier lowered to its lowest position, carefully drag the spare tire out from its holder along the carrier rails. Pull it toward you steadily until it clears the rack structure entirely—don’t yank or twist the tire, as this could damage the carrier.
Safely Slide Spare Out of Holder Rails
Grip the tire near the bottom edge and pull it straight toward you in a smooth motion. The wheel should slide easily along the rails if the carrier is fully lowered. If you encounter resistance, double-check that both release bolts are sufficiently loosened—partial release can cause the carrier to bind during tire removal.
Essential Spare Tire Condition Checks
Before attempting to mount the spare, inspect its condition thoroughly. Check tread depth for adequate grip and look for visible damage, dry rot, or age-related deterioration. Sprinters sometimes carry compact spare tires with limited load ratings—verify that your spare is appropriate for your vehicle’s weight and immediate driving needs. A severely degraded spare won’t help you in an emergency, so replace it proactively during routine maintenance.
Proper Reinstallation Sequence After Tire Change

After completing your tire change, you must rehook and secure the spare tire carrier before driving—a critical safety step many owners neglect when eager to continue their journey.
Right Side First: Secure Passenger Side Hook
Begin by raising the carrier back to its mounted position using the jack technique described earlier. Place the jack under the center of the rear rack bar and pump it to lift the carrier until the hooks can be engaged. Tighten the RIGHT side bolt first, then proceed to the left side—this sequence ensures even tension across both hooks and prevents the carrier from pulling to one side.
Left Side Second: Complete Driver’s Side Engagement
Use your lug wrench to snug both bolts securely, but remember these aren’t lug nuts—they don’t require full wheel torque specifications. Replace the plastic covers over the bolts with firm pressure until you hear the retaining clips engage. Press down on each cover from multiple angles to ensure they’re fully seated and won’t pop loose while driving.
Critical Torque Specifications You Must Know
Proper lug bolt torque prevents wheel damage and ensures safe vehicle operation, but Mercedes specifies different values depending on your wheel configuration.
Steel Wheel vs. Alloy Wheel Lug Bolt Requirements
For OEM steel wheels with short lug bolts, torque to 177 ft/lbs (240 Nm). If your van has factory alloy wheels, the specification drops to 133 ft/lbs (180 Nm) using the longer lug bolts designed for alloy wheel mounting. Dual rear wheel models (3500 and 4500 USA spec) use lug nuts torqued to 133 ft/lbs on the rear wheels.
Avoid Costly Damage with Correct Bolt Length
When mounting an OEM steel spare wheel on a van normally equipped with alloy wheels, you MUST use the 6 short lug bolts from your tool kit. The longer bolts designed for alloy wheels will damage the steel spare wheel’s mounting surface and compromise wheel stud integrity—a mistake that causes expensive repairs. The factory-supplied lug wrench is inadequate for proper service; invest in a flank drive impact socket and torque wrench capable of 250 ft/lbs for safe tire changes.
Common Sprinter Spare Tire Problems and Fixes
Missing Lug Wrench: Where to Look Beyond Main Compartment
If the lug wrench isn’t visible in the main tool compartment, check underneath remaining flooring in the front passenger area. Some Sprinter configurations store tools differently based on market destination—UK-spec vans often include the wheel wrench where US models might not. When tools remain missing, your van may have a different factory specification based on intended use case.
Carrier Reinstallation Challenges and Solutions
Reinstalling the carrier solo proves difficult for many owners. The jack method—placing the hydraulic jack under the center of the rear rack bar—provides essential mechanical advantage that makes this task manageable alone. Without this technique, you’ll struggle to lift the carrier high enough to engage both hooks simultaneously. Always verify the carrier is securely fastened before driving—loose carriers can swing and strike obstacles at highway speeds.


