
That unmistakable scraping sound when your wheel hits the curb sends a shiver down any car owner’s spine. Suddenly, your pristine rims bear an unsightly scratch that seems impossible to ignore. The good news is that most rim scratches are repairable without professional help, saving you hundreds of dollars in restoration costs. Whether you’ve got minor scuffs from parking mishaps or deeper damage from road debris, this guide shows exactly how to remove scratches from tire rims using proven DIY techniques that deliver professional-looking results.
You’ll discover which repair method works best for your specific wheel type and scratch severity, learn the common mistakes that ruin DIY attempts, and get step-by-step instructions that anyone can follow. Most repairs take less than an hour with basic tools you likely already own. Let’s transform those eyesore scratches into smooth, gleaming rims that make your vehicle look showroom-fresh again.
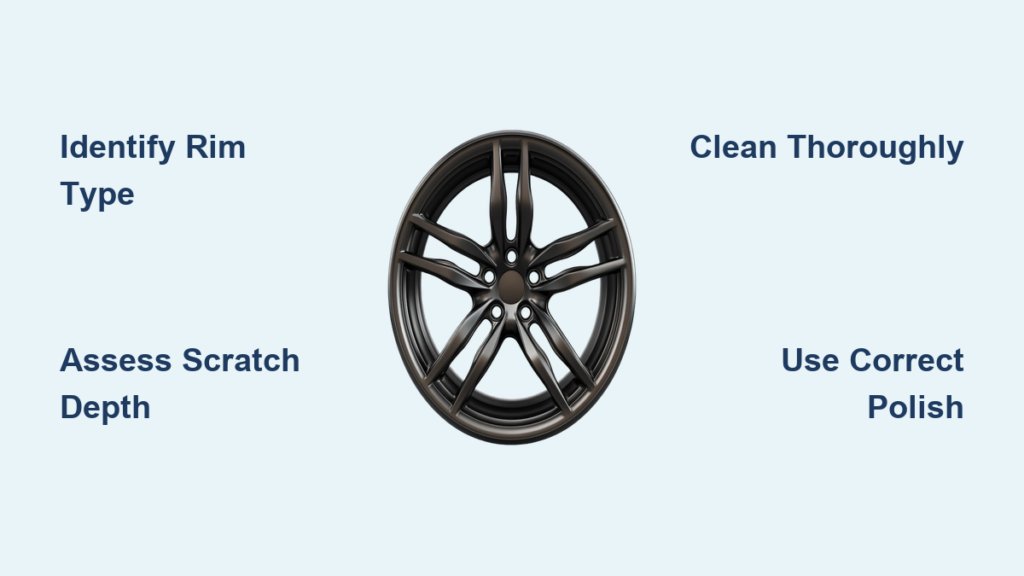
Identify Your Rim Type Before Starting
Choosing the wrong repair method for your wheel finish creates more damage than it fixes. Painted wheels (the most common type) respond well to standard automotive polishes and touch-up paint, while polished aluminum rims require metal-specific compounds to avoid dulling the reflective surface. Chrome wheels present the greatest challenge—aggressive treatment causes flaking, so chrome-specific polishes and gentle buffing are essential.
Check your wheel’s inner edge for manufacturer markings that indicate material type. Aluminum alloys typically feel lighter than steel wheels, while chrome has that distinctive mirror-like reflection. If your wheel has a clear coat finish (common on modern vehicles), standard paint correction techniques apply. Misidentifying your wheel type leads to using incompatible products that can permanently damage the finish.
Diagnose Scratch Severity in 30 Seconds

Your finger is the best tool for assessing scratch depth. Light scuffs feel virtually smooth and disappear with polishing compound—these respond to simple DIY solutions. Moderate scratches catch your fingernail slightly and require sanding before polishing. Deep gouges create visible dips in the metal surface and often expose raw material beneath the finish, demanding filler application and paint.
For black-painted wheels, even minor scratches appear dramatically worse due to the high contrast. Don’t panic—these often respond well to quick fixes like black permanent markers. Chrome wheels show every imperfection, so proper technique matters more. Knowing your scratch type prevents wasted effort on DIY methods that won’t work for your specific damage.
Essential Prep Steps That Make or Break Results
Skipping proper cleaning ruins even the most careful repair attempts. Start with a dedicated wheel cleaner sprayed liberally across the entire rim, letting it dwell for 2-3 minutes to break down brake dust and road grime. Use soft-bristle brushes (never metal scrubbers) to gently agitate the surface, working from top to bottom.
Rinse thoroughly until water runs completely clear—any residue interferes with repair products. For stubborn grease buildup, follow with a dedicated degreaser applied to problem areas. Crucially, ensure wheels are completely cool before starting; never work on warm rims as heat affects how compounds interact with the surface. Move your vehicle to a shaded area to prevent sunlight from drying products too quickly during application.
Fix Light Scratches in 15 Minutes Flat
Most surface scuffs disappear with the right polish and technique. For painted wheels, use any automotive paint correction compound. Chrome and bare metal wheels require metal-specific polishes like Turtle Wax All Metal Polish. Apply a quarter-sized drop to a clean microfiber cloth and work in small circular motions over the scratch.
Test first on an inconspicuous area—buff a small section on the inner rim edge to confirm compatibility. If the scratch fades without discoloration, continue across the damaged area. Apply light pressure; let the compound do the work rather than scrubbing aggressively. After 5-7 minutes of buffing, switch to a clean microfiber towel for the final polish to reveal a glass-like finish.
Pro tip: Mask surrounding areas with painter’s tape to prevent accidental polish transfer onto tires. This technique works for 80% of minor curb rash incidents when caught early.
Repair Deep Scratches Without Professional Help
Severe curb damage requires systematic sanding and filling. Begin with 320-grit sandpaper (400-grit for chrome wheels) and work in small sections, keeping the surface wet with soapy water. Sand in straight lines rather than circles to avoid creating new swirl marks. Progress through 600, 800, and 1000-grit papers, ensuring each grit removes the previous sanding marks.
For deep gouges where metal is missing, apply two-part automotive epoxy filler according to package instructions. Press firmly into the damaged area with a plastic applicator card, slightly overfilling the space. Allow full cure time (usually 24 hours) before sanding flush with surrounding metal using 800-grit paper.
Paint matching presents the biggest challenge—visit your dealership with your VIN to obtain exact color code for touch-up paint. Apply 3-4 thin coats of paint through an airbrush or precision applicator, allowing 20 minutes drying time between coats. Finish with clear coat spray to protect the repair and match factory shine.
Special Black Wheel Scratch Solutions

Black alloy wheels turn minor scratches into glaring defects. For hairline marks, a black Sharpie applied in 2-3 thin coats creates an instant fix that withstands regular washing. Allow 30 minutes drying time before handling.
For more significant damage, gloss black spray paint delivers better results. Mask surrounding areas meticulously with low-tack tape and newspaper. Apply paint in light, even passes from 10-12 inches away—too close causes runs, too far creates uneven coverage. Three thin coats with 15-minute drying intervals outperform one heavy application every time.
Montana Black spray paint has gained popularity among DIYers for its exceptional color match on dark wheels. Available at art supply stores, this professional-grade paint requires the same careful masking but delivers results rivaling professional refinishing.
Avoid These 5 Costly DIY Mistakes

Rushing the process creates more problems than it solves. Never skip the cleaning stage—polishing dirty wheels grinds contaminants deeper into the surface. Using household cleaners like Windex or vinegar damages wheel finishes through chemical reactions with brake dust particles.
Incorrect sandpaper progression ruins repairs—starting too fine leaves deep scratches, while jumping to coarse grit removes excess material. Always work through the full grit sequence. Mismatched paint color makes repairs stand out more than original damage—invest in factory-matched touch-up paint.
Applying thick paint coats causes unsightly runs that require sanding and repainting. Thin, even layers with proper drying time between applications produce seamless results. Finally, ignoring temperature conditions affects drying times—avoid working in direct sunlight or extreme temperatures.
When Professional Help Saves Money
Certain situations warrant professional repair. Diamond-cut alloy wheels with multi-layer finishes require specialized equipment to maintain the precise machining pattern. Structural damage affecting the wheel’s mounting surface or bead seat demands professional assessment for safety reasons.
Leased vehicles present unique considerations—many lease agreements include allowances for reasonable wear and tear, making disclosure preferable to concealment. Professional rim repair typically costs $60-80 per wheel, often less than replacement costs that can exceed $300.
Prevent Future Scratches with Smart Habits
The two-bucket wash method prevents cross-contamination that causes new scratches during cleaning. Dedicate separate brushes and mitts exclusively for wheels—never use the same tools on your car’s paint. Pre-rinse wheels with high-pressure water to remove loose debris before scrubbing begins.
Apply wheel sealant after each cleaning to create a protective barrier against brake dust and road contaminants. This simple step makes future cleaning easier while preventing new scratches from embedding. Most importantly, develop conscious parking habits—give yourself extra clearance from curbs and avoid aggressive driving on rough terrain.
Final Touch: Protect Your Repairs
Once scratches disappear, maintain your work with regular protection. Wheel waxes and sealants repel brake dust and prevent new scratches from embedding. For black wheels, ceramic coatings provide superior protection that lasts 6-12 months with proper maintenance.
Check repaired areas monthly for signs of deterioration. Most DIY repairs last 1-2 years with proper care, though high-impact areas may require touch-ups. The key to long-lasting results isn’t expensive products—it’s consistent maintenance and avoiding the habits that caused damage in the first place.
With these proven techniques, you’ve transformed those embarrassing rim scratches into smooth, gleaming surfaces that enhance your vehicle’s appearance. The next time you hear that dreaded curb scrape, you’ll know exactly how to remove scratches from tire rims quickly and effectively—without breaking the bank on professional services.


