
Overinflated tires transmit every bump and pothole directly to your passengers, while underinflated tires create dangerous handling issues and accelerate wear. Knowing exactly how to reduce car tire pressure properly ensures your vehicle maintains optimal contact with the road, improves fuel efficiency by up to 3%, and extends tire life by preventing uneven tread wear. Whether you’ve accidentally overfilled your tires at the gas station, need to adjust for seasonal temperature changes, or are preparing for specific driving conditions, this guide provides the precise methodology for safely and accurately reducing your tire pressure to manufacturer specifications.
The consequences of improper tire pressure extend far beyond comfort. Overinflated tires reduce your vehicle’s contact patch with the road by 10-15%, significantly diminishing traction during emergency maneuvers. Underinflated tires increase rolling resistance by up to 20%, forcing your engine to work harder and burning through extra fuel. By mastering the art of precise pressure adjustment, you’ll ensure your tires perform as engineered while avoiding the safety hazards and unnecessary costs associated with improper inflation. This guide walks you through every critical step, from identifying overinflation to achieving the exact PSI recommended for your specific vehicle.
Diagnose Overinflation Before Adjusting Pressure
Don’t reduce tire pressure unless you’ve confirmed overinflation through proper measurement. Start by locating your vehicle’s recommended tire pressure, typically found on the driver’s side door jamb sticker or in your owner’s manual—never rely on the maximum pressure number molded into the tire sidewall. This specification accounts for your vehicle’s weight distribution, suspension characteristics, and intended driving conditions.
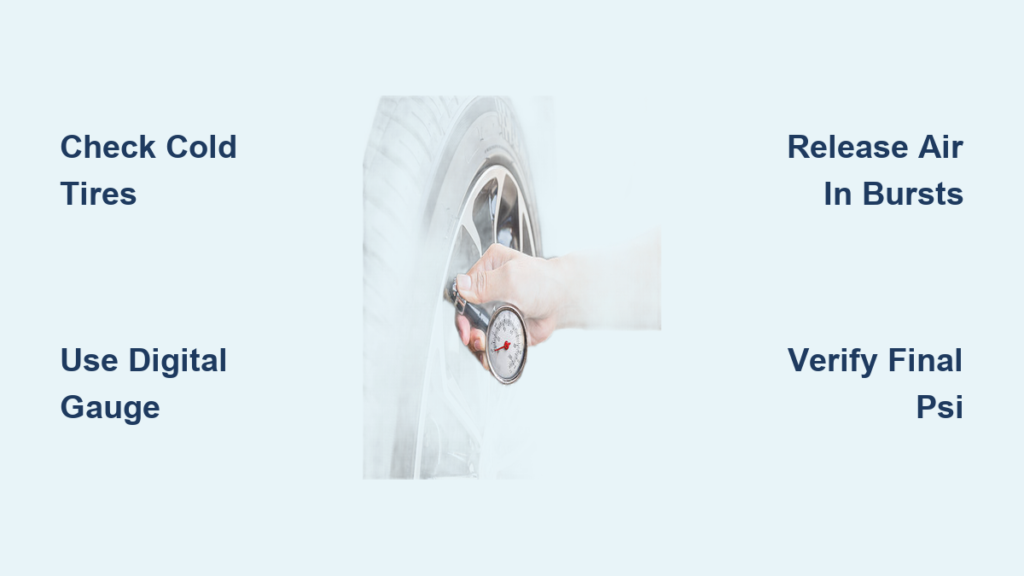
Check each tire’s current pressure using a reliable digital or analog gauge when tires are cold (parked for at least three hours or driven less than one mile). Press the gauge firmly onto the valve stem until you hear a brief hiss, then read the measurement. Compare this against your vehicle’s recommended PSI—if readings exceed specifications by 3 PSI or more, you’ve confirmed overinflation requiring adjustment. Tires that feel unusually rigid when pressed with your thumb or produce a harsh, bouncy ride typically indicate significant overinflation.
Never adjust pressure immediately after driving, as tire temperature increases by approximately 1 PSI for every 10°F rise in temperature. A tire reading 35 PSI when hot might only be 32 PSI when cold—adjusting based on hot readings could leave you dangerously underinflated once the tires cool.
Prepare Essential Tools for Precise Pressure Adjustment
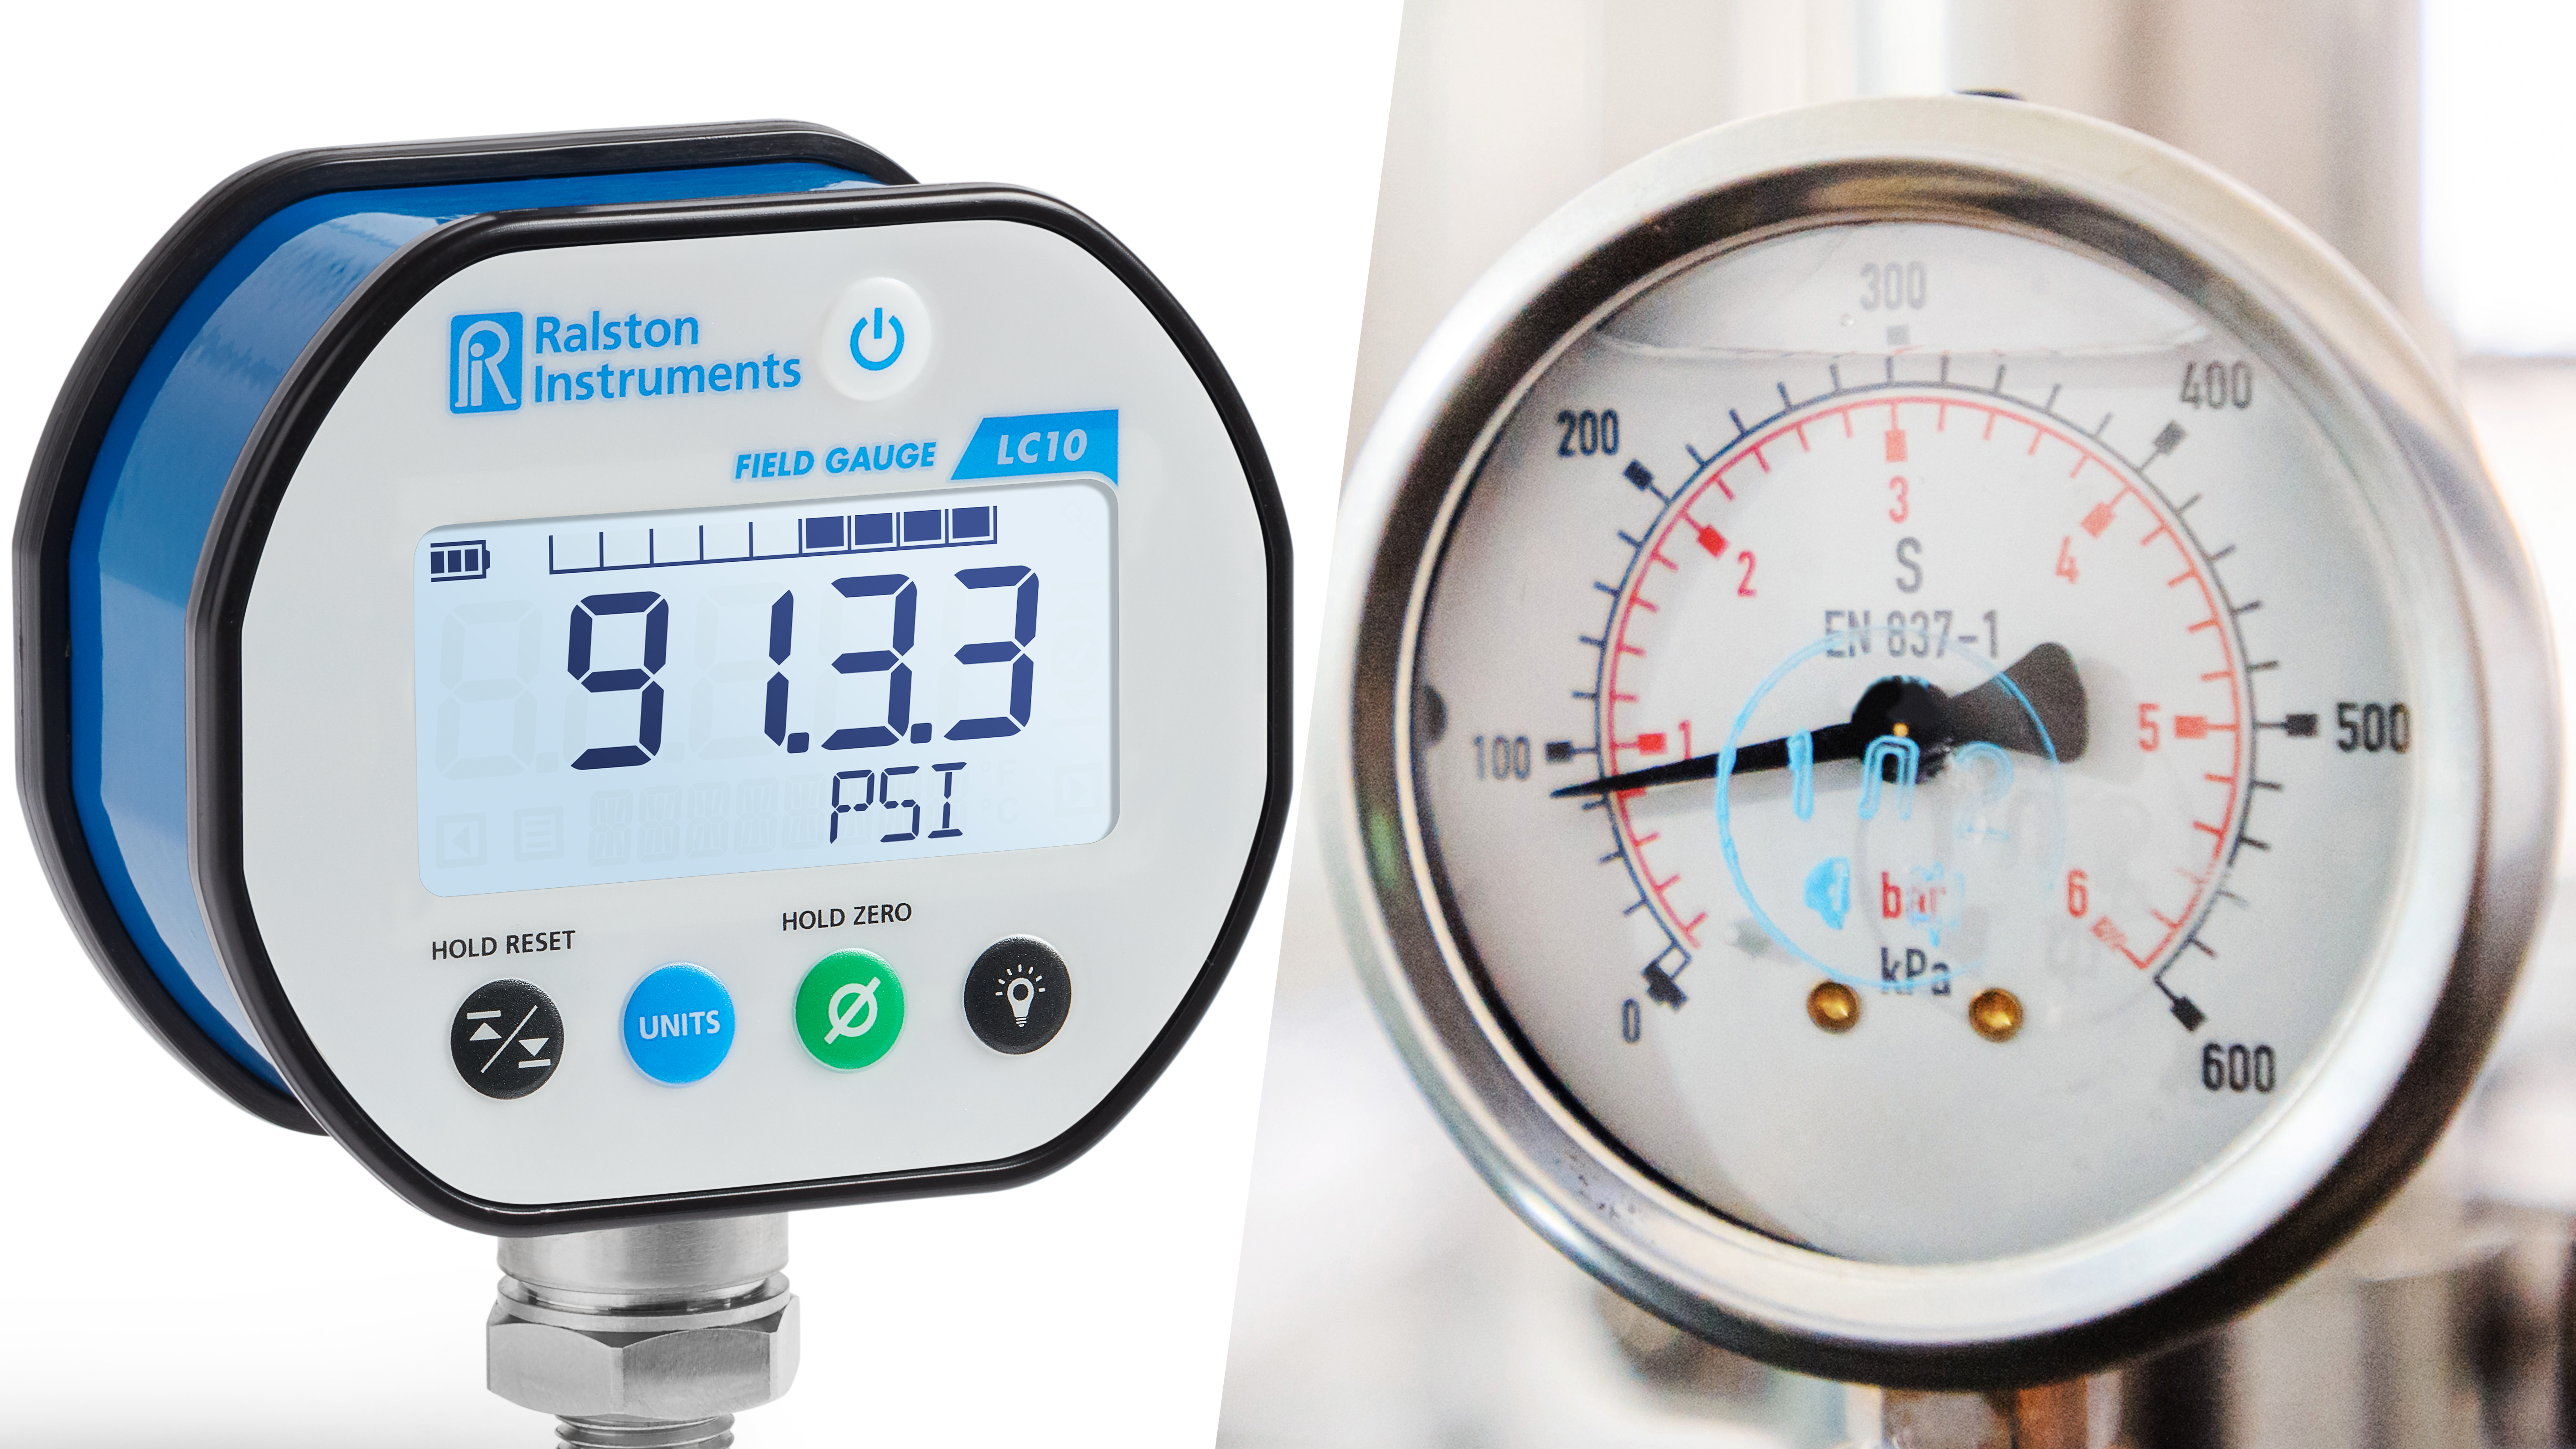
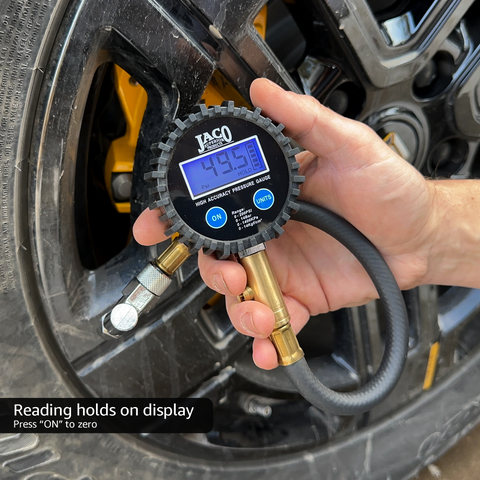
Grab a quality tire pressure gauge with a built-in release mechanism before starting—this single tool eliminates the need for separate implements and provides real-time pressure monitoring during deflation. Digital gauges offer clear readouts in both PSI and kPa, while analog dial gauges withstand rough handling without requiring batteries. Avoid pencil-style gauges for this task, as they lack the precision release mechanism needed for controlled air release.
Ensure your workspace is safe and practical: park on level, stable ground away from traffic, apply your parking brake, and set wheel chocks if working on a slope. Working on soft surfaces like grass or gravel creates instability and makes precise pressure measurement difficult. Keep your tools organized within arm’s reach to maintain focus on the adjustment process without unnecessary movement around your vehicle.
Execute Controlled Air Release Without Over-Deflation
Access and Prepare the Valve Stem Properly
Remove each valve cap by turning counterclockwise and place it in a clean, visible location—many mechanics keep caps temporarily screwed onto the gauge itself to prevent loss. Inspect the valve stem for damage, corrosion, or debris while the cap is off; a damaged stem requires professional attention rather than simple pressure adjustment. Clean any visible dirt from around the valve core with a cloth to prevent contamination during the process.
Release Air Using Incremental Bursts
Attach your pressure gauge firmly to the valve stem and engage the release button or lever for exactly 1-2 seconds—this controlled burst releases approximately 1-2 PSI depending on your tire size and initial pressure. Immediately detach the gauge and take a new reading. Repeat this cycle of brief release and measurement until you approach within 2 PSI of your target pressure.
As you near the recommended PSI, reduce burst duration to half-second intervals. Air escapes rapidly from pressurized tires, and the final PSI points require delicate control. Most quality gauges with release mechanisms allow airflow adjustment through variable pressure on the release button, giving you fine-tuned control during the critical final adjustments.
Verify Accuracy and Complete the Adjustment Process
Confirm Final Pressure with Multiple Measurements
Take three consecutive pressure readings on each tire to verify consistency—reliable gauges should show the same PSI within 0.5 points across multiple measurements. If readings vary significantly, clean the valve stem and gauge connection point before retesting. This verification step prevents the common mistake of driving on incorrectly adjusted tires because of a faulty single measurement.
Compare your final readings against the manufacturer’s specifications, noting that front and rear tires often require different pressures. Performance vehicles and trucks frequently have staggered pressure recommendations based on weight distribution and handling characteristics. If any tire consistently reads 2 PSI or more below target after adjustment, investigate potential leaks before driving.
Secure Valve Caps and Document Adjustments
Screw valve caps back on clockwise until hand-tight—overtightening can strip threads and make future removal difficult. These small components provide critical protection against moisture, dirt, and road debris that could damage the valve core and cause slow leaks. Replace any damaged or missing caps immediately with OEM-specification replacements.
Record your final pressure readings and adjustment date in your maintenance log. This documentation helps identify gradual pressure loss patterns that might indicate developing issues like slow leaks or seasonal temperature effects. Many drivers note pressure readings on their vehicle’s sun visor for quick reference during monthly checks.
Troubleshoot Common Pressure Adjustment Problems

Fix Persistent Air Leaks After Adjustment
If a tire loses pressure within days of adjustment, perform a leak test using a soap-and-water solution applied to the valve stem, wheel rim, and tire surface. Bubbles indicate air escape points—small valve core leaks often require only a $2 core replacement, while rim or tire leaks need professional attention. Never ignore gradual pressure loss, as it can mask developing problems that compromise safety.
Recover From Accidental Over-Deflation
If you’ve released too much air, reinflate the tire in 2-3 PSI increments using a quality air source. Gas station compressors work adequately but often lack precision—personal air compressors with built-in gauges provide better control for fine adjustments. After reinflating, inspect the tire for signs of damage that might have occurred during the period of underinflation, particularly along the sidewall where bulges or cracks indicate internal structural damage.
Implement Long-Term Pressure Maintenance Habits
Check tire pressure monthly and before long trips using the same reliable gauge to ensure consistency. Establish a routine of checking pressures when tires are cold—early morning is ideal—to account for temperature variations. Seasonal changes significantly affect pressure, with winter temperatures potentially dropping readings by 5-8 PSI compared to summer measurements.
Invest in a quality tire maintenance kit that includes a precision gauge with release mechanism, valve core tool, and replacement caps. Store this kit in your vehicle where it’s easily accessible, and make pressure checks part of your regular fueling routine. Properly maintained tires deliver optimal handling, maximum fuel efficiency, and extended service life—paying dividends in safety, performance, and cost savings that far exceed the few minutes required for regular pressure checks.
By mastering these precise techniques for reducing car tire pressure, you take control of one of the most critical yet overlooked aspects of vehicle maintenance. The small investment in proper tools and knowledge ensures your tires perform as engineered while protecting your safety and wallet through optimized fuel economy and extended tire life. Start implementing these methods today and experience the difference that perfectly inflated tires make in your driving experience.


