
A tire that has lost its bead can leave you stranded or unable to maintain proper inflation, creating a frustrating situation that often seems more complicated than it actually is. The bead—the steel-wire-reinforced edge of the tire that seals against your wheel rim—can come unseated for several reasons, from driving on underinflated tires to hitting a pothole at speed. Fortunately, reseating a tire bead is a task most DIY enthusiasts can accomplish with basic tools and the right technique. This guide walks you through the complete process, from initial assessment to advanced methods for stubborn cases, while helping you avoid common mistakes that can turn a simple repair into a dangerous situation.
Learning how to re seat a tire bead saves you time and money, and understanding the process gives you confidence when faced with this common roadside challenge. Whether you’re dealing with a tire that slipped off during off-road adventures or one that simply won’t seal during a home installation, the methods outlined here cover everything from quick fixes you can perform in your driveway to emergency solutions when no compressor is available. By following these steps carefully, you can restore your tire’s seal and get back on the road safely.
Why Tire Beads Come Unseated
Understanding what causes a bead to lose its seal helps you prevent future occurrences and choose the right approach for reseating. The most common cause is operating a vehicle with significantly reduced tire pressure, particularly during off-road driving where airing down provides better traction on rough terrain. When pressure drops too low, the sidewall flexes excessively and the bead can slip off the rim’s sealing surface entirely.
How Off-Road Driving Causes Bead Failure
During off-road excursions, bead failures almost always occur on the outside wheel bead and typically on the downhill side of the vehicle where weight presses hardest against the tire sidewall. Lateral bouncing in deep ruts can slam the tire sideways with enough force to blow it off the wheel completely. These failures are especially common when driving at reduced pressures necessary for challenging terrain.
Improper Installation Creates Future Problems
If the bead wasn’t fully seated during installation, normal driving vibrations and pressure changes can gradually work the tire loose until it finally pops off. This is particularly problematic with wider wheels where the tire must stretch further to reach the bead seat. Even small particles of dirt or old rubber between the bead and rim can prevent a proper seal, which is why thorough cleaning is essential before attempting any reseating procedure.
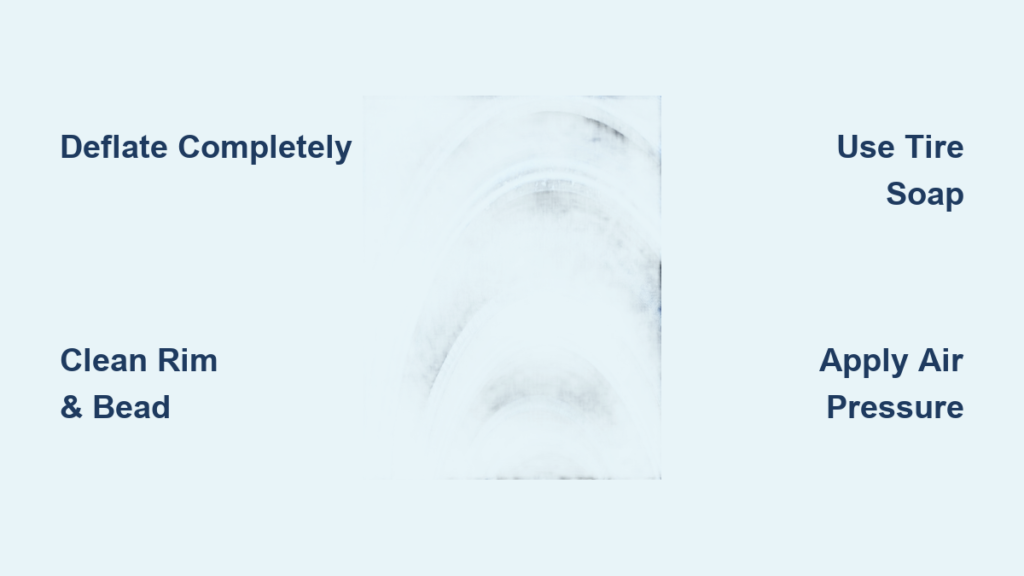
Deflate and Inspect the Tire
Before attempting any reseating work, you must completely remove all air from the tire. Residual pressure creates unpredictable behavior during manipulation and can cause the tire to pop off unexpectedly, potentially causing injury or damage. Use a valve core tool to remove the valve core entirely, or simply depress the valve stem with a small tool or your finger to allow rapid deflation. Listen carefully to ensure all escaping air has stopped before proceeding.
Identifying Critical Damage That Requires Replacement
Conduct a thorough inspection of both the tire bead and the rim for visible damage. Look for tears, cuts, or missing chunks of rubber on the bead itself—these indicate the tire may need replacement rather than reseating. Similarly, examine the rim for cracks, severe bends, or significant corrosion that might prevent a proper seal. If the tire appears damaged or the rim shows structural issues, do not attempt to reseat—instead, consult a professional tire shop or replace the damaged components.
Clean Bead and Rim Surfaces
Proper cleaning dramatically increases your chances of successful bead seating. Any material between the tire bead and rim surface prevents an airtight seal, so this step deserves careful attention. Use a wire brush to remove loose rust, dirt, and old sealant from the rim’s bead seat, working around the entire circumference systematically. For stubborn residue, a mild soap and water solution helps break down the material, though you should dry the rim thoroughly afterward.
Removing Rust from Steel Wheels
Steel wheels with significant rust present particular challenges, as rust creates an uneven mating surface that resists sealing. Take extra time to address rust buildup using sandpaper or a wire brush to smooth the bead seat as much as possible. While this adds time to the preparation phase, it significantly improves your chances of achieving a lasting seal on the first attempt. For aluminum rims, be gentler to avoid damaging the protective coating.
Choose Proper Lubricant for Successful Seating
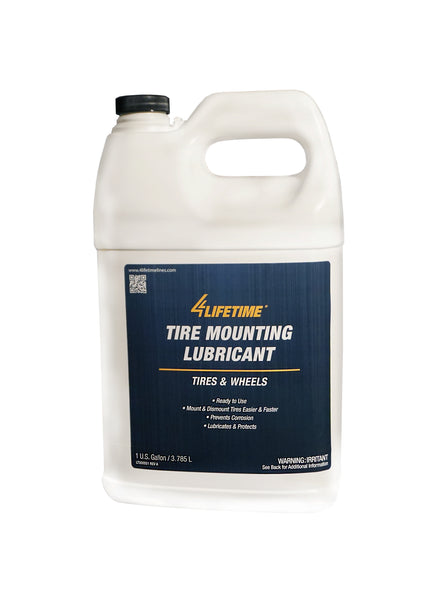
The right lubricant reduces friction between the bead and rim, making it substantially easier to get the tire to seat properly. Commercial tire soap represents the gold standard for this purpose, providing excellent slippage without becoming excessively sticky during the seating process. Apply tire soap generously to both the tire bead and the rim’s bead seat using a brush or spray bottle, ensuring complete coverage of the mating surfaces.
Effective Household Lubricant Alternatives
When commercial products aren’t available, household alternatives can work effectively:
– Liquid laundry detergent diluted with water at a 1:4 ratio serves as a functional substitute
– Dish soap mixed with water works well but tends to get sticky, which actually helps keep the tire in position
– Window cleaner (Windex) has proven effective among technicians and offers quick drying
– Silicone spray provides excellent lubrication without promoting rust on steel wheels
Never use petroleum-based products, as they can degrade rubber over time and compromise the tire’s integrity.
Manual Positioning Techniques for Stubborn Tires
Proper positioning before introducing air pressure significantly improves your success rate. The fundamental technique leverages the rim’s well—the deeper depression on one side of the rim that provides clearance during mounting. Position the tire so that the side opposite the well is pushed down into the well area, then work to seal that bead first before addressing the more challenging side.
Using a Ratchet Strap for Circumferential Compression
When manual positioning alone proves insufficient, circumferential compression helps force the beads outward toward the rim flanges:
1. Wrap a ratcheting cargo strap around the tire’s circumference near the sidewall
2. Position it in the middle of the tread
3. Tighten until you can see the beads moving closer to the rim flanges
4. Maintain this pressure while introducing air
This technique works especially well for tires that have come unseated from both inner and outer wheel beads. A clip-on air chuck proves invaluable for this technique, as it allows hands-free operation while you maintain positioning.
Compressed Air Seating Method for Quick Results
The most common approach to reseating a tire bead uses compressed air to push the beads outward against the rim flanges. The critical requirement is sufficient airflow volume—small compressors often struggle to deliver air rapidly enough for stubborn beads. A typical home shop compressor rated at 5 HP with a 15-gallon tank provides adequate airflow for most passenger vehicle and light truck tires.
Accelerating Airflow with Coreless Valve Stem Technique
For faster results, remove the valve core entirely and connect the air source directly to the valve stem—this eliminates the restriction the valve normally imposes and allows rapid inflation. An air gun pressed directly onto the coreless valve stem works effectively for stubborn cases. Always use a new valve stem and valve core when performing this operation to ensure reliable sealing. If your standard compressor proves inadequate, a dedicated bead seater tank provides a high-volume burst of air specifically designed for seating stubborn beads.
Starter Fluid Emergency Method for Roadside Repairs

When conventional air pressure fails or you find yourself roadside without a compressor, the starter fluid method provides an effective alternative. This technique uses the rapid combustion of starter fluid to create a large volume of expanding gas that forces the tire beads outward against the rim.
Safe Execution of the Starter Fluid Technique
Follow these steps carefully for safe results:
1. Remove the valve core completely
2. Spray a small amount of starter fluid into the tire through the valve stem
3. Toss a lit match into the tire to ignite the flammable vapor
4. Immediately add air through the valve stem to maintain pressure
Wear safety goggles, gloves, and long sleeves when using this method. Start with a small amount of starter fluid and increase gradually—never use excessive amounts, as this creates a more violent explosion than intended. This method has saved many off-roaders from being stranded without access to compressed air.
Troubleshooting Persistent Bead Seating Problems
If your tire consistently fails to seat despite proper technique, several factors may be responsible. Listen carefully for hissing sounds during inflation attempts, as these indicate air escaping where the seal hasn’t been achieved. Shift your positioning or pulling direction to address these problem areas. Once the seal begins in one spot, further inflation typically causes the tire to pop rapidly back onto the bead seat.
Addressing Rust-Related Seating Difficulties
Rust on the rim creates an uneven surface that prevents the bead from sealing properly—clean the rim thoroughly and use sandpaper or a wire brush to address stubborn rust before attempting again. If your compressor seems adequate but still cannot seat the bead, verify that you’re getting full pressure from the tank. Small compressors may need time to build pressure between attempts. Consider using a CO2 tank if available, as it provides a very voluminous shot of air that can be more effective than a small air compressor for initial seating.
Essential Safety Precautions During Bead Seating
Tire explosions represent serious hazards that can cause severe injury or death. Always approach tire inflation with appropriate caution and respect for the potential energy stored in compressed air. Never overinflate too quickly, and pay attention to any maximum PSI warnings marked on the tire sidewall—these specifications exist for your safety and should never be exceeded.
When the bead finally seats, the tire snaps into place with considerable force. Move your head and body away from the tire as much as possible before the final seating occurs. Stand to the side rather than directly over or in front of the tire during inflation. Safety goggles provide essential protection against debris that might be propelled during the seating process, and heavy gloves protect your hands from pinching or impact.
When to Call a Professional Tire Technician
Some situations exceed the scope of DIY tire bead seating and require professional equipment and expertise. If the rim is severely bent, cracked, or shows structural damage, a professional wheel repair service can assess whether the rim can be salvaged or if replacement is necessary. Many shops have hydraulic presses and specialized equipment that address rim damage beyond what manual methods can fix.
When the tire itself shows signs of internal damage—such as separated belts visible through the sidewall or visible ply damage—professional inspection is warranted. Similarly, if you’ve attempted multiple seating methods without success, an underlying issue may require expert diagnosis. High-performance tires, low-profile tires, and run-flat tires often require manufacturer-specific procedures to avoid damaging the tire or voiding warranties.
Final Note: Successfully reseating a tire bead requires patience, proper preparation, and the right technique. By understanding why beads come unseated, preparing surfaces properly, choosing appropriate lubrication, and applying the correct seating method for your situation, you can restore your tire’s seal and get back on the road with confidence. Always prioritize safety, inspect components carefully before and after the repair, and don’t hesitate to seek professional help when needed.


