
Your tubeless tire just won’t hold air, and you’re tired of constant flats ruining your rides. Whether you’re a mountain biker tackling rugged trails or a road cyclist chasing personal bests, properly applying sealant to your tubeless tire solves most air retention issues immediately. Adding sealant to tubeless tires creates an instant puncture defense system that seals holes up to 1/4 inch as they happen—no more stranded rides or frantic roadside repairs. This comprehensive guide delivers the exact steps you need to add sealant correctly the first time, avoid common mistakes that cause leaks, and maintain optimal performance through every season.
Essential Tools for Tubeless Tire Sealant Application
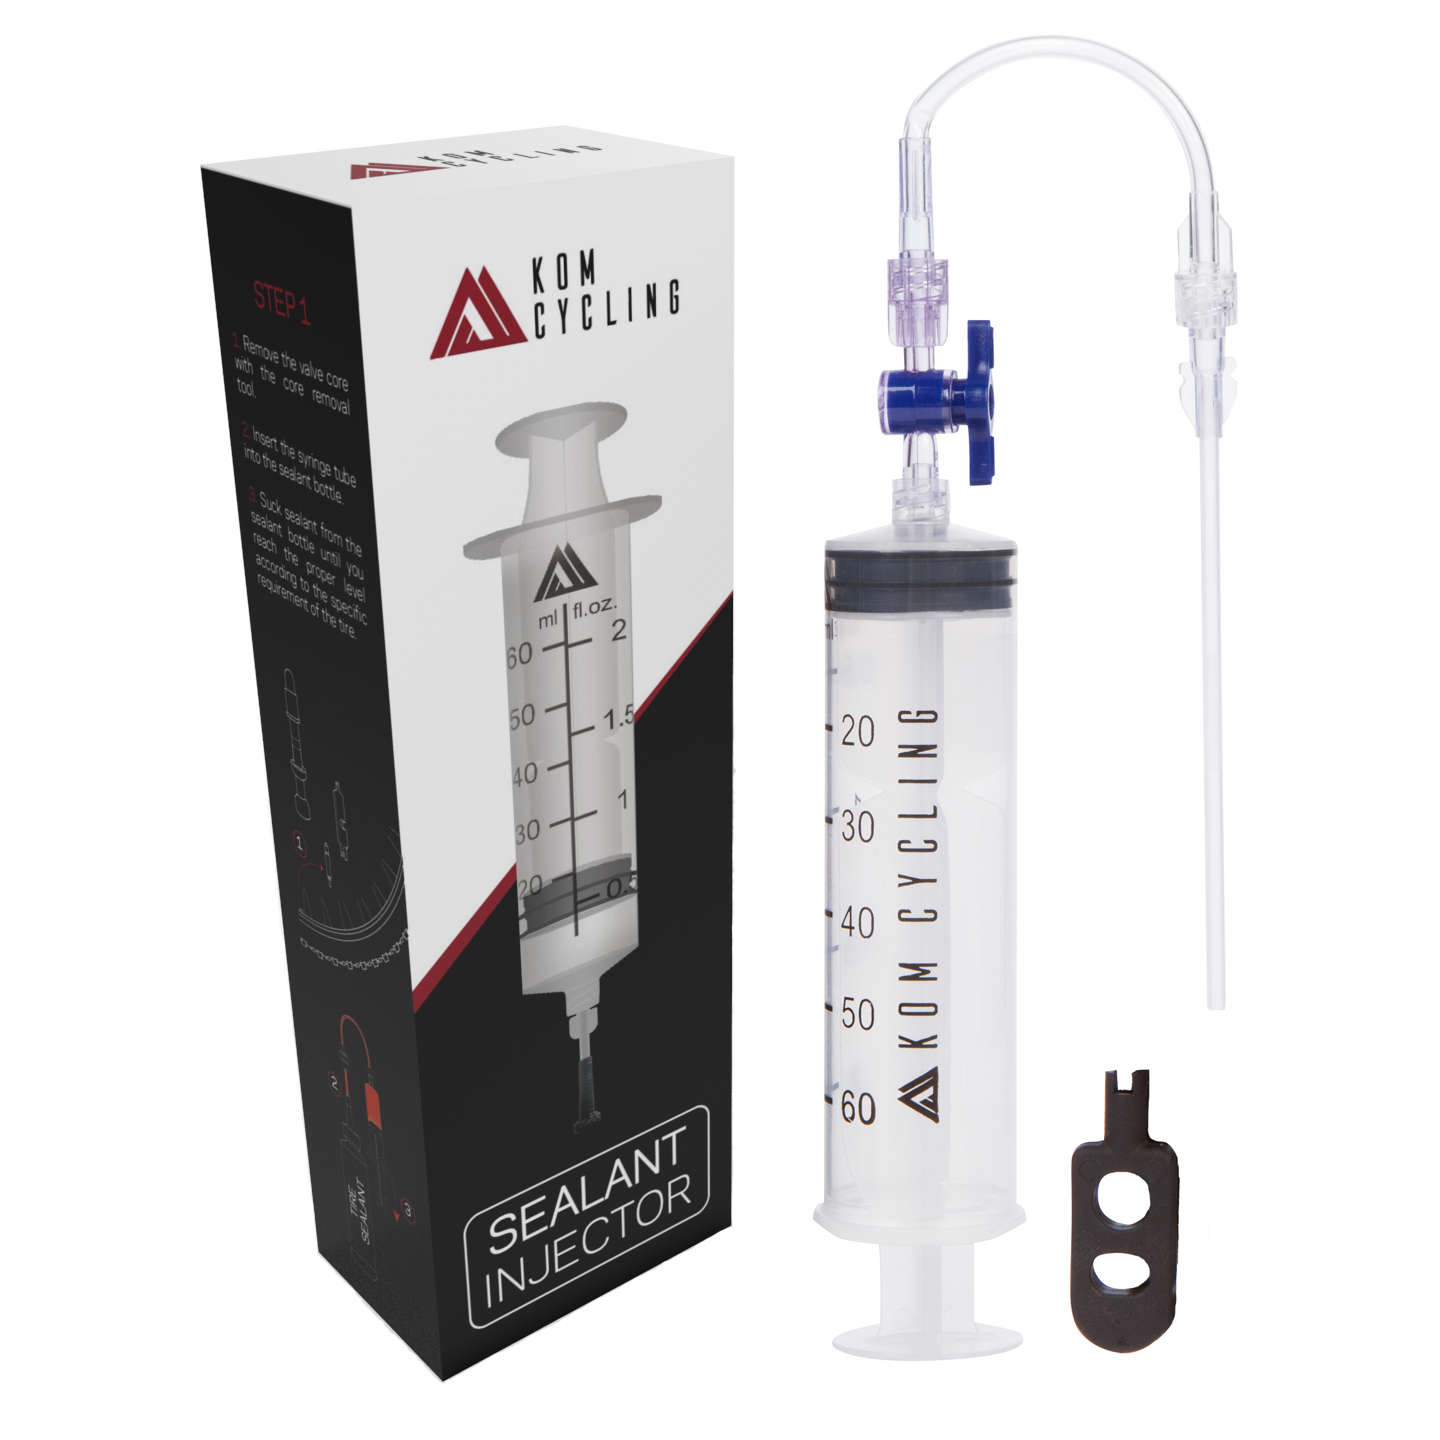
Before adding sealant, gather these specific tools to ensure a clean, efficient process. Using the wrong equipment causes messy spills and improper sealant distribution that leads to imbalance and poor sealing performance. You’ll need a quality sealant injector or applicator bottle, valve core removal tool, fresh valve core, torque wrench for wheel nuts, and clean rags for spill management. Never attempt this process without a valve core remover—forcing sealant through an installed core creates pressure imbalances that prevent proper seating.
Choosing the Right Sealant Injector Method
Valve stem injection works best for tires already mounted and inflated. Remove the valve core completely using your valve core tool, then attach your sealant injector directly to the valve stem. This method takes less than 2 minutes but requires precise measurement since you can’t see the sealant entering the tire. Use a graduated injector bottle to measure exact quantities based on your tire size.
Tire bead injection is necessary when installing new tubeless tires or after major repairs. Deflate the tire completely, break one bead loose from the rim, and pour sealant directly between the tire and rim. This method ensures even distribution but takes 10-15 minutes and requires reseating the tire bead properly. Always use this method when initial tubeless setup creates persistent air leaks.
Critical Sealant Quantities by Tire Size
- 26-inch mountain bike tires: 60-90ml (2-3 ounces) per tire
- 27.5/650B mountain bike tires: 90-120ml (3-4 ounces) per tire
- 29-inch mountain bike tires: 100-150ml (3.5-5 ounces) per tire
- Road bike tires (700c): 30-60ml (1-2 ounces) per tire
- Gravel bike tires: 60-90ml (2-3 ounces) per tire
Overfilling creates dangerous rotational imbalance that damages wheels and causes vibration at speed. Underfilling leaves vulnerable sections unprotected against punctures. Measure precisely using your injector’s markings—don’t estimate.
Step-by-Step Tubeless Sealant Installation Process
Follow this exact sequence to achieve proper sealant distribution without mess or imbalance. Skipping even one step causes uneven coating that leaves sections vulnerable to punctures and creates annoying wheel vibrations during rides.
Preparing Your Tire and Rim System
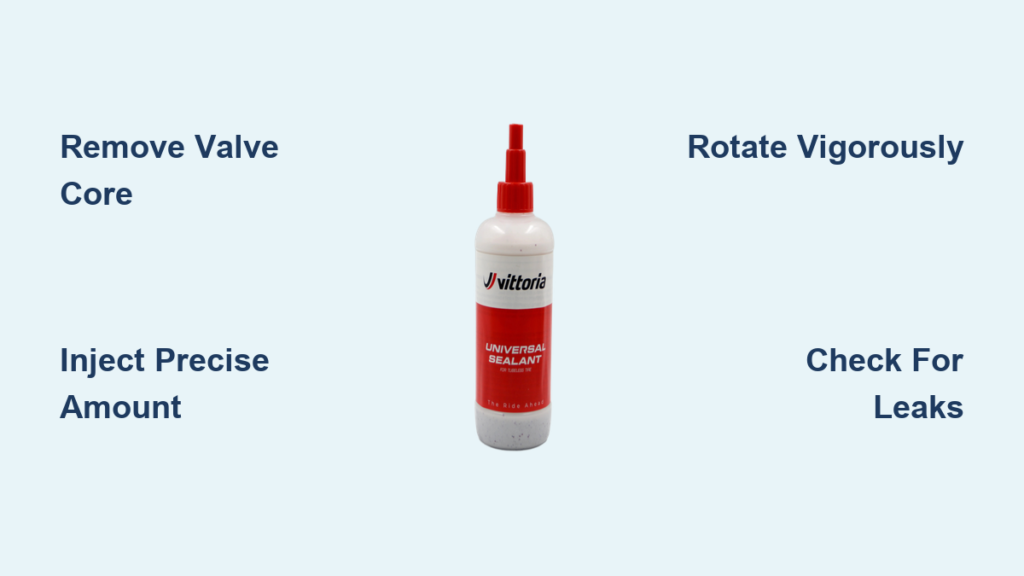
Deflate your tire completely by pressing the valve stem center pin until all air releases. Remove the valve core using your valve core tool—this creates the opening needed for sealant entry. Clean any old, dried sealant from the valve stem interior with a small brush or pipe cleaner. Inspect your rim tape for gaps or damage that would allow sealant to leak into the spoke bed. If your tire has been dry for more than 6 months, rotate it vigorously to break up any dried sealant before adding fresh product.
Injecting Sealant Through the Valve Stem
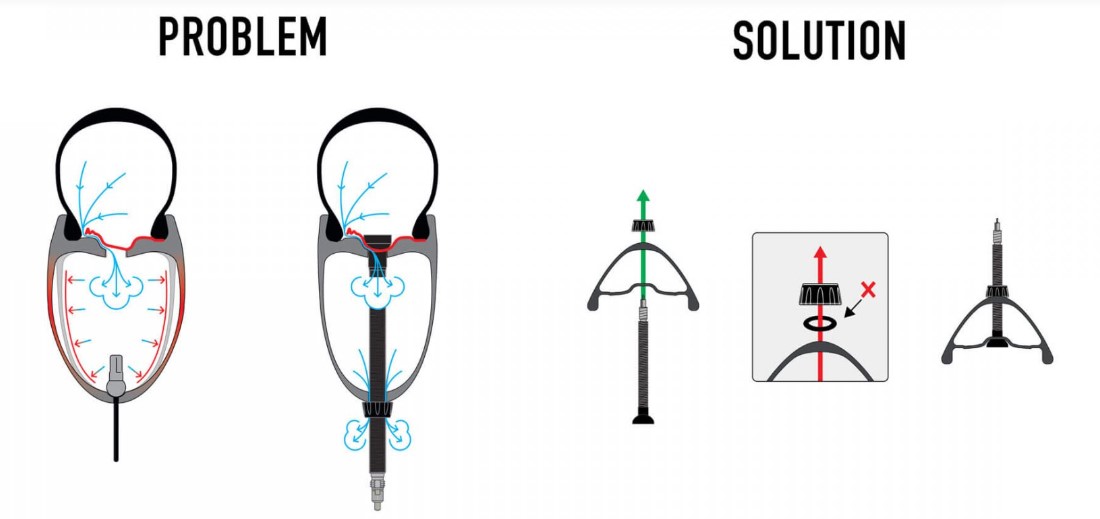
Attach your sealant injector to the valve stem after core removal. Slowly squeeze the recommended amount based on your tire size—rushing causes spills and uneven distribution. If using a pour bottle, tilt the wheel so the valve stem is at the 6 o’clock position to prevent immediate leakage. After injection, reinstall the valve core immediately to prevent sealant from oozing out during the next step. Don’t over-tighten the core—finger tight plus 1/4 turn with your tool is sufficient.
Distributing Sealant Evenly Around the Tire
Mount your wheel back on the bike or place it on a truing stand. Rotate the tire slowly for 2-3 full revolutions to coat the entire inner surface. Then, spin the wheel rapidly for 30 seconds to fling sealant outward against the tire casing. Listen for the distinctive “sloshing” sound that confirms proper distribution. If you don’t hear this, add 10-15ml more sealant and repeat. For stubborn distribution issues, lift the wheel off the ground and bounce it vertically 5-6 times to help sealant reach the top section.
Troubleshooting Common Sealant Application Problems
Even with perfect technique, certain issues can compromise your sealant application. Recognizing these problems early prevents wasted time and materials while ensuring your tubeless system performs as designed.
Why Your Sealant Won’t Coat the Entire Tire
Problem: Sealant pools at the bottom instead of coating the entire inner surface.
Solution: You’re not rotating the tire vigorously enough during distribution. After initial slow rotation, spin the wheel at 20+ mph equivalent speed for 45 seconds. For road bikes, install the wheel on your bike and pedal vigorously in a trainer for 2 minutes. If this fails, your sealant may be too thick—add 5-10ml water to thin it slightly (only for latex-based sealants).
Persistent Air Leaks After Sealant Application
Problem: Tire won’t hold air despite proper sealant application.
Solution: First, check your valve core seating—improperly installed cores leak air while retaining sealant. Second, inspect rim tape for tiny punctures from spoke holes. Third, verify your tire bead is fully seated against the rim hook—use soapy water to check for bubbles along the entire bead line. If leaks persist, remove the tire and apply additional rim tape over problem areas.
Sealant Maintenance and Replenishment Schedule

Tubeless sealant doesn’t last forever—failing to refresh it causes mysterious flats and poor performance. Most riders ignore this critical maintenance until they experience catastrophic failure mid-ride.
How Often to Replace Tubeless Sealant
Replace sealant every 2-6 months depending on climate and usage. Hot, dry conditions evaporate sealant faster, requiring replacement every 2 months. Cool, humid environments allow 4-6 month intervals. Mountain bikers riding weekly should refresh every 3 months regardless of conditions. Road cyclists riding primarily on pavement can extend to 4 months. Always replace sealant if you notice reduced sealing capability or visible dry patches inside the tire.
Signs Your Sealant Needs Immediate Replacement
- Visible dry patches when inspecting through the valve stem opening
- Reduced sealing capability—punctures that previously sealed now cause flats
- Thick, gelatinous consistency instead of free-flowing liquid
- Strong ammonia smell indicating bacterial breakdown
- Visible separation of liquid and solid components
Don’t wait for complete failure—proactive sealant replacement prevents roadside emergencies.
Advanced Sealant Application Tips for Difficult Situations
Certain riding conditions and tire setups require specialized sealant techniques that standard methods can’t handle effectively.
Sealing Large Punctures During Rides
When you encounter a puncture larger than 1/4 inch that won’t seal immediately, stop and deflate the tire completely. Rotate the puncture to the 6 o’clock position, then add 30-50ml of additional sealant directly through the valve stem. Inflate slowly while monitoring the puncture site—many riders successfully seal holes up to 1/2 inch with this emergency technique. Ride slowly for the first 5 minutes to allow extra sealant to coat the damaged area.
Cold Weather Sealant Adjustments
Below 40°F (4°C), standard sealants thicken and lose effectiveness. Switch to cold-weather specific formulas containing antifreeze agents, or add 5-10% isopropyl alcohol to standard sealant to lower its freezing point. Increase application quantities by 20% in freezing conditions to compensate for reduced fluidity. Store your bike indoors before rides in cold weather to keep sealant at optimal temperature.
Final Note: Properly applied tubeless sealant transforms your riding experience by eliminating most flats and allowing lower tire pressures for better traction. Remember to check your sealant levels monthly and refresh every 3-4 months for uninterrupted performance. After your first successful application, you’ll wonder how you ever rode without this puncture protection system. Keep a small bottle of sealant and valve core tool in your riding pack for emergency top-ups when you notice reduced sealing capability during long trips.


