
A flat tire can happen anywhere—at home, on a highway, or in a shopping center parking lot. Knowing how to put on a spare tire is an essential skill that saves you time, money, and the frustration of waiting for roadside assistance. While many drivers assume they’ll never need to change a tire themselves, being prepared with the right knowledge means you’re ready when unexpected situations arise. This comprehensive guide walks you through the entire process, from gathering the right tools to safely installing your spare tire and understanding the important limitations that follow. Whether you drive a compact car, a pickup truck, or an SUV, these step-by-step instructions will help you get back on the road quickly and safely.
Gather Essential Tools and Equipment
Before you find yourself stranded with a flat tire, familiarize yourself with the tools your vehicle carries. Most vehicles include these standard items stored beneath the rear seat, in the trunk well, or in a dedicated compartment.
Your spare tire is the most critical component—check that it’s properly inflated before you actually need it, since many spares lose pressure over time sitting unused. The jack, typically a scissor jack for passenger vehicles or a hydraulic jack for heavier trucks, lifts your vehicle off the ground. The lug wrench, often a combined tool with different socket sizes, loosens and tightens the wheel nuts. Wheel chocks or blocks prevent the vehicle from rolling while you work. Keep work gloves in your emergency kit for better grip and to protect your hands from dirty or rusty components.
A torque wrench, while not usually included with your vehicle, proves invaluable for properly tightening lug nuts to manufacturer specifications after your tire change. A tire pressure gauge helps you verify your spare’s inflation, and a flashlight ensures you can work safely if a flat occurs after dark. Store these supplementary items in your trunk or emergency kit, and you’ll be prepared for virtually any tire-related roadside situation. Pro Tip: Keep a small container in your trunk specifically for holding lug nuts during the change—this prevents them from rolling away.
Prepare Your Vehicle Safely
Safety must be your first priority when changing a tire. Choose a firm, level surface away from moving traffic—if you’re on a highway, move as far from lanes as possible and activate your hazard lights. Engage your parking brake fully, and place your transmission in Park for automatic vehicles or in gear for manuals. This prevents any possibility of the vehicle rolling while elevated.
Block the wheels that will remain on the ground using wheel chocks, sturdy blocks, bricks, or even large rocks. If you have a flat rear tire, chock both front wheels; for a flat front tire, chock both rear wheels. These blocks create resistance that keeps the vehicle stable throughout the entire process.
Before you begin working, take a moment to ensure adequate visibility and protection from traffic. Set up warning triangles or flares if you have them, and if you’re changing a tire at night, position your vehicle where headlights or streetlights illuminate your work area. Your owner’s manual contains vehicle-specific instructions, including exact jack point locations—consult it before starting, as jacking from incorrect points can damage your vehicle or cause dangerous instability. Critical Safety Note: Never attempt a tire change on soft ground, gravel, or uneven surfaces where the jack could shift or sink.
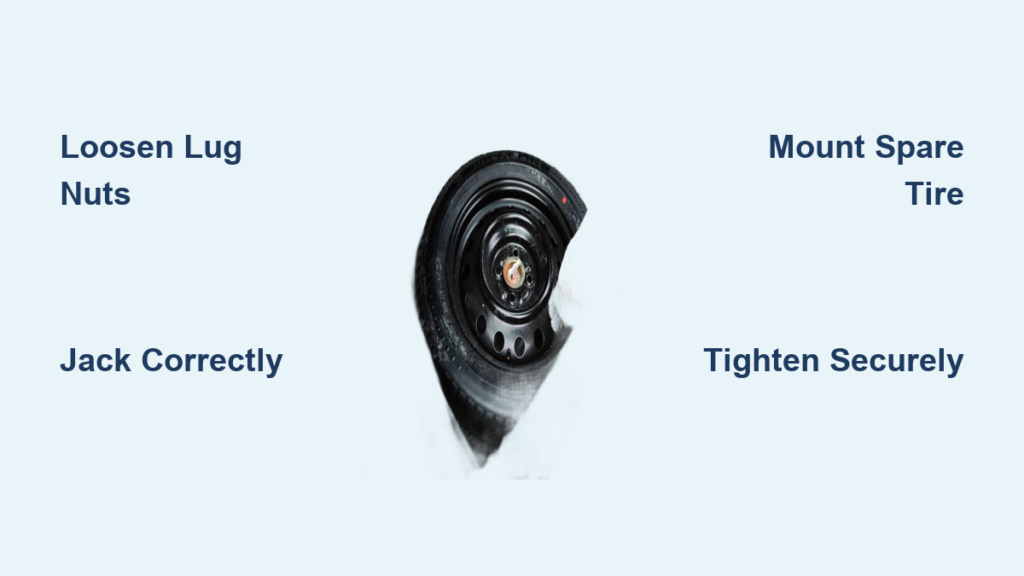
Loosen Lug Nuts Before Jacking

This step surprises many first-timers: you must loosen the lug nuts while your vehicle still sits on the ground. Once the wheel is elevated and can no longer rotate, removing stubborn nuts becomes extremely difficult or impossible.
Engage your parking brake and ensure wheel chocks are in place, then use your lug wrench to loosen each nut one-quarter to one-half turn. Work in a star pattern—skip every other nut rather than moving sequentially around the wheel. This pattern prevents the wheel from warping by distributing pressure evenly. If nuts feel tight, place the lug wrench over the nut and apply downward pressure with your foot for additional leverage, but never use extension pipes or hammers on the wrench, which can snap lug bolts or cause injury.
Most passenger vehicles use five lug nuts per wheel, with typical torque specifications between 80 and 100 foot-pounds. After loosening each nut, leave them threaded on the studs for now—you’ll remove them completely once the tire is off the ground. This prevents the wheel from falling unexpectedly and keeps your lug nuts organized and accounted for during the change. If you encounter a nut that won’t budge, try spraying it with penetrating oil and waiting five minutes before attempting again.
Troubleshooting Stuck Lug Nuts
When faced with extremely tight lug nuts, try these techniques:
– Tap the end of the lug wrench handle with your palm to break corrosion loose
– Apply penetrating oil and wait 5-10 minutes before retrying
– Use your body weight rather than brute force to avoid slipping
– If all else fails, call for professional assistance rather than risking injury
Position and Use the Jack Correctly

Proper jack placement prevents vehicle damage and ensures your safety during the tire change. Consult your owner’s manual to identify your vehicle’s designated jack points—these are reinforced areas specifically designed to support the vehicle’s weight during jacking. Common jack points include reinforced pinch welds along the rocker panel, notches in frame rails, and factory-made indentations behind front wheels.
Position your jack on a firm, level surface. If you’re on asphalt, gravel, or any soft ground, place a sturdy plywood board beneath the jack to prevent it from sinking or tilting. Ensure the jack head engages properly with the jack point and that the jack stands vertical and stable before any weight is applied.
Insert the jack handle and pump slowly to raise the vehicle. Stop when your flat tire is approximately two to three inches off the ground—this provides enough clearance to remove the flat tire and mount the spare. Never crawl under a vehicle supported only by a jack; if you must work beneath it, use jack stands for support. Keep your body clear of the wheel well and never place hands or feet under the vehicle while it’s elevated.
Remove the Flat Tire
With your vehicle securely jacked, finish removing the loosened lug nuts completely, working again in a star pattern to release pressure evenly. Place the nuts in a safe location where they won’t roll away—your pocket, the trunk lip, or a small container all work well.
Grip the flat tire firmly with both hands and pull it straight toward you. If the wheel sticks due to corrosion or debris between the wheel and hub, tap the top of the tire with a rubber mallet or use your lug nuts, threaded partially, to draw the wheel toward you evenly. Never strike a tire with a metal hammer, which can damage the wheel or cause injury.
Once the tire is free, set it aside carefully out of your work area. This flat tire is heavy—handle it carefully to avoid strains, and place it where it won’t create a tripping hazard or roll into your vehicle. Take a moment to inspect the wheel studs and hub while the tire is removed; clean any visible corrosion with a wire brush, as this ensures your spare tire mounts properly.
Mount the Spare Tire
Aligning the spare tire correctly makes the difference between a quick change and a frustrating struggle. Position the spare so that the center hole aligns with the wheel studs, then push the tire onto the studs until it seats fully flat against the mounting surface. If alignment feels off, spin the tire slightly to help the studs find their corresponding holes.
Thread all lug nuts onto the studs by hand first, ensuring each nut engages properly before tightening. Once hand-tight, use your lug wrench to snug the nuts in a star pattern—again, skipping every other nut for even pressure distribution. At this stage, you’re simply preventing the tire from falling off; you’ll achieve final tightness after lowering the vehicle.
For compact spare tires (donuts), be aware that the mounting surface may differ from your standard wheels. These temporary spares often have a specific orientation, and using them incorrectly can affect handling or cause damage. Consult your owner’s manual if uncertain about proper spare installation for your vehicle.
Lower Vehicle and Final Tightening
Operate the jack’s release mechanism slowly to lower your vehicle, allowing the full weight of the car to settle onto the tires before removing the jack completely. This weight seating ensures your spare tire mounts evenly against the hub and that your lug nuts will hold securely.
Once the vehicle sits on all tires and the jack is removed and stored, use a torque wrench to tighten each lug nut to the manufacturer’s specified setting—typically 80 to 100 foot-pounds for most passenger vehicles. Tighten in a star pattern, going around the wheel multiple times to achieve even torque on all nuts. If you don’t have a torque wrench, have a professional check the tightness within 25 to 50 miles of driving, as under-tightened nuts can loosen while over-tightening can warp brake rotors or break studs.
Verify that all lug nuts are properly tightened and that your spare tire sits flush against the vehicle with no visible gap. Check the spare tire’s pressure and inflate if necessary—compact spares typically require 30 to 35 PSI. Secure your flat tire, jack, and tools in their storage locations, and you’re ready to continue your journey.
Understand Spare Tire Limitations
Temporary spare tires (donuts) come with critical restrictions that affect your driving. Most manufacturers limit these compact spares to 50 mph maximum speed and 50 to 70 miles of total driving distance. Exceeding these limits can cause tire failure or affect vehicle handling dangerously. Full-size spare tires typically allow normal speed limits and driving distances, but you should still replace them with a proper tire soon after use.
After installing a spare tire, especially on all-wheel-drive vehicles, expect warning lights or traction control messages—temporary spares often differ in diameter from your regular tires, triggering sensors designed to detect such differences. This is normal and doesn’t indicate a problem with your vehicle. However, driving extended distances on mismatched tires can stress drivetrain components in AWD systems, so address the situation promptly.
Compact spares are designed for emergency use only. The reduced contact patch and different construction mean reduced traction, longer stopping distances, and compromised handling. Drive cautiously, avoid high-speed highways when possible, and reach a tire shop or service center as quickly as safely possible.
Maintain Your Spare Tire
Spare tires often sit unused for years, leading to a common problem: they’re flat when you finally need them. Check your spare tire’s pressure monthly, aiming for 30 to 35 PSI for compact spares or the same pressure as your regular tires for full-size spares. Inflate if necessary, and investigate any rapid pressure loss, which indicates a leak requiring repair or replacement.
Inspect your spare tire visually every six months, checking for dry rot, cracks, bulges, or other damage on the sidewall and tread. Even tires that appear intact deteriorate over time—most manufacturers recommend replacing spares every six to ten years regardless of apparent condition. Full-size spares mounted on external carriers need extra attention, as UV exposure accelerates rubber degradation.
Keep your jack and lug wrench in good working condition. Jacks can rust or develop leaks, making them inoperative when needed. Periodically exercise the jack mechanism and store it in a dry location. Ensure your lug wrench fits your wheel nuts properly, as some vehicles use metric or specialty sizes that require specific tools.
Changing a flat tire is a fundamental skill that empowers you to handle roadside emergencies confidently. By understanding the proper sequence—securing your vehicle, loosening nuts before jacking, mounting the spare correctly, and respecting speed limits—you transform a potentially stressful situation into a manageable task. Regular maintenance of your spare tire and emergency equipment ensures you’re always prepared, while knowing your limitations helps you make smart decisions about when professional assistance is the safest choice.


