
Driving with under-inflated tires creates a dangerous situation that affects your vehicle’s handling, braking, and fuel economy. When your tire pressure warning light illuminates or you notice your tires looking slightly flat, knowing how to put air in tire correctly becomes an essential skill that can prevent roadside emergencies. Most drivers don’t realize that just a 20% reduction in tire pressure can decrease tread life by 25% while increasing stopping distances by up to 10 feet at 50 mph. This comprehensive guide provides step-by-step instructions for inflating tires properly regardless of your vehicle type or available equipment, helping you maintain optimal safety and performance.
Many drivers make the critical mistake of inflating tires to the maximum pressure listed on the tire sidewall rather than using the vehicle manufacturer’s recommended pressure. This common error leads to reduced traction, uneven wear patterns, and a harsher ride. By following this guide, you’ll learn exactly how to determine your vehicle’s specific pressure requirements, select the right inflation equipment, and properly inflate your tires to maximize safety, fuel efficiency, and tire longevity. Whether you’re using a gas station air pump, home compressor, or portable inflator, these techniques ensure accurate results every time.
Find Your Recommended Tire Pressure
Your vehicle’s ideal tire pressure isn’t determined by the tire manufacturer but by your car’s engineering team who calculated the optimal pressure for your specific weight distribution and suspension design. This critical information appears exclusively on the tire placard sticker, typically located on the driver’s side door jamb, glove compartment door, or fuel filler flap. The placard provides separate pressure specifications for front and rear tires and may include different recommendations for normal versus heavy-load conditions. For example, your sedan might require 32 PSI front and 30 PSI rear when unloaded but increase to 35 PSI all around when carrying maximum passengers and cargo.
If the placard is missing or damaged, consult your owner’s manual under the “Tires” or “Vehicle Specifications” section. Never rely on the maximum pressure molded into the tire sidewall—that number represents the tire’s structural limit, not your vehicle’s optimal operating pressure. For modified vehicles with different tire sizes than original equipment, consult a tire professional who can calculate appropriate pressure based on load capacity requirements. Understanding these specifications prevents the common mistake of over-inflating performance tires or under-inflating all-terrain tires on SUVs, both of which compromise handling and safety.
Choose the Right Air Pump

Gas station air pumps offer the most accessible option but come with significant limitations. These public compressors often deliver inconsistent pressure readings and may shut off prematurely due to coin mechanisms or time limits. When using them, bring your own digital pressure gauge to verify readings since station gauges frequently deviate by 3-5 PSI from actual pressure. Many modern stations now feature free air pumps with digital displays, but these still require careful monitoring to prevent over-inflation, especially for smaller tires that reach target pressure quickly.
For reliable home maintenance, invest in a quality 12V portable air compressor that plugs into your vehicle’s power outlet. These units typically cost $30-$80 and provide consistent pressure control with automatic shut-off features that stop inflation precisely at your target PSI. Look for models with built-in pressure gauges, LED work lights, and multiple nozzle attachments for different valve types. If you frequently drive in remote areas or own a trailer, consider a heavy-duty compressor capable of inflating larger tires to higher pressures. The best portable units can inflate a standard passenger tire from 20 PSI to 35 PSI in under two minutes while maintaining accuracy within 1 PSI of your target.
Locate and Access Tire Valves
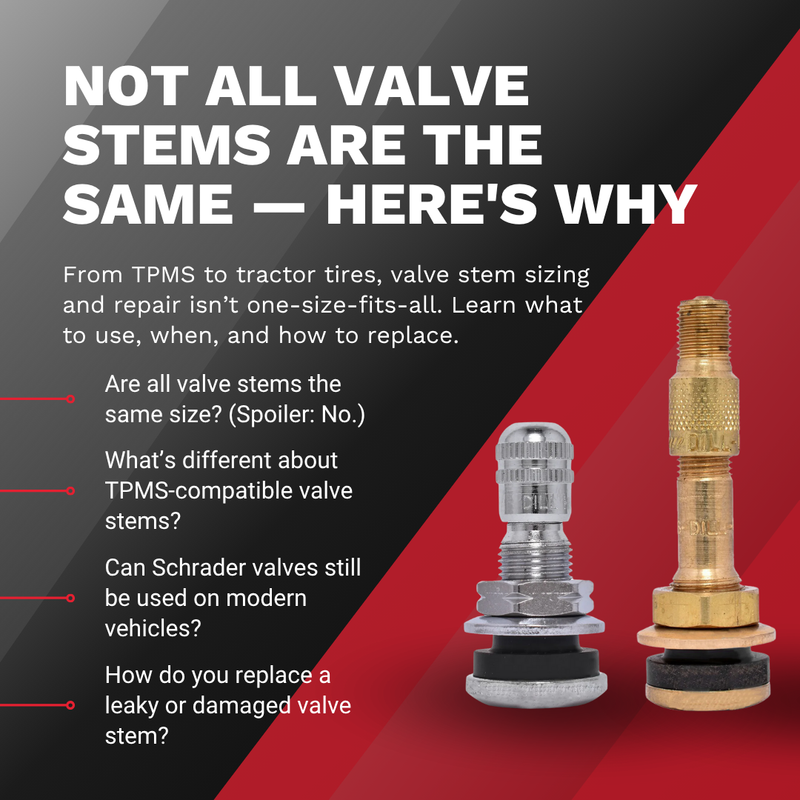
Schrader valves—the standard type on most passenger vehicles—require proper handling to prevent damage during inflation. Before attaching any hose, remove the valve cap by turning it counterclockwise while applying slight outward pressure. Store the cap in a clean spot like your cup holder to avoid losing it in dirt or grass. Inspect the valve stem for cracks, corrosion, or bends that could cause air leaks—replace damaged stems immediately as they compromise your ability to maintain proper pressure. Never force the air chuck onto the valve stem; instead, align it straight and press firmly until you hear air flowing.
For vehicles equipped with Tire Pressure Monitoring Systems (TPMS), be especially careful not to damage the sensor inside the valve stem. TPMS-compatible valve caps have flat tops rather than the traditional rounded design, providing clearance for the sensor electronics. If your vehicle has aluminum valve stems (common on luxury vehicles), avoid using standard steel caps that can cause galvanic corrosion. When inflating tires with TPMS, listen for a brief beep from your dashboard after reinstalling the cap—this confirms the system has reinitialized and is monitoring pressure correctly.
Check Current Tire Pressure
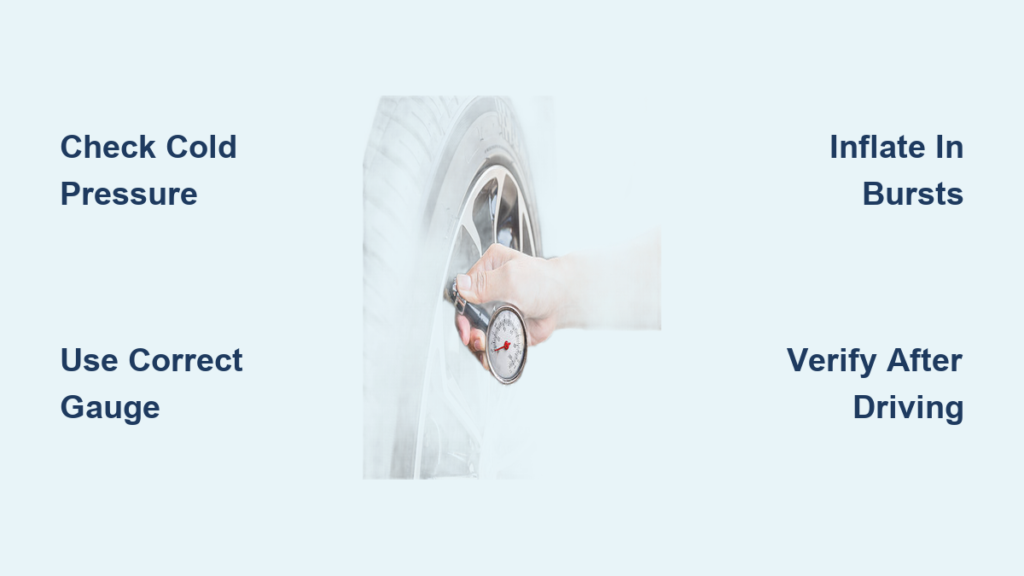
For accurate readings, check tire pressure when tires are “cold”—meaning the vehicle has been parked for at least three hours or driven less than one mile at moderate speed. Driving heats tires, increasing pressure by 2-4 PSI above cold specifications. To measure, press your gauge firmly onto the valve stem in one smooth motion until the hissing stops, indicating a proper seal. Digital gauges display readings instantly, while analog “pencil” gauges require interpreting a sliding rod position. Always check all four tires plus the spare, as pressure loss can occur unevenly due to different wear patterns or minor punctures.
Record each tire’s pressure on your phone or a notepad before inflating. This documentation helps identify persistent pressure loss in specific tires that may indicate slow leaks requiring professional attention. If a tire consistently loses more than 1 PSI per week, investigate for punctures, valve issues, or bead leaks rather than simply adding air regularly. Remember that seasonal temperature changes affect pressure significantly—a 20°F drop can reduce pressure by 1 PSI, making fall and spring ideal times for thorough pressure checks.
Inflate Tires Correctly
When using public air pumps, insert coins and activate the compressor, then attach the hose to your valve stem before turning on the air flow. Inflate in 3-second bursts, checking pressure after each burst to avoid overshooting your target. Home and portable compressors with automatic shut-off features allow more precise control—simply set your target pressure and let the pump stop automatically when reached. If you accidentally over-inflate, press the center pin of the valve stem with your gauge’s depressor button to release small amounts of air while monitoring the gauge.
After reaching your target pressure, remove the hose quickly and completely before reinstalling the valve cap. Wait 30 seconds to ensure no air continues escaping from the connection point. Check pressure again after driving 5-10 miles to confirm stability—significant pressure increase suggests you inflated warm tires, while pressure loss indicates a leak requiring attention. For vehicles with staggered tire sizes (different front and rear widths), double-check that you’ve inflated each axle to its specific recommended pressure.
Troubleshoot Common Inflation Issues
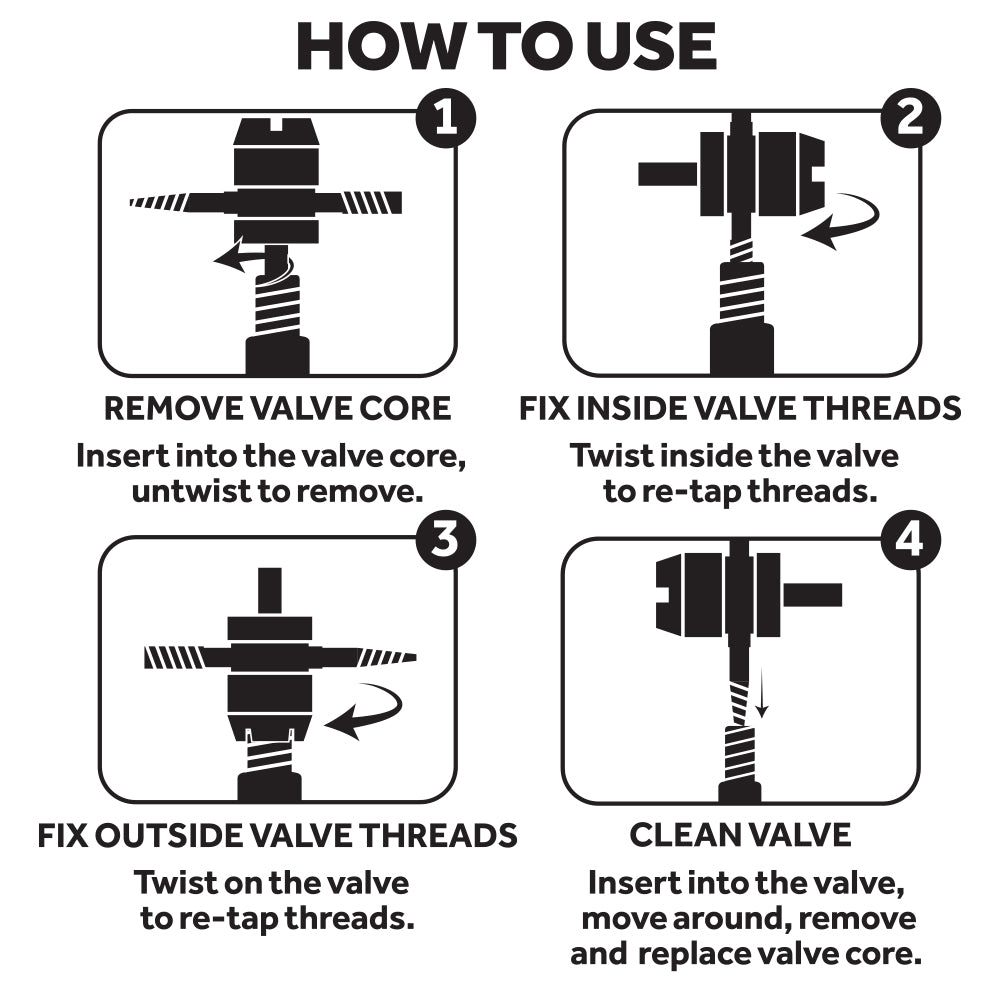
If air escapes around the valve stem during inflation, the problem likely involves a damaged valve core. Remove the core with a specialized tool (available at auto parts stores for under $5), inspect the rubber seal for nicks or debris, and replace if necessary. Persistent hissing after inflation usually indicates a bead leak where the tire meets the rim—this requires professional attention as the tire must be demounted and remounted properly. Water trapped in the valve stem can cause intermittent leaks, especially after rain; dry the area thoroughly before inflating.
When a tire won’t hold pressure despite multiple inflation attempts, check for punctures by spraying soapy water around the valve stem and tire surface—bubbles will form at leak points. Small tread punctures (under 1/4 inch) can often be repaired with a plug kit, but sidewall damage requires immediate tire replacement. If your TPMS light remains illuminated after proper inflation, drive for 10-15 minutes to allow the system to recalibrate, or manually reset it using your vehicle’s dashboard controls.
Maintain Proper Inflation Long-Term
Establish a monthly tire pressure check routine, ideally on the same day each month when temperatures are similar. Keep your pressure gauge in your glove compartment for easy access and calibrate it annually against a known-accurate gauge. Replace rubber valve caps every two years as the seals degrade over time, causing slow air loss. During seasonal transitions, check pressure within one week of significant temperature changes (20°F or more) to compensate for natural pressure fluctuations.
Consider installing TPMS valve stem extensions if you have deep-dish wheels that make valve access difficult—they provide additional reach without compromising pressure readings. For fleet vehicles or multiple cars, maintain separate logs for each vehicle to track pressure patterns and identify developing issues early. Remember that properly inflated tires improve fuel economy by up to 3%, potentially saving $100+ annually at current gas prices while extending tire life by thousands of miles.
Regular tire pressure maintenance represents one of the simplest yet most impactful vehicle care routines you can perform. By following these precise techniques for finding your correct pressure, selecting appropriate equipment, and executing proper inflation procedures, you ensure optimal safety, performance, and cost efficiency. Make tire pressure checks part of your monthly vehicle maintenance checklist—these quick inspections prevent the cumulative damage of under-inflation that leads to premature tire replacement and compromised handling. When confronted with persistent pressure loss or complex inflation issues beyond these basic procedures, consult a qualified tire professional who can diagnose and resolve problems that simple air addition cannot fix. Your safety on the road depends on properly inflated tires, so make this essential maintenance task a non-negotiable part of your driving routine.


