
Ever tried checking your wheel offset only to realize the tire’s already mounted? You’re not alone. Many DIY mechanics and automotive enthusiasts face this exact challenge when verifying fitment, troubleshooting rubbing issues, or planning modifications. Measuring rim offset with a tire on requires specialized techniques since the mounted tire blocks direct access to the mounting flange—the reference point used in standard offset measurements. Without this critical dimension, you risk clearance issues, improper handling characteristics, or even safety concerns when modifying your vehicle’s wheel setup.
Wheel offset (designated as “ET” from the German Einpresstiefe) determines how far your wheel sits inside or outside the wheel well—directly impacting handling, clearance, and aesthetics. The good news? You can accurately determine this measurement without dismounting the tire using simple tools and straightforward calculations. This guide reveals three proven field methods that professional wheel specialists use when time and equipment are limited, complete with step-by-step instructions you can implement today with basic garage tools.
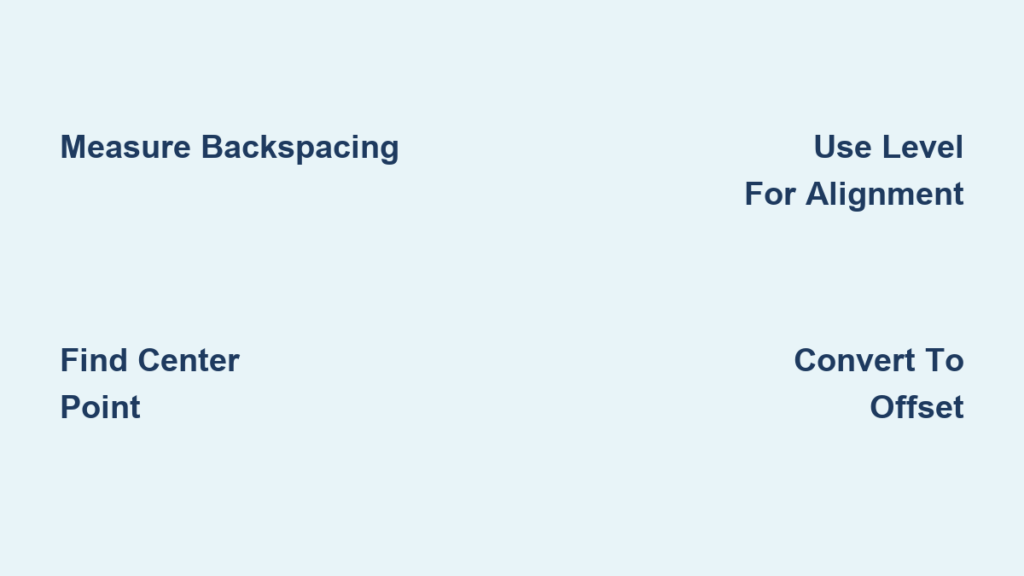
Why Backspacing Measurement Beats Direct Offset Reading
When your tire’s mounted, measuring backspacing becomes your most reliable first step before converting to offset. Backspacing measures from the hub mounting surface to the wheel’s innermost edge (in inches), while offset measures from the mounting surface to the wheel’s centerline (in millimeters). The confusion between these terms causes countless fitment errors—many enthusiasts unknowingly order wheels with incompatible clearances because they misinterpret these specifications.
Here’s what you need to know: backspacing provides immediate clearance information that directly relates to your suspension components and fender wells. A wheel with 5.5″ backspacing positions the hub 5.5 inches toward the vehicle’s centerline from the wheel’s inner edge. This measurement matters more practically when you’re checking for brake clearance or fender rub than the abstract centerline reference used in offset calculations.
Converting Backspacing to Offset: The Critical Formula
Follow these steps to transform your backspacing measurement into the standard offset value:
- Measure total wheel width across the bead seat (where the tire contacts the rim), not the outer tire shoulder
- Divide this width by two to find the theoretical center point
- Subtract this center point from your backspacing measurement
- Convert the result to millimeters by multiplying by 25.4
Example: With 9″ wheel width and 5.5″ backspacing
Center point = 9 ÷ 2 = 4.5″
Offset = 5.5″ – 4.5″ = 1″
Final offset = 1 × 25.4 = ET25
Pro Tip: Mark the center point on both wheel sides with tape before measuring—this visual reference prevents common calculation errors when working with mounted tires.
Essential Tools for Accurate Field Measurements

Skip the specialized wheel measuring equipment—these household items deliver professional results:
- Steel tape measure (minimum 10′ length with mm and inch markings)
- 48″ carpenter’s level (rigid straight edge essential for true reference planes)
- Jack stands (never work under a vehicle supported only by a jack)
- Chalk or masking tape (for marking critical reference points)
- Digital caliper (optional but improves width measurement accuracy)
Critical Warning: Avoid flexible cloth tape measures—they sag across wheel widths, introducing 3-5mm errors that completely invalidate offset calculations. The slight curve in a hanging cloth tape creates systematic measurement bias that compounds through your calculations.
Method 1: The Backspacing Conversion Technique
This approach delivers reliable results in under 5 minutes with basic tools:
- Measure true wheel width: Position your tape across the bead seat area (where the tire sits on the rim), not the outer tire shoulder. Record in inches.
- Establish backspacing: Place your level across the wheel mouth, resting it on the mounting flange. Measure vertically from the level’s bottom edge down to the innermost wheel barrel point.
- Calculate offset: Use the formula: Offset = Backspacing – (Wheel Width ÷ 2) × 25.4
Troubleshooting Tip: If your tape measure won’t reach from level to inner barrel, use a ruler vertically against the wheel and measure the ruler’s position from the level—then add both measurements.
Common Pitfalls to Avoid
- Measuring tire width instead of wheel width: Tire shoulders extend beyond the rim—always measure where metal contacts rubber
- Ignoring tire pressure effects: High pressure bulges sidewalls outward, throwing off measurements. Check at normal operating pressure.
- Measuring at an angle: Keep your tape perpendicular to the wheel plane—angled measurements create false readings
Method 2: Direct Centerline Measurement

When you need immediate offset verification without conversion math:
- Find true center: Measure wheel width at the bead seat, divide by two, and mark this center point on both outer flanges with tape.
- Position reference plane: Place your level across the wheel mouth, aligning its edge with your center marks on both sides.
- Measure to mounting surface: Drop a perpendicular measurement from the level down to the hub mounting surface at the wheel’s center.
Visual Cue: The mounting surface appears as a smooth, flat area around the center bore and lug holes—distinct from the textured brake dust areas.
Difficulty Indicator: ★★☆☆☆ (Moderate) – Requires precise level positioning but eliminates conversion errors. Best performed with a second person holding the level steady.
Method 3: Vehicle-Mounted Wheel Verification
For measurements without wheel removal:
- Create working space: Jack vehicle safely and support on stands. Remove lug nuts and pull wheel 1-2 inches from hub.
- Establish reference: Place level across the hub mounting face, extending beyond the wheel’s outer edge.
- Measure centerline position: Determine half the wheel width, then measure from hub to this center point along the level.
Time Estimate: 8-12 minutes per wheel. Critical Safety Note: Never pull the wheel more than necessary—excessive separation risks damaging brake lines or axles.
Decoding Your Measurement Results
Now that you have your offset value, interpret what it means for your vehicle:
- ET20 to ET35: Standard range for most front-wheel-drive vehicles
- ET15 to ET25: Common for performance/staggered fitments
- Negative ET values: Aggressive fitments pushing wheels outward
Clearance Warning: Every 10mm reduction in positive offset moves the wheel 10mm outward. A wheel rubbing at ET40 will clear with ET30—but may introduce dangerous handling changes.
If your measurement differs significantly from manufacturer specifications, recheck using multiple methods before concluding the wheel is non-standard. Most production wheels maintain offset tolerances within ±2mm.
When to Dismount the Tire for Verification
Certain scenarios demand direct measurement that overrides field techniques:
- Suspension modifications exceeding 1.5″ drop
- Aftermarket wheels with non-standard mounting flanges
- Suspected bent rims from curb impacts
- When clearance is within 5mm of fender lip
Professional Insight: Wheel shops typically dismount tires only when measurements vary by more than 3mm from specifications or when clearance issues persist despite apparent correct offset.
Maintaining Measurement Accuracy
Implement these verification practices before making modification decisions:
- Cross-verify with two methods (e.g., backspacing conversion + direct centerline)
- Measure at three points around the wheel and average results
- Compare against manufacturer specs for your exact wheel model
- Document measurements with photos showing reference points
Pro Tip: Create a permanent wheel specification sheet for your garage—record offset, width, bolt pattern, and clearance measurements for future reference.
Accurately measuring rim offset with a tire mounted transforms from frustrating challenge to routine procedure when you master these three field-proven techniques. Start with the backspacing conversion method for its simplicity, then progress to direct centerline measurement as your confidence grows. Remember that consistent measurement practices—not expensive tools—deliver reliable results. Keep your steel tape measure and carpenter’s level in your garage toolkit, and you’ll never need to dismount tires just to verify basic fitment specifications. Whether you’re troubleshooting clearance issues or planning your next wheel upgrade, these methods put critical fitment data at your fingertips without requiring professional equipment or tire dismounting.


