
Nothing transforms a vehicle’s appearance like deeply black, glistening tires that look freshly detailed. When your tires shine with that rich, wet-looking finish, your entire car appears cleaner and better maintained. Many car owners struggle with tire dressings that leave greasy residue, attract dust quickly, or create dangerous slippery surfaces on garage floors. The right silicone tire shine application technique solves these problems while delivering that coveted showroom finish that lasts weeks instead of days.
Silicone-based tire dressings have become the go-to solution for professional detailers and car enthusiasts who want durable, non-greasy results. Unlike petroleum-based products that can dry out rubber over time, quality silicone formulas actually condition while providing that dramatic shine. The key isn’t just which product you choose—it’s how you prepare, apply, and maintain your tire shine for optimal results. This guide reveals the exact step-by-step process to achieve professional-quality silicone tire shine that enhances your vehicle’s appearance without compromising safety.
Essential Tire Preparation Before Silicone Application
Proper preparation makes the difference between temporary shine that washes off after one rain and a durable finish that lasts for weeks. Most tire shine failures happen before the product even touches the rubber because of inadequate cleaning.
Why Thorough Cleaning Matters for Long-Lasting Shine
Dirty tires repel dressing instead of absorbing it properly. Embedded brake dust, road grime, and old dressing residue create a barrier that prevents silicone from bonding with the tire surface. This results in uneven coverage and significantly reduced longevity. Take 15 minutes to clean properly and your tire shine will last 3-4 times longer.
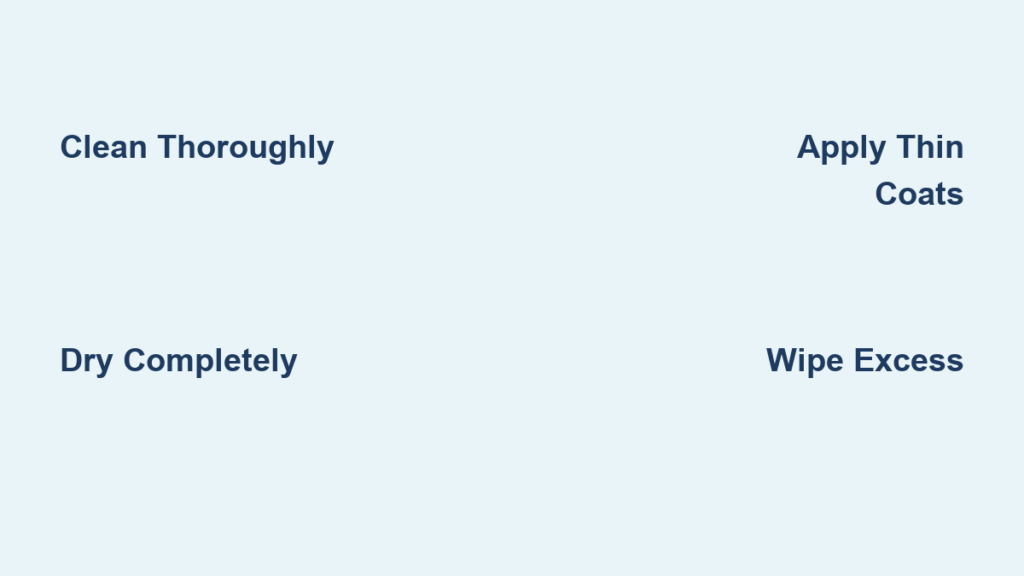
Complete Tire Cleaning Procedure
- Rinse tires with water to remove loose debris
- Apply dedicated tire cleaner (avoid wheel cleaners with harsh acids)
- Use a stiff-bristled tire brush to work cleaner into sidewall texture
- Focus special attention on the tire’s “valley” where the tread meets the sidewall
- Rinse thoroughly until water runs clear
- Dry completely with microfiber towels or allow to air dry
Common mistake: Skipping the drying step. Moisture trapped under silicone dressing creates splotchy results and prevents proper adhesion. Always ensure tires are completely dry before proceeding.
Selecting the Right Silicone Tire Shine Formula
Not all silicone tire dressings deliver the same results. Understanding the different formulations prevents disappointment and wasted money on products that don’t match your expectations.
Water-Based vs. Solvent-Based Silicone Dressings
Water-based silicone shines offer easier application and cleanup with less intense fumes. They typically provide a medium to high gloss finish that lasts 1-2 weeks. Solvent-based formulas penetrate deeper for longer-lasting results (3-4 weeks) but require better ventilation during application and more precise technique to avoid overspray.
Shine Level Options: From Satin to Mirror Finish
Choose your finish based on personal preference and vehicle type:
– Satin/matte: Subtle enhancement that looks factory-fresh (ideal for off-road vehicles)
– Semi-gloss: Balanced shine that shows improvement without being flashy
– High-gloss/wet look: Dramatic mirror-like finish favored by show car owners
Professional Silicone Tire Shine Application Technique

The application method matters as much as the product itself. Follow these steps for perfect coverage without messy overspray or slippery residue.
Required Tools for Clean Application
- High-quality foam or microfiber applicator
- Small detail brush for precision work
- Microfiber towels for wipe-down
- Painter’s tape (optional for extreme precision)
- Spray bottle with water (for dilution if needed)
Step-by-Step Application Process
- Shake product thoroughly before use
- Apply small amount to applicator—less is more with silicone dressings
- Work in small sections (one tire quadrant at a time)
- Apply evenly using circular motions to ensure complete coverage
- Pay special attention to branding and raised letters for dramatic effect
- Allow 2-3 minutes for initial setting before moving to next section
- After completing all tires, wait 10 minutes then lightly wipe sidewalls with dry microfiber
Pro tip: For the deepest shine, apply a second thin coat after the first has set for 15 minutes. This builds intensity without creating a slippery surface.
Avoiding Common Silicone Tire Shine Mistakes

Even with quality products, improper technique leads to disappointing results. Recognize these frequent errors before they ruin your detailing job.
Why Your Tires Might Look Splotchy After Application
Splotchiness usually indicates either uneven application or insufficient cleaning. Tires with varying levels of porosity absorb dressing differently, creating light and dark patches. Fix this by ensuring thorough cleaning and applying multiple thin coats rather than one heavy application.
Preventing Garage Floor Slip Hazards
The number one safety concern with tire shine is creating slippery surfaces where you park. Prevent this by:
– Wiping the very bottom edge of tires with a dry microfiber
– Avoiding excess product on the tread area
– Allowing tires to dry completely before driving
– Using water-based formulas which create less transfer
Maximizing Silicone Tire Shine Longevity
Extend your detailing results with these maintenance techniques that keep tires looking fresh between applications.
Environmental Factors That Affect Durability
Silicone tire shine lasts significantly longer in moderate climates. Extreme heat accelerates breakdown of the dressing, while heavy rain obviously washes it away faster. Expect 3-4 weeks of protection in ideal conditions, but only 1-2 weeks during summer months with frequent afternoon thunderstorms.
Touch-Up Techniques Between Full Applications
When shine starts fading but isn’t completely gone:
1. Clean tires with quick detailer spray
2. Apply small amount of silicone dressing only to faded areas
3. Blend into existing dressing with clean applicator
4. Wipe lightly with microfiber for uniform appearance
Troubleshooting Poor Silicone Tire Shine Results
Even with proper technique, sometimes results don’t meet expectations. These solutions fix common issues.
Why Silicone Dressing Might Not Be Sticking Properly
If your dressing beads up or wipes off easily, your tires likely have a silicone buildup from previous applications. Strip old dressing with a dedicated tire cleaner before attempting a new application. Some tires also have mold release agents that prevent adhesion—multiple cleaning cycles may be necessary for stubborn cases.
Fixing Overly Shiny or “Wet” Looking Tires
If the shine appears unnatural or too intense:
– Dilute dressing with water (50/50 ratio)
– Apply thinner coats
– Choose a satin formula for your next application
– Wipe with microfiber towel to reduce intensity
Seasonal Considerations for Silicone Tire Shine
Adjust your approach based on weather conditions for optimal results year-round.
Summer Application Adjustments
High temperatures cause silicone dressings to dry too quickly, making even application difficult. Work in the early morning or evening when temperatures are cooler, and apply smaller sections at a time. Keep a spray bottle of water nearby to mist applicator if product starts drying too fast.
Winter Tire Shine Challenges
Cold rubber is less receptive to dressing. Warm tires slightly with direct sunlight or by driving the vehicle before application. Choose solvent-based formulas which perform better in cold conditions, and allow extra drying time before exposing to moisture.
Cost-Effective Silicone Tire Shine Routine
Achieve professional results without breaking the bank by optimizing your product usage and application frequency.
Making Small Amounts Last Longer
A little silicone dressing goes a long way. For most passenger vehicles, 2-3 ounces is sufficient for all four tires when applied properly. Use foam applicators instead of sprays to minimize waste, and store product in a cool, dark place to extend shelf life.
When to Reapply for Best Value
Don’t wait until shine completely disappears before reapplying. Schedule maintenance applications when shine has faded by about 50%. This maintains consistent appearance while using less product overall than waiting for complete deterioration.
Final Note: Properly applied silicone tire shine transforms your vehicle’s appearance while protecting rubber from drying and cracking. By following these preparation, application, and maintenance techniques, you’ll achieve that coveted deep, wet-looking finish that lasts for weeks without slippery residue. The key to professional results lies in thorough cleaning, precise application, and understanding how environmental factors affect longevity. For best results, establish a regular tire care routine that includes cleaning and conditioning—not just cosmetic enhancement. Your tires will look dramatically better while benefiting from the protective properties of quality silicone dressing.


