
Your tubeless tire won’t seal properly and you’re frustrated after 20 minutes of wrestling with stubborn beads that refuse to seat. You’re not alone—nearly 60% of cyclists abandon their first tubeless conversion attempt because they don’t know the critical valve preparation step that makes or breaks the entire process. Installing a tubeless bike tire seems straightforward until you face the dreaded air leaks and bead failures that turn a simple upgrade into a weekend project. This guide reveals the exact sequence professional mechanics follow to get tubeless tires seated on the first try, including the sealant quantity sweet spot most riders miss and the inflation technique that works even with stubborn carbon rims.
Essential Tubeless Installation Tools You Can’t Skip
Skip the tire levers and grab these specific tools that guarantee success. A standard floor pump won’t deliver the sudden air burst needed to seat stubborn beads—invest in a tubeless-specific floor pump with an air chamber or have a CO2 inflator ready for emergency bursts. Your valve choice matters more than you think: use a proper tubeless valve with removable cores that allows sealant injection without removing the tire. Don’t risk damaging your rim tape with improper tools—a plastic tire spoon prevents carbon rim scratches while providing better leverage than metal levers.
Why Your Current Sealant Amount Is Wrong
Most riders use either half or twice the correct sealant quantity, causing chronic leaks or unnecessary rotational weight. For standard 29″ mountain bike tires (2.2-2.4″ width), use 30-60ml depending on terrain: 30ml for dry conditions, 45ml for mixed trails, and 60ml for thorny or rocky terrain. Road cyclists with 700x25c tires need just 25-35ml while plus-sized mountain tires (3″+) require 80-100ml. Measure precisely using the graduated lines on quality sealant bottles—eyeballing leads to either frequent top-ups or sluggish acceleration from excess liquid sloshing.
Preparing Your Rim Before Mounting the Tire

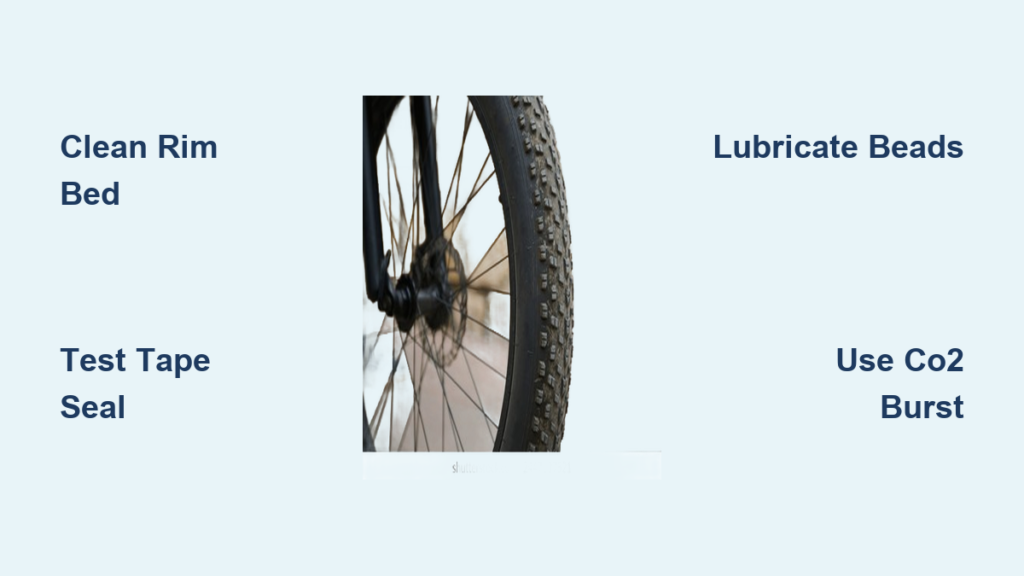
Clean your rim bed thoroughly with isopropyl alcohol before applying new tape—old sealant residue creates microscopic channels for air escape. Start taping 2 inches past the valve hole and work clockwise around the rim, maintaining slight tension to prevent wrinkles. Overlap the starting point by 1 inch and cut carefully with a sharp blade. Install your valve through the hole immediately after taping while the adhesive is still slightly tacky—forcing it through hardened tape creates gaps that leak air.
How to Test Your Rim Tape Seal Before Mounting Tires
Skip this critical step and you’ll waste sealant chasing phantom leaks. Inflate your bare taped rim to 60 PSI (road) or 40 PSI (MTB) and submerge it in a bucket of water. Watch for streams of bubbles indicating tape failures—common at spoke holes and valve stems. Patch any leaks with rim tape patches before proceeding. This 5-minute test prevents hours of troubleshooting after your tire is mounted and you’re blaming the tire beads instead of your foundation.
Mounting Tubeless Tires Without Damaging Beads
Lubricate only the tire beads—not the rim—with a dedicated tire mounting gel or diluted dish soap solution. Start mounting the first bead dry, then apply lubricant to the second bead as you work it over the rim. Leave the valve stem area for last—this prevents accidental valve core damage during installation. When the final section resists seating, push both beads toward the rim center channel while working the stubborn section with your thumbs. Never use metal tire levers on the final section—flex the rim slightly by sitting on it while pushing the bead over.
Why Your Tire Won’t Seat on the First Attempt
If your tire beads won’t pop into place after initial inflation, check these three failure points: insufficient bead lubrication (add more soap solution to the stubborn section), rim tape gaps (listen for hissing near the rim bed), or improper tire alignment (one bead partially unseated while inflating). For particularly stubborn tires, deflate completely, re-lubricate the beads, and try again—forcing it with excessive pressure often damages beads.
Seating Stubborn Tubeless Tire Beads Successfully
When standard inflation fails, try the “rim flex” technique: stand the wheel vertically, place your foot on the lower rim, and push the upper rim toward you while rapidly pumping. The slight rim deformation creates space for the bead to jump into position. For carbon rims that resist flexing, use the “towel wrap” method: wrap a thick towel around the tire’s top half and pull both ends toward you while inflating—this compresses the tire diameter momentarily.
Emergency CO2 Fix for Problematic Bead Seating
Keep one CO2 cartridge ready for bead seating emergencies. With your floor pump connected but unable to seat the bead, quickly swap to a CO2 inflator and discharge the entire cartridge in one burst. The sudden high-volume air surge often pops stubborn beads into place where gradual inflation fails. Warning: don’t exceed 120 PSI with CO2 as the rapid gas expansion can damage tires—immediately reduce pressure to riding levels after seating.
Adding Sealant Through Valve Without Removing Tire
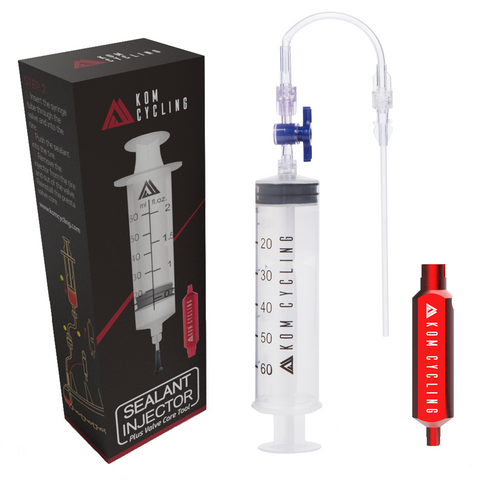
Remove the valve core completely—this creates a 6mm opening large enough for sealant flow. Use a sealant injector bottle with a narrow nozzle or a modified ketchup bottle for precise control. Tilt the wheel so the valve is at the bottom position, then slowly inject sealant while rotating the wheel to distribute liquid evenly. Reinstall the valve core immediately after injection to prevent sealant leakage through the core threads.
How to Rotate Sealant Evenly After Installation
After adding sealant, spin the wheel vigorously for 30 seconds while holding it vertically—this coats the entire tire interior before the sealant starts curing. Then, take a short 5-minute test ride around your neighborhood at low speed to distribute sealant further before your first real ride. Don’t skip this step: uneven sealant distribution leaves vulnerable sections prone to punctures.
Troubleshooting Common Tubeless Installation Failures
Persistent air loss after 24 hours usually indicates a tape failure rather than a tire defect. Deflate completely, remove the tire, and inspect your rim tape for wrinkles or gaps—especially at the valve stem. Apply a thin layer of sealant directly to tape seams using a small brush before reassembling. For chronic bead leaks at specific points, clean those sections with alcohol, apply bead sealant gel, and reinflate.
Why Your Tubeless Tire Keeps Losing Air Overnight
If your tire loses significant pressure overnight but holds during rides, check your valve core tightness—a loose core leaks slowly but seals under riding vibration. Tighten the core with a valve tool (hand-tight only—over-tightening cracks the rubber seal). Also inspect the valve stem base for small cracks caused by improper installation—replace damaged valves immediately.
Post-Installation Checks Before Your First Ride
Spin your wheel slowly while pressing your finger against the tire bead all the way around—feel for consistent seating with no sections sitting lower than others. Inspect both bead seats from the side for uniform distance from the rim edge. Inflate to 10 PSI above your normal riding pressure for 24 hours before your first ride—this allows sealant to coat and seal microscopic porosity in new tires.
Critical First Ride Protocol for New Tubeless Setups
On your initial ride, start with smooth terrain at lower pressure (2-3 PSI below normal) for the first 10 miles. This allows sealant to react to any small punctures while minimizing rolling resistance from partially cured sealant. Gradually increase to your normal pressure and terrain over the next three rides as the sealant fully cures inside the tire casing.
Maintaining Your Tubeless System for Long-Term Reliability
Refresh your sealant every 2-6 months depending on climate—dry conditions evaporate sealant faster while humidity extends its life. Check sealant levels by squeezing the tire sidewalls; if you don’t feel liquid movement, add 15-20ml through the valve. Never mix different sealant brands as chemical incompatibilities can create ineffective gunk. Clean dried sealant from valve cores monthly with a small brush to maintain proper airflow.
When to Replace Your Tubeless Rim Tape Completely
Replace rim tape every 2 years or immediately if you notice persistent leaks that sealant can’t fix. Carefully remove old tape using dental floss worked under the edge—you’ll discover why your previous setup leaked when you see the accumulated sealant residue clogging spoke holes. Always measure tape width against your internal rim width: tape should extend 2-3mm past the rim hook on both sides for complete coverage.
Proper tubeless installation transforms your riding experience but demands attention to often-overlooked details. By following these precise techniques—especially the rim tape integrity check and strategic sealant quantities—you’ll achieve reliable setups that eliminate flats without the weight penalty of inner tubes. Remember that 80% of tubeless failures stem from rim preparation issues rather than the tire itself, so invest time in your foundation. After your first successful installation, the process becomes second nature and you’ll wonder why you ever rode with tubes. Keep a small tube and pump in your saddle bag during the break-in period, but within three rides you’ll gain the confidence to leave them behind completely.


