
Replacing a tire on your folding bike doesn’t require professional help when you know the right technique. Unlike standard bicycles, folding bikes feature compact wheels with tighter tolerances that make tire installation slightly more challenging. Whether you’re fixing a flat during your commute or upgrading to puncture-resistant tires for your daily rides, mastering this essential skill saves you time, money, and the frustration of being stranded with a damaged tire. Most riders can complete the entire process in under an hour once they understand the specific considerations for folding bike wheels.
Folding bike tires typically come in 16-inch or 20-inch diameters, significantly smaller than standard road or mountain bike wheels. This compact size means less rubber to work with when mounting the tire, requiring more precise technique to avoid pinching the inner tube or damaging the tire bead. The folding mechanism itself doesn’t directly affect tire installation, but the compact frame design often creates tighter clearances between tire and frame that demand extra attention during installation. With the proper approach, you’ll achieve a secure fit that rolls smoothly and handles confidently.
This guide provides step-by-step instructions specifically tailored for folding bike tire installation, including tool selection, rim preparation, mounting techniques that prevent common mistakes, and post-installation checks that ensure safety and performance. You’ll learn professional tricks that make the process easier and discover how to maximize your new tire’s lifespan through proper maintenance.
Gather Essential Tools and Materials
Before touching your bike, assemble these critical items to avoid mid-process frustration. The specialized nature of folding bike tires means generic bike tools sometimes fall short, so select components designed for smaller wheel applications. You’ll need three plastic tire levers with tapered edges—not the bulky versions made for mountain bikes—as their thinner profile slides more easily between the tight rim-tire gap on folding bikes. Look for levers with a slight hook at the end that catches the tire bead securely without damaging it.
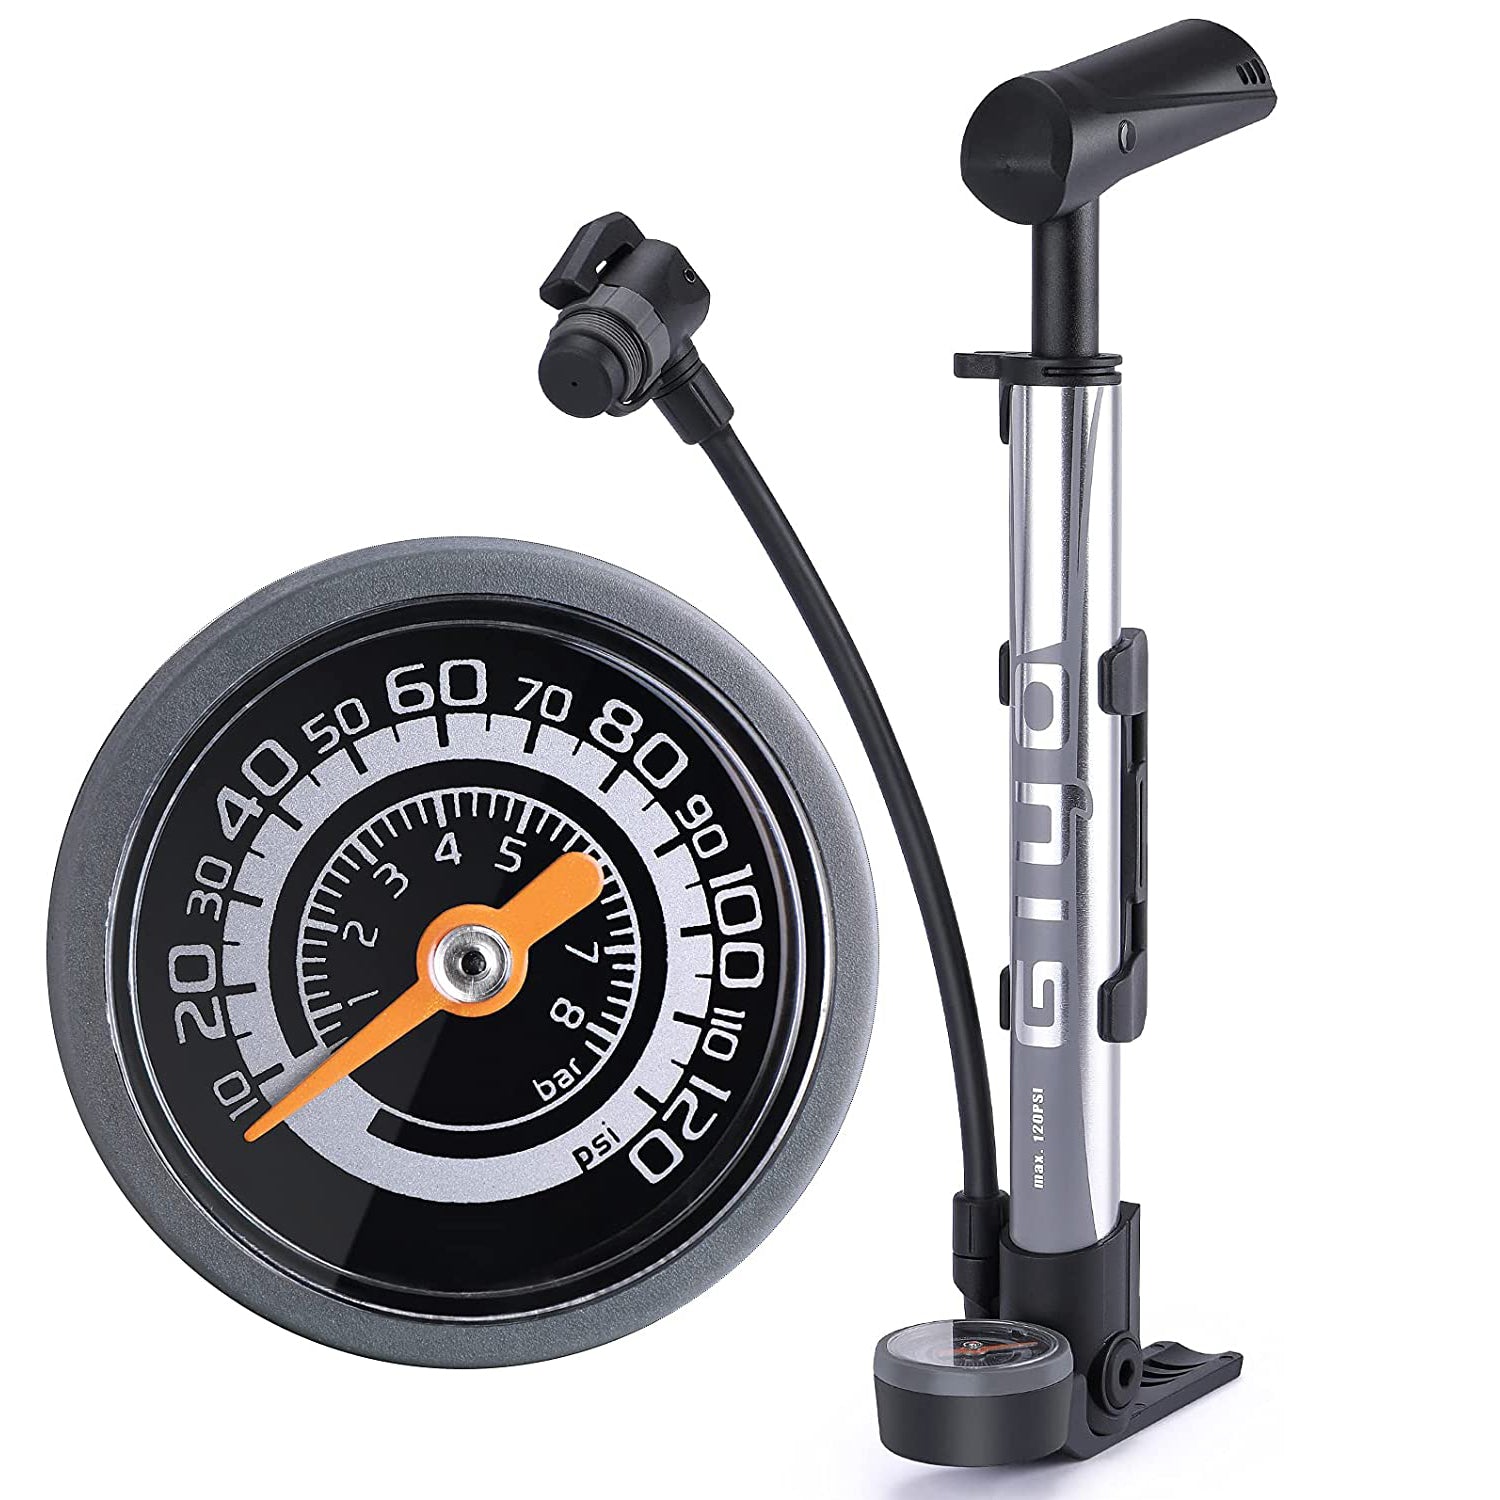
Your floor pump must feature an accurate pressure gauge since folding bike tires operate at higher pressures than standard bicycles—typically 80-110 PSI. The smaller wheel diameter requires this increased pressure to maintain rolling efficiency and prevent pinch flats. Confirm your pump has both Presta and Schrader valve compatibility, as most folding bikes use Presta valves which require a different pump head configuration. Consider a mini pump with a pressure gauge for roadside emergencies, but rely on a floor pump for initial installation where precise pressure matters most.
When selecting replacement tires, match both diameter and width specifications exactly. These measurements appear on your current tire’s sidewall as “20 x 1.50” or similar—the first number indicates wheel diameter in inches, the second shows tire width. Installing a tire that’s too wide risks frame rub during steering or folding, while an overly narrow tire compromises stability and increases puncture risk. Folding-specific tires often feature reinforced sidewalls to withstand the additional stress of repeated folding and unfolding. For urban commuting, consider tires with puncture protection belts; for mixed terrain, choose models with light tread patterns that still roll efficiently on pavement.
Prepare Your Workspace and Bike
Create a dedicated workspace with a clean, flat surface and adequate lighting—your kitchen table often works better than a dim garage for this precision task. Lay down an old towel to catch dirt and prevent component loss, as small parts like valve nuts can easily roll away on hard surfaces. Fully unfold your bike to access the wheels properly; attempting tire installation while partially folded creates awkward angles that increase the risk of pinching the tube.
Before removing wheels, shift the chain to the smallest rear cog (for rear wheel work) to create maximum clearance. Folding bikes often have unique wheel retention systems, so locate your quick-release lever or axle nuts and verify they’re functioning properly. Some models require loosening additional bolts or disengaging folding locks before wheel removal—consult your owner’s manual if unsure, as forcing components can cause damage. Release brake tension if your bike has rim brakes, as tight brake pads prevent wheel removal.
Inspect your new tire for manufacturing defects by running your fingers along the entire circumference, checking for cuts, uneven thickness, or embedded debris. Verify the inner tube matches your tire size and valve type—Presta valves are most common on folding bikes and require specific pump heads. Lay out all components in the order you’ll need them: old tire at one end, new tire in the middle, and tools at the other. This systematic arrangement prevents confusion during the process and ensures you won’t discover missing items mid-installation.
Remove the Old Tire Safely
Completely deflate the tire by pressing the valve core inward until no air escapes—partial deflation makes removal significantly harder on tight-fitting folding bike tires. For Presta valves, unscrew the tip completely before depressing the core. Position the wheel on your work surface with the valve stem facing away from you, then insert your first tire lever between the tire bead and rim about six inches from the valve. Hook the lever over the rim edge, then slide it around the wheel to release more tire bead while keeping the lever securely hooked.
Insert your second lever a few inches away from the first, using it to hold the released section while you work the first lever further around the rim. Continue this alternating technique until one entire side of the tire clears the rim. For particularly stubborn tires, insert a third lever to maintain tension while you progress—this extra leverage proves invaluable on folding bike tires with their tighter tolerances. Avoid using excessive force that could damage the rim or pinch the tube.
Once one side is free, reach inside the tire and carefully pull out the inner tube, starting at the valve stem. Inspect the removed tube to identify the puncture location, which often reveals the cause of the flat. Check the inside of the old tire for embedded debris like glass or thorns that caused the puncture—run your fingers along the interior surface slowly to avoid cuts. Remove any foreign objects with tweezers before proceeding, as they’ll simply puncture your new tube if left behind.
Inspect and Prepare the Wheel Rim
With the tire removed, examine the rim bed thoroughly for damage that could compromise your new tire. Run your fingers along the entire rim channel, feeling for burrs, sharp edges from previous flats, or debris lodged between the rim tape and rim. Pay special attention to the area around spoke holes—if the rim tape has shifted or torn, replace it immediately as exposed spoke holes will puncture your new tube.
Clean the rim using a dry cloth first to remove loose dirt, then a slightly damp cloth for stubborn grime. Avoid harsh chemicals that might degrade future tire adhesion. Check the valve hole for sharp edges that could cut the tube at the stem—this common issue causes mysterious flats. Smooth any rough spots with fine-grit sandpaper, focusing on the inner edge where the tube contacts the rim. Confirm your rim tape covers all spoke holes completely; replace it if it’s cracked, torn, or misaligned.
Verify proper alignment of your brake pads if you have rim brakes, as misaligned pads can rub against the new tire after installation. The pads should contact only the braking surface of the rim, not the tire sidewall. This inspection prevents dangerous situations where brake pads gradually wear through your new tire during rides.
Mount the New Tire Correctly

Begin by partially inflating your new inner tube to about 10% capacity—just enough to hold its shape without creating tension. This prevents tube twisting during installation. Insert the valve stem through the rim hole first, then work the tube into the tire, ensuring it lies flat without twists. Apply a light coating of tire lubricant or soapy water to the tire bead if you encounter resistance during mounting—this reduces friction without damaging components.
Start mounting the tire opposite the valve stem, using your thumbs to press the bead into the rim channel. Work in small sections, pushing already-mounted portions toward the rim center to create more slack. For folding bike tires, this centering technique proves crucial as the tight tolerances leave minimal room for error. Avoid tools during initial mounting to prevent accidental tube pinching.
When you reach the final difficult section, push the already-mounted tire toward the rim center to create maximum clearance. Insert tire levers carefully beneath the bead, supporting the inner tube with your other hand to prevent pinching. Work slowly around the stubborn section, using multiple levers if needed but applying minimal force. The last few inches always require the most effort on folding bike tires, so patience prevents costly mistakes that lead to immediate flats.
Inflate and Check for Proper Installation

Before inflating, visually confirm the tire bead seats evenly around the entire rim. Check that the tire sits symmetrically on both sides of the rim and that no tube is visible between tire and rim. Inflate in short bursts, checking bead seating after each addition of air—properly seating folding bike tires often requires 30-50 PSI before the bead “pops” into place.
Reach the recommended pressure (80-110 PSI for most folding tires), then spin the wheel to check for wobble or uneven seating. Listen for hissing sounds indicating air leaks. Verify clearance between tire and frame components, especially important on folding bikes with tight clearances. Reinstall the wheel, ensuring proper alignment in dropouts, then test brakes and take a short low-speed test ride to confirm everything functions correctly.
Extend Your New Tire’s Lifespan
Maximize tire longevity through weekly pressure checks using an accurate gauge—underinflated tires wear faster and increase pinch flat risk. Inspect tires monthly for embedded debris, cuts, or uneven wear patterns. Rotate front and rear tires every 500 miles since rear tires wear faster due to drive forces. Store your bike indoors away from direct sunlight and ozone sources, which accelerate rubber deterioration. Slightly reduce pressure during long-term storage to prevent flat spots while maintaining enough pressure to keep the tire seated properly on the rim. These simple habits double your tire’s service life while ensuring consistent performance and safety.


