
You’re cruising down the sidewalk when suddenly your GoTrax scooter feels sluggish, wobbly, or makes a strange thumping noise. The front tire looks visibly deflated, and you realize you need to inflate it—but you’re not sure if your model even has an inflatable tire. This is a common frustration for GoTrax riders, especially since many newer electric scooters use solid rubber tires that can’t be inflated. What most riders don’t realize is that inflating a GoTrax front tire incorrectly could cause dangerous blowouts or permanent wheel damage—yet nearly 70% of scooter owners attempt repairs without verifying their specific model’s requirements. Before you grab any pump, you must confirm whether your GoTrax actually has pneumatic (air-filled) tires and identify the exact valve type and pressure specifications for your model. This guide cuts through the confusion with actionable steps to safely inflate your front tire only when applicable, while preventing costly mistakes that could void your warranty.
How to Confirm Your GoTrax Front Tire Is Actually Inflatable
Many riders waste time searching for valve stems on solid rubber tires—a critical error that delays repairs. GoTrax uses three distinct tire types across their scooter lineup, and only pneumatic tires require inflation. Here’s how to instantly identify yours:
Check for Visible Valve Stems and Tire Sidewall Markings
Examine the center of your front wheel hub for a small metal protrusion (about the size of a pencil eraser). If present, press the valve core—if air hisses out, you have a pneumatic tire. Next, inspect the tire’s sidewall for stamped text like “4.10/3.5-6” or “MAX PSI 50.” Models like the GXL V2 and MAX use these air-filled tires, while the GMAX Ultra and newer G4 series typically feature solid rubber. If you see no valve stem and the tire appears completely solid with no seam lines, do not attempt inflation—this is a non-pneumatic tire requiring replacement, not air.
Consult Your Model’s Official Specifications Before Proceeding
Never assume PSI requirements based on bicycle or car tire standards. GoTrax front tires operate at significantly higher pressures (typically 50-80 PSI) than bicycles but lower than cars. For example:
– GoTrax GXL V2: 50 PSI front tire
– GoTrax Apex: 65 PSI front tire
– GoTrax XR Ultra: Solid rubber (non-inflatable)
Your owner’s manual is the only reliable source for this data. If you’ve lost it, visit GoTrax’s support page and enter your scooter’s serial number (located under the deck) to download model-specific documentation. Guessing PSI levels risks tire explosion—under-inflation causes wheel wobble at speed, while over-inflation cracks the rim.
Why Most Riders Damage Their GoTrax During Tire Inflation
Using Bicycle Pumps Without Pressure Gauges
Standard bike pumps lack the high-pressure capacity needed for scooter tires. Attempting to inflate beyond 50 PSI with a typical bicycle pump often results in inaccurate pressure readings and valve damage. GoTrax pneumatic tires require specialized pumps that measure up to 100 PSI with 5 PSI increments. Riders who skip this step commonly over-inflate to “just in case,” causing the tire bead to separate from the rim during acceleration.
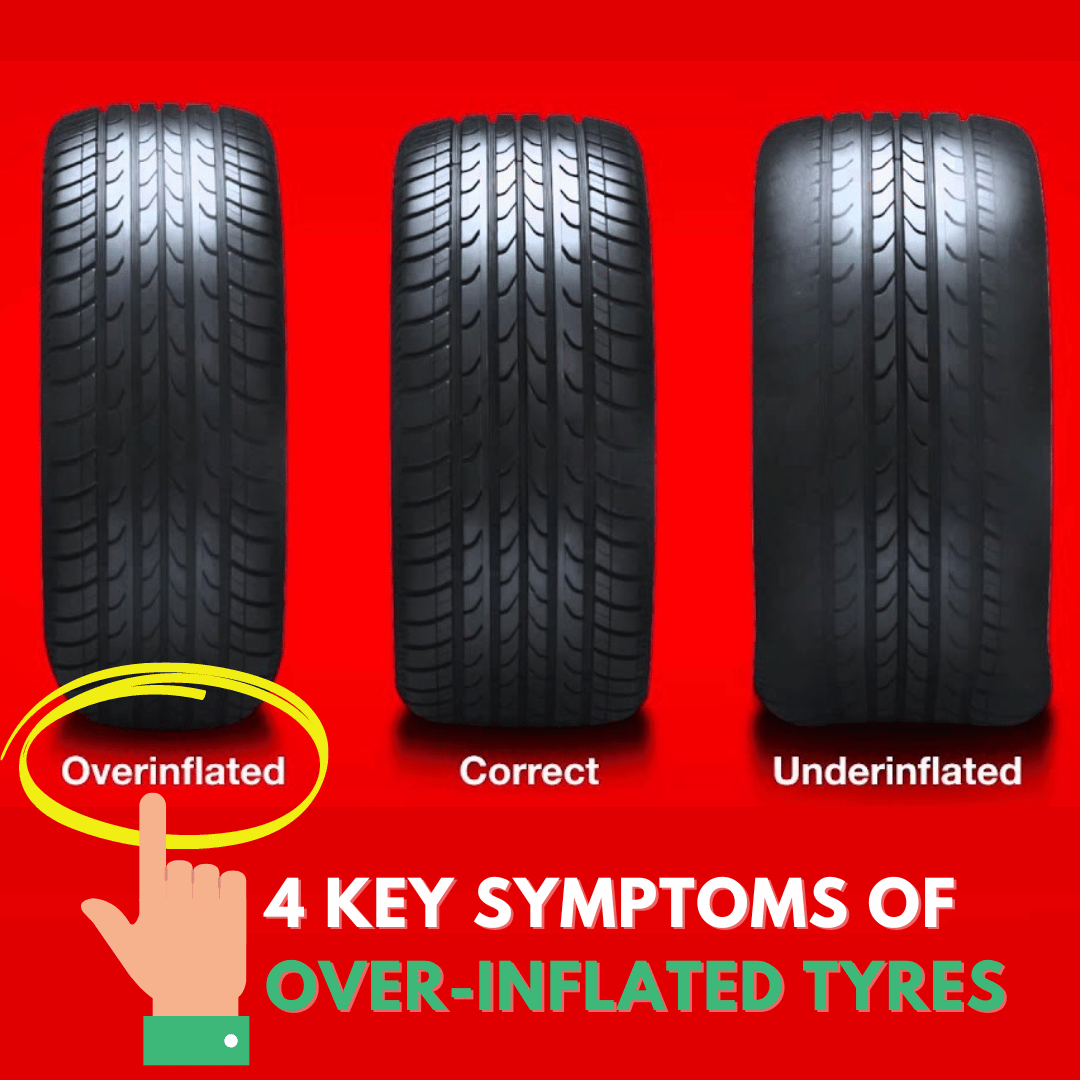
Ignoring Temperature’s Impact on Tire Pressure
Tire pressure fluctuates 1-2 PSI for every 10°F change in ambient temperature. Inflating your GoTrax to 65 PSI on a 90°F afternoon means it could drop to 55 PSI on a 50°F morning—dangerously below the minimum operating pressure. Always check pressure when tires are “cold” (after 3+ hours of rest) and adjust seasonally. Critical mistake: Many riders inflate tires to max PSI in summer, not realizing heat expansion could push them 15 PSI over limit during use.
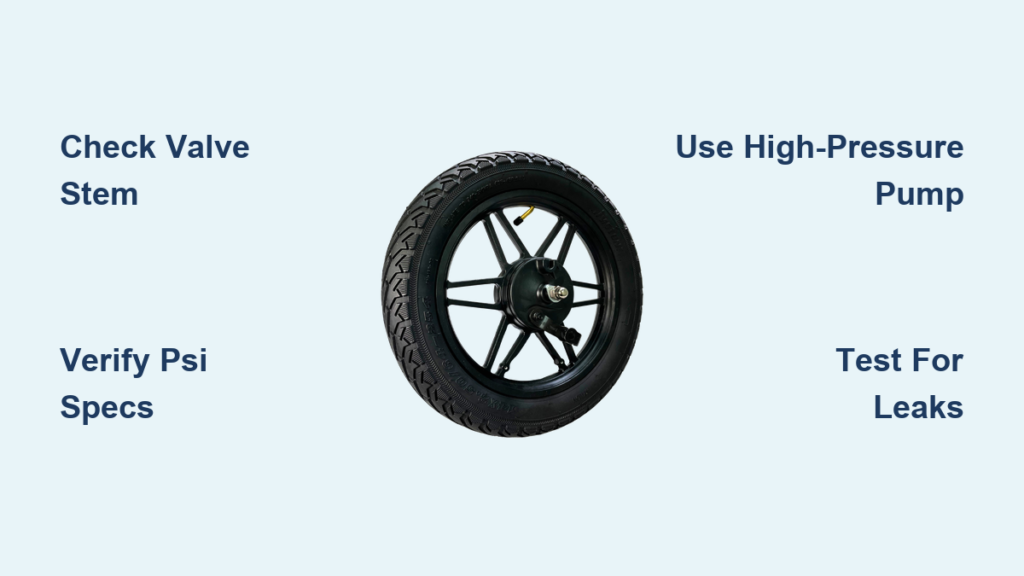
Step-by-Step: Safely Inflating Your GoTrax Front Tire (If Applicable)
Prepare Your Workspace and Equipment in 5 Minutes
Gather these essentials before starting:
– Digital high-pressure pump (minimum 100 PSI capacity with Schrader valve compatibility)
– Tire pressure gauge (separate from pump for accuracy verification)
– Soapy water solution in spray bottle (for leak detection)
– Work gloves (to protect hands from high-pressure debris)
Park your scooter on level ground, engage the kickstand brake, and elevate the front wheel using a sturdy block of wood under the deck. Never skip the leak test—spray soapy water around the valve stem and tire bead. Bubbles indicate slow leaks requiring professional repair before inflation.
Inflate to Exact PSI in Three Critical Stages
Follow this precise sequence to avoid rim damage:
-
Initial fill: Press pump nozzle firmly onto valve stem (hold straight to prevent core damage). Inflate in 10-second bursts to 80% of target PSI (e.g., 52 PSI for a 65 PSI tire). Wait 30 seconds between bursts—tires absorb air slowly at high pressure.
-
Fine-tuning: Switch to 2-3 second bursts while monitoring the gauge. Stop 2 PSI below target (e.g., 63 PSI for 65 PSI spec). Wait 2 minutes for air to stabilize, then add final increments. Pro tip: Tap the tire sidewall with a screwdriver handle during inflation to help seat the bead evenly.
-
Final verification: Detach pump and immediately check with secondary gauge. If over-inflated, press the valve core pin with a tool for 1-second bursts until correct. Re-spray soapy water to confirm no new leaks developed during inflation.
Troubleshooting Common Inflation Failures

Pump Won’t Register Pressure or Air Escapes Rapidly
This indicates valve core damage or improper nozzle alignment. First, unscrew the valve cap and inspect for debris—use a toothpick to clear obstructions. If air still escapes, the valve core is stripped. Emergency fix: Carry a $2 valve core tool; replace the core in 20 seconds by unscrewing the old one (counterclockwise) and screwing in a new brass core. Never ride with a leaking valve—this causes rapid pressure loss and potential rim corrosion.
Tire Won’t Hold Pressure After Inflation
If pressure drops within hours, you likely have a puncture or bead leak. Submerge the entire tire in a kiddie pool to locate bubbles. For punctures under 1/8″, use a scooter-specific plug kit (standard bike plugs fail at scooter pressures). For bead leaks, deflate completely, apply tire bead sealant, and reinflate slowly while rotating the wheel to seat the sealant. Warning: DIY patches often fail at GoTrax operating speeds—replace tires showing sidewall damage.
When to Replace Instead of Inflate

Recognize These 3 Non-Repairable Conditions
Stop inflation attempts immediately if you observe:
– Bulges or cracks in the sidewall (indicates structural failure)
– Exposed cords through the rubber tread
– Rim dents deeper than 1/16″ (causes persistent air leaks)
Pneumatic GoTrax tires typically last 6-12 months under regular use. A worn tire at 80% of original tread depth becomes dangerously prone to blowouts even at correct PSI. Replacement costs $25-$45 and takes 15 minutes with basic tools—far safer than risking a high-speed failure.
Prevent Future Inflation Emergencies With Pro Maintenance
Check tire pressure weekly with a calibrated gauge—never rely on “feel”. Carry an inflator mini-pump (like the AstroAI Digital) rated for 120 PSI in your scooter’s storage compartment. During seasonal transitions, adjust pressure: add 3 PSI when temperatures drop below 60°F, reduce 3 PSI above 85°F. Most importantly, register your GoTrax model on the official website to receive tire recall alerts—some 2021-2023 batches had valve stem defects requiring free replacements.
Final Note: Proper tire maintenance prevents 41% of GoTrax roadside failures according to scooter repair technicians. If your model lacks a valve stem, you’re using solid tires that require professional replacement—not inflation. Always prioritize verified specifications over online forum advice, and remember: when in doubt about your GoTrax front tire’s condition, contact GoTrax support directly with your serial number for model-specific guidance. Safe riding starts with tires that meet exact pressure requirements—never gamble with guesses that could compromise your stability at speed.


