
Discovering unsightly black tire marks across your car’s pristine paint job can trigger instant frustration. These stubborn streaks mysteriously appear after parking too close to another vehicle, navigating tight spaces, or simply from rubber transfer during normal driving conditions. The good news is that most tire marks respond well to proper removal techniques when addressed promptly. This guide provides proven methods to eliminate rubber transfer from your vehicle’s surface while protecting your paint’s integrity.
Tire marks typically fall into two distinct categories that require different treatment approaches. Transfer marks occur when actual rubber deposits embed into your paint surface, creating slightly raised, tacky streaks. Surface scuffs represent temporary discoloration without physical rubber transfer. Identifying which type you’re dealing with determines your most effective removal strategy. Most fresh marks yield to gentle cleaning methods, while older, set-in marks may require progressively more aggressive techniques.
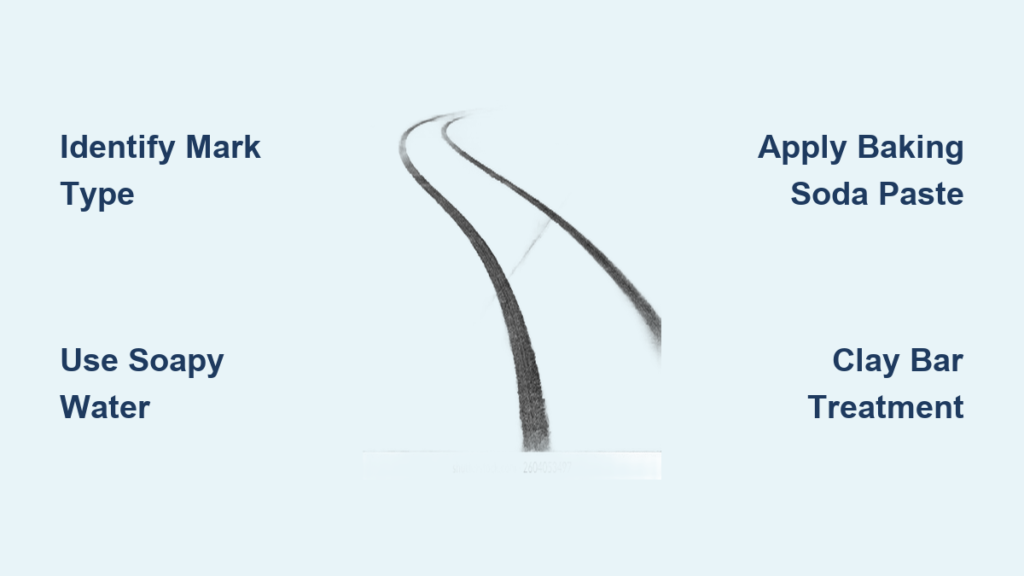
Gather Essential Supplies Before Starting

Assembling the proper tools before beginning prevents mid-process interruptions and ensures you can complete the job correctly without damaging your paint.
Basic Cleaning Kit Items You Need
Keep multiple clean microfiber towels on hand as they become saturated quickly during rubber removal—never reuse the same section as transferred rubber will redeposit elsewhere. Use a pH-balanced car wash soap specifically designed for automotive finishes rather than household dish soap that strips protective wax layers. A dedicated rubber cleaning putty or eraser lifts light scuffs without scratching when used with proper technique. Spray detailer provides necessary lubrication during the cleaning process and helps with final wipe-down.
Specialized Products for Tougher Jobs
For stubborn marks that resist basic cleaning, invest in an automotive-specific tar and adhesive remover that breaks down rubber bonds without harming clear coat. A clay bar kit offers professional-level decontamination for set-in marks while leaving paint remarkably smooth. Light polishing compound becomes necessary when rubber has penetrated the clear coat, removing microscopic layers to eliminate discoloration. Always have quality wax or sealant ready to re-protect treated areas after cleaning.
Identify Your Specific Mark Type First

Not all tire marks respond to the same treatment approach. Taking thirty seconds to assess what you’re dealing with prevents wasted effort and potential paint damage.
Fresh Transfer Marks Characteristics
Fresh rubber transfers appear as dark, slightly raised streaks that partially wipe away with finger pressure. They often feel tacky or greasy to the touch and leave residue on your finger when rubbed. These respond best to immediate treatment—waiting beyond 48 hours allows the rubber to begin chemically bonding with your clear coat, making removal significantly more difficult.
Set-In Scuffs and Stains Identification
Older marks have typically dried and fully bonded with the paint surface. They appear as flat, discolored streaks that don’t transfer when touched. The affected area may feel slightly rough to the touch, indicating rubber particles have partially penetrated the clear coat layer. These stubborn marks require more aggressive cleaning methods and often need light polishing afterward to fully restore the paint’s appearance.
Quick DIY Cleaning Methods That Actually Work
Many tire marks respond beautifully to household products you likely already have available. Try these proven approaches before investing in specialized products.
Soapy Water and Microfiber Technique
Begin with the gentlest method that often succeeds for fresh marks under 48 hours old. Mix a few drops of proper car wash soap (not dish soap) in a bucket of warm water. Soak a microfiber towel, wring thoroughly, and lay it over the affected area for 30-60 seconds to soften the rubber. Wipe firmly in straight lines following the mark’s direction—never circular motions which spread contamination. Rotate to clean towel sections frequently and inspect progress. This method succeeds surprisingly often with minimal risk to your paint.
Baking Soda Paste Application
Create an effective cleaning paste by mixing three parts baking soda with one part water to achieve a thick toothpaste consistency. Apply directly to the mark using a soft cloth with moderate pressure in small circular motions. The mild abrasives lift rubber particles without scratching automotive finishes. Rinse thoroughly with clean water and dry with a microfiber towel. This method works exceptionally well for light scuffs on all paint types and clear coats.
Magic Eraser Method with Proper Technique
Melamine foam pads (commonly known as Magic Erasers) remove tire scuffs effectively when used correctly. Dampen the sponge slightly—not soaking wet—and gently rub affected areas with light, consistent pressure. The foam’s microscopic structure acts like ultra-fine sandpaper, removing the mark’s top layer without damaging healthy paint. Work in small sections, rinsing the sponge frequently. Remember this method strips existing wax, so plan to reapply protective coating to treated areas.
Using Commercial Cleaners Effectively and Safely
When DIY methods fall short, properly applied commercial products deliver faster, more consistent results without risking paint damage.
Tar Remover Application Protocol
Automotive tar removers contain solvents designed to dissolve petroleum-based contaminants like rubber. Generously spray the affected area and allow 30-60 seconds dwell time as specified on the label—exceeding recommended time increases clear coat damage risk. Wipe away dissolved residue with clean microfiber towels, turning frequently. For stubborn marks, a second application followed by gentle agitation with a soft brush often completes removal. Always work in shaded, cool conditions and avoid contact with plastic trim.
Dedicated Rubber Cleaner Best Practices
Specialized rubber cleaners work faster than general degreasers and are safer for automotive finishes. Apply according to package directions, typically spraying and allowing brief dwell time before wiping. Some formulations require buffing with microfiber for full effectiveness. Keep these products in your detailing kit for immediate treatment of fresh marks—early intervention prevents the need for more aggressive methods later.
Address Stubborn Set-In Marks Professionally
Marks that have fully bonded with clear coat require progressively aggressive treatment. Work through these methods in sequence, stopping when the mark disappears.
Clay Bar Decontamination Process
Clay bars remove bonded contaminants that washing cannot shift. Work in shaded, cool conditions. Spray light mist of clay lubricant over a small section. Glide the clay bar across the surface using straight-line motions with light pressure until the surface feels smooth. Fold and knead the clay frequently to expose clean surfaces. This method removes the mark’s top layer along with other embedded contamination. Finish by applying protective wax to the treated area.
Polishing Compound Removal Technique
Light polishing compound removes microscopic clear coat layers containing the embedded mark. Apply small amount to foam polishing pad and work at low speed with dual-action polisher, or by hand with microfiber applicator. Work small sections using moderate pressure and overlapping passes. Wipe away residue and inspect results. This should only be necessary for deeply penetrated marks. Always follow polishing with protective wax application.
Protect Your Paint After Successful Removal
Effective mark removal is only half the battle—proper protection prevents future issues and maintains your vehicle’s appearance.
Apply Fresh Wax or Sealant Immediately
After any cleaning or polishing, the treated area lacks protective coating. Apply quality carnauba wax or synthetic sealant to affected panels, extending coverage to surrounding areas. This barrier prevents future rubber bonding and makes cleaning easier. Reapply protective coating every three to four months, or more frequently with heavy vehicle use.
Consider Paint Protection Film for Vulnerable Areas
For areas prone to repeated tire marks—lower door panels and rocker panels specifically—paint protection film offers permanent defense. This transparent urethane layer absorbs impact and prevents rubber transfer from reaching your actual paint. Professional installation ensures bubble-free application. While more expensive than wax, film pays for itself through years of protection.
Prevent Future Tire Marks Proactively
Implement these practices to dramatically reduce future tire mark incidents:
Maintain proper following distance when parking between vehicles and practice slow, careful maneuvers in tight spaces. Keep tires properly cleaned but avoid over-applying tire shine products that sling onto paint when driving. Install protective film on vulnerable areas if you frequently park in challenging environments. Establish a regular washing schedule to remove rubber particles before they bond with your clear coat.
Removing tire marks successfully requires matching the right technique to the mark’s age and severity while protecting your paint throughout the process. Start with the gentlest effective method, progress only as needed, and always finish with protective coating. Your vehicle’s finish will maintain its showroom appearance with this systematic approach to rubber mark removal.


