
That persistent TPMS warning light on your dashboard isn’t just annoying—it’s a critical safety alert screaming about potential tire danger. Ignoring it could lead to a blowout during your commute or costly tire damage from chronic underinflation. Modern vehicles rely on this Tire Pressure Monitoring System to maintain optimal tire pressure, which affects braking distance, fuel efficiency, and accident risk. In this guide, you’ll discover exactly how to diagnose why your tire monitor system failed, reset it correctly for 95% of vehicles, and handle sensor replacements without expensive dealership fees. We’ll cover manufacturer-specific reset sequences, sensor troubleshooting tricks mechanics don’t share, and crucial safety checks you must perform before hitting the road.
Why Your Tire Monitor System Light Stays On (5 Critical Causes)
Low Tire Pressure: The Most Common Culprit
Check all four tires immediately with a physical gauge—don’t trust the dashboard reading alone. Modern TPMS triggers when pressure drops 25% below the vehicle manufacturer’s spec (usually 32-35 PSI). A single underinflated tire from temperature drops or slow leaks will activate the warning. Critical mistake: Many drivers reset the system without inflating tires first, causing the light to return within 10 miles. Always verify pressures when tires are cold (parked 3+ hours).
Faulty TPMS Sensor with Dead Battery
Each wheel contains a battery-powered sensor transmitting pressure data to your dashboard. These coin-cell batteries last 5-10 years but fail suddenly. Symptoms include:
– Intermittent warning lights that disappear after driving
– “Check TPMS” message instead of low-pressure alert
– Specific wheel showing “–” or “N/A” in digital dash
Pro tip: Sensor batteries drain faster in extreme cold—below 15°F (-9°C) accelerates failure.
Recent Tire Rotation Without System Reset
Rotating tires without resetting the TPMS confuses your vehicle’s computer. The system expects front sensors to report higher pressure (steering load) and rears to show lower. After rotation, it detects “front” sensors on rear axles reporting incorrect values. Warning: This isn’t a malfunction—you must recalibrate the system post-rotation.
Electrical Glitches in the Vehicle’s Computer
Modern cars have complex communication networks. A faulty ABS module, damaged wiring harness near wheels, or recent battery replacement can disrupt TPMS signals. Check for:
– TPMS light flashing 3 times then staying solid
– Coinciding with other electrical issues (radio resets, door lock malfunctions)
– Error codes like U0155 (lost communication with TPMS module)
Damaged Sensor from Road Hazards
Potholes, curbs, or winter road salt corrode sensor valves. Inspect valve stems for:
– Bent or cracked valve caps
– Rust buildup around the base
– Visible dents on the sensor housing
Urgent action: A damaged sensor leaks air rapidly—check pressure daily until repaired.
How to Reset Your Tire Monitor System in 3 Simple Steps
Step 1: Inflate Tires to Manufacturer’s Recommended PSI
Locate the tire placard on your driver’s door jamb (not the tire sidewall). Inflate all tires to this exact PSI when cold. Critical detail: Overinflating by 5 PSI to “compensate” triggers false alerts—precision matters. Use a digital gauge for accuracy within 1 PSI.
Step 2: Locate the TPMS Reset Button (Usually Under Dash)
Find the reset button in these common locations:
– Toyota/Honda: Directly below steering column (small black button)
– Ford/GM: In glove compartment fuse panel (labeled “SET”)
– BMW/Mercedes: Through infotainment menu under “Vehicle Settings”
Can’t find it? Turn ignition to “ON” (do not start), then press and hold the brake pedal for 10 seconds—many European cars activate reset mode this way.
Step 3: Activate Reset Mode and Drive to Recalibrate
- Inflate tires to spec
- Turn ignition to “ON” position (dash lights active)
- Press and hold reset button until TPMS light blinks 3 times (6-8 seconds)
- Start engine and drive 20+ minutes above 15 MPH
Key insight: The system calibrates during driving—stopping too soon causes recalibration failure. Drive normally (no highway speeds needed).
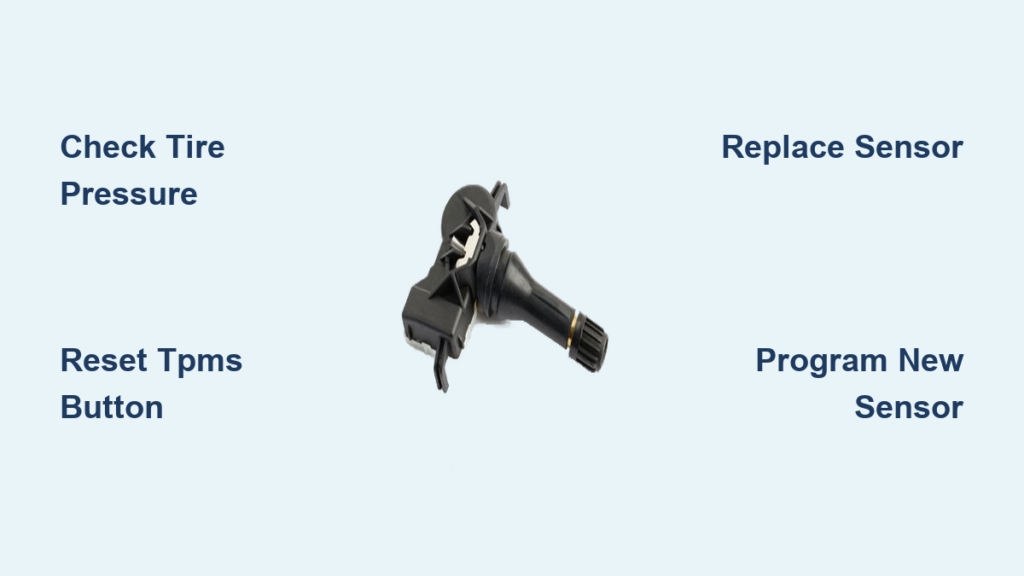
Replacing a Dead TPMS Sensor: DIY or Pro?

Tools You’ll Need for Sensor Replacement
Gather these before starting:
– Valve core tool ($3)
– Snap-in valve stems with rubber grommets (OE# 42679-SNA-A01 for Honda)
– Torque wrench (5-7 in/lb setting)
– Sensor programming stick (Autel MX-Sensor, $89)
– Tire sealant (to prevent air loss during swap)
Warning: Never use standard valve caps—TPMS sensors require nickel-plated caps to prevent corrosion.
Step-by-Step: Removing the Old Sensor and Installing New
1. Lift vehicle securely on jack stands (never work under hydraulic jack)
2. Deflate tire completely and break bead loose from rim
3. Remove valve core with tool—crucial step to release trapped air behind sensor
4. Unscrew old sensor (counter-clockwise, 8-10 in/lb torque)
5. Clean valve hole with isopropyl alcohol
6. Apply sealant to new sensor threads and hand-tighten
7. Inflate to 40 PSI to reseat bead, then adjust to spec
Pro trick: Wrap Teflon tape clockwise on new sensor threads for leak-proof seal.
Programming New Sensors (Vehicle-Specific Steps)
Most modern cars require sensor reprogramming:
– American vehicles (Ford, GM): Activate sensors by rapidly increasing pressure (use air chuck to pulse) while vehicle is in learn mode
– Asian vehicles (Toyota, Honda): Sensors auto-register after driving 50+ miles
– European vehicles (BMW, VW): Mandatory scan tool programming—OBD2 port required
Time estimate: DIY programming takes 15-25 minutes vs. 2 hours at dealership. Skip this step and your TPMS light stays on permanently.
Troubleshooting TPMS Reset Failures
“Reset Button Won’t Activate” – Solutions
If the light doesn’t blink during reset:
1. Check fuses #32 and #45 in under-hood fuse box (common TPMS circuit)
2. Disconnect negative battery terminal for 15 minutes to reset ECU
3. Verify ignition is in “RUN” position (not “ACC”)
Model-specific fix: On 2015+ F-150s, press reset button while holding windshield wiper stalk down.
“Light Comes Back After Reset” – What It Means
This indicates unresolved issues:
– Within 5 miles: Physical tire problem (leak, damaged sensor)
– After 20+ miles: Sensor communication failure (dead battery or programming error)
– Only at highway speeds: Faulty wheel speed sensor interfering with TPMS
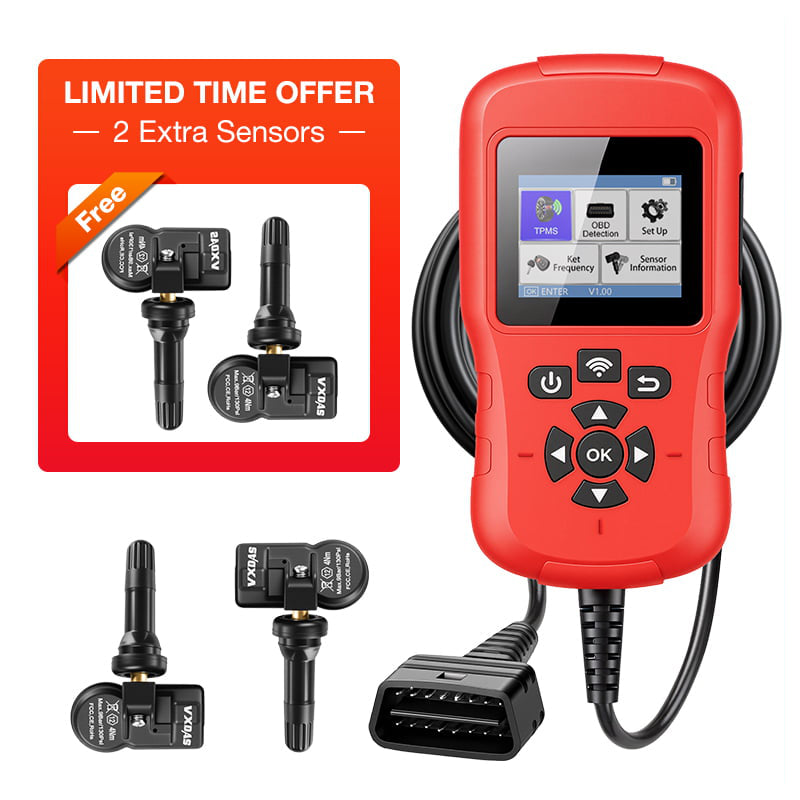
Using an OBD2 Scanner for Advanced Diagnostics
Basic scanners show TPMS codes like:
– C2122: Front left sensor no signal
– B2103: Sensor battery voltage low
– U0155: Lost communication with module
Cost saver: A $35 BlueDriver scanner reads these codes—dealers charge $120 for the same scan.
Preventing Future TPMS Alerts
Monthly Tire Pressure Checks (The 15-Minute Safety Habit)
Check pressures every 3 weeks using these pro techniques:
– Measure when tires are cold (before 10 AM)
– Compare front/rear pressures—differences over 3 PSI indicate alignment issues
– Rotate tires during pressure checks to extend sensor life
Statistic: Tires lose 1 PSI per month naturally—monthly checks prevent 78% of TPMS warnings.
Seasonal Pressure Adjustments for Temperature Swings
Temperature changes directly affect pressure:
– Winter: Add 3-5 PSI when temps drop below freezing
– Summer: Reduce pressure by 2 PSI during heatwaves above 90°F
– Altitude changes: Decrease 1 PSI per 1,000 ft elevation gain
Critical note: Never adjust pressure based on dashboard readings—always use a physical gauge.
When to Skip DIY and Call a Professional
Signs You Need a Mechanic (Complex Electrical Issues)
Seek professional help immediately if:
– TPMS light flashes continuously (indicates system fault)
– Airbag or ABS lights illuminate simultaneously
– Vehicle won’t start after battery replacement
– Error codes show “module communication failure”
Cost reality: Electrical diagnosis averages $110/hour—worth DIY if simple sensor replacement.
Cost Comparison: DIY Sensor vs. Dealership Repair
| Solution | DIY Cost | Dealership Cost | Time Required |
|---|---|---|---|
| Reset procedure | $0 | $50-$75 | 10 minutes |
| Single sensor replacement | $45-$70 | $220-$300 | 45 minutes |
| Full system diagnostic | $35 scanner | $120 | 20 minutes |
| Savings insight: Replacing all four sensors yourself costs less than one dealership sensor ($280 vs $1,100). |
Final Note: Fixing your tire monitor system starts with proper diagnosis—not random resets. Always verify physical tire pressure first, as 80% of TPMS warnings stem from simple underinflation. For sensor replacements, invest in a programming stick—it pays for itself after two repairs. Remember that persistent warning lights often indicate developing tire damage; address them within 48 hours to avoid dangerous blowouts. Keep a digital tire gauge in your glove compartment and check pressures monthly—this single habit prevents most TPMS headaches while extending tire life by up to 30%. If you’ve recently replaced batteries or experienced electrical work, a full system recalibration is non-negotiable for accurate readings. Your safety depends on this small but critical system functioning perfectly.