You’re preparing for an important trip when you notice your tire is slowly losing air. After checking for punctures, you discover the problem: a broken tire stem. This small but critical component, often overlooked until it fails, can leave you stranded if not addressed properly. Knowing how to fix a broken tire stem could save you hundreds of dollars in unnecessary tire replacements and get you back on the road within an hour. This guide delivers exactly what you need—clear, actionable steps to repair or replace your tire valve stem safely and effectively, whether you’re dealing with a slow leak, a completely broken stem, or just preventative maintenance.
Immediate Damage Assessment: Identifying Your Specific Tire Stem Problem
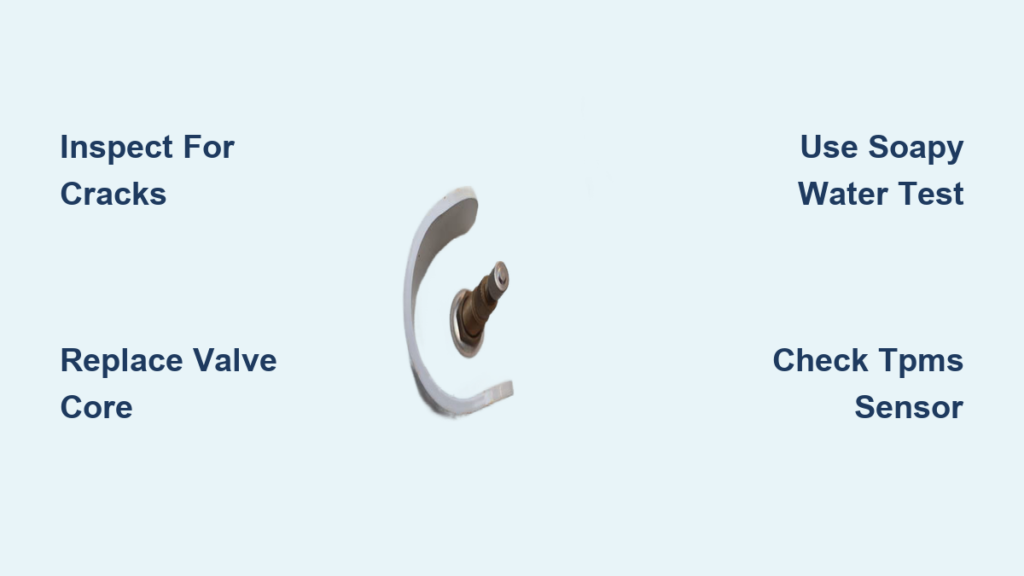
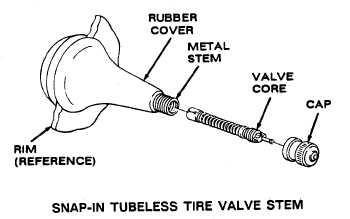
Before grabbing tools, correctly diagnosing your exact issue prevents wasted effort. A broken tire stem typically manifests in three distinct failure modes, each requiring different solutions. First, inspect your valve stem closely with a flashlight—look for cracks at the base where metal meets rubber, corrosion on the valve core, or wobbling when gently twisted. If air escapes only when the cap is removed, you likely have a faulty valve core rather than a completely broken stem. If air leaks continuously regardless of cap position, your stem base is compromised. For vehicles with tire pressure monitoring systems (TPMS), a malfunctioning sensor integrated into the valve stem creates additional complexity requiring specialized equipment.
How to Determine If You Can Repair Instead of Replace
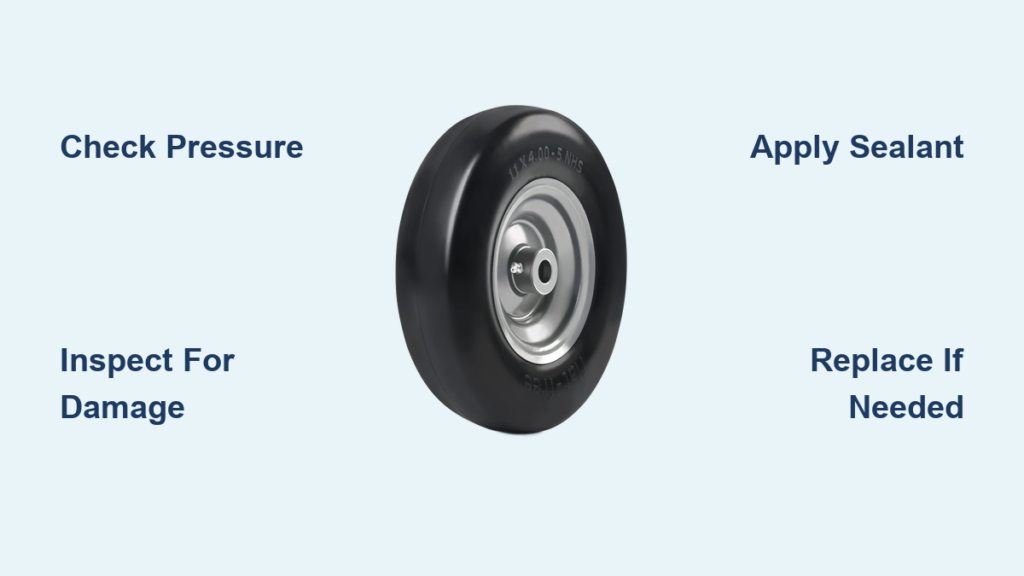
Many drivers mistakenly believe any damaged valve stem requires professional help, but certain issues can be fixed DIY. If only the valve core is leaking (the small brass component inside the stem), replacement takes two minutes with a $5 core tool. Remove the cap, use the tool to unscrew the old core counterclockwise, apply rubber lubricant to the new core’s threads, and screw it in clockwise until snug—over-tightening cracks the stem. For rubber stems showing surface cracks but maintaining structural integrity, temporary sealants like Fix-A-Flat provide short-term solutions for reaching a repair shop. However, if the stem base is visibly separated from the wheel or metal stems show corrosion damage, immediate replacement becomes necessary—attempting repairs here risks catastrophic tire failure.
Essential Tools and Materials: What You Actually Need for the Job

Basic Repair Kit for Valve Core Replacement
For the simplest fix—replacing a faulty valve core—you’ll need just three inexpensive items that should live in your emergency kit: a valve core removal tool ($3), two new valve cores ($1 each), and rubber lubricant ($4). Keep these in your glove compartment since core failures often happen far from home. The lubricant prevents cross-threading during installation, which is the most common DIY mistake causing further damage. Never use oil-based lubricants as they degrade rubber stems over time.
Complete Replacement Kit for Broken Stems
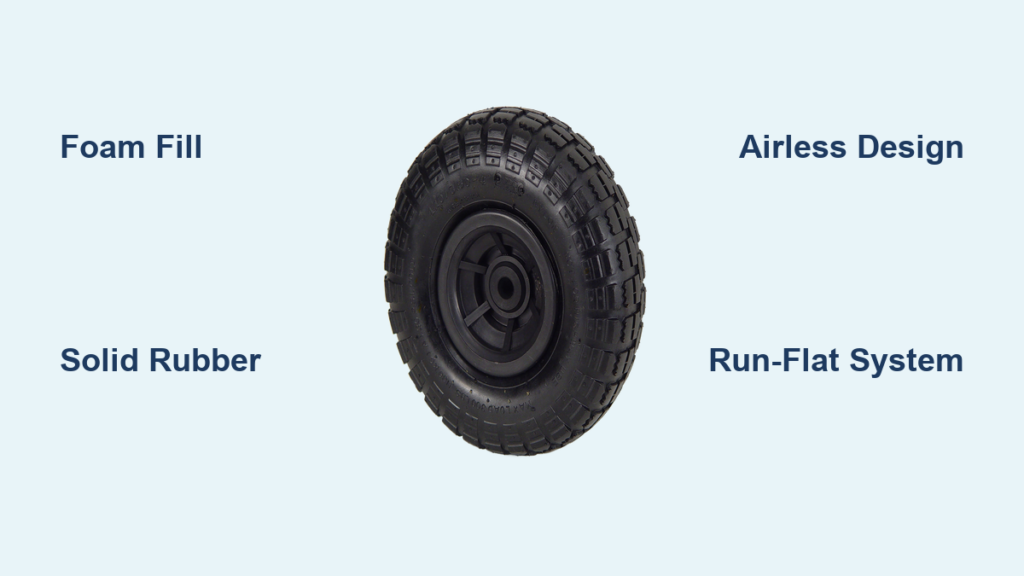
When facing a fully compromised stem, gather these eight critical items before starting: tire deflator tool, new rubber valve stems ($8/pair), valve stem tool (dual-function installation/removal), rubber mallet, soapy water solution in spray bottle, torque wrench, wheel chocks, and clean rags. Professional shops use air-powered tools, but this manual kit handles 95% of passenger vehicle repairs. Note that aluminum wheels require stem seals to prevent corrosion—skip this and you’ll face recurring leaks within weeks. For TPMS-equipped vehicles, add a sensor activation tool ($25) and matching replacement sensors to your list.
Safe Tire Deflation and Wheel Removal Procedures
Properly Deflating Your Tire Without Causing Further Damage
Never attempt stem repair on an inflated tire—this creates dangerous projectile risks. Position your vehicle on level ground, engage parking brake, and place wheel chocks opposite the tire you’re working on. Use the deflator tool by pressing firmly onto the valve core until air releases steadily; never force it sideways as this breaks stems. For TPMS-equipped tires, release air slowly over 2-3 minutes to avoid damaging the sensor electronics. When the tire reaches 10-15 PSI (just before the bead separates from rim), stop deflation—working with zero pressure makes reinstallation nearly impossible.
Correct Wheel Removal Sequence to Prevent Injury
Loosen lug nuts one-third turn while the vehicle remains on the ground—attempting this after jacking creates dangerous wheel spin. Use the star pattern loosening technique (opposite bolts in sequence) to maintain wheel balance. Only after loosening should you safely jack the vehicle using manufacturer-specified lift points. Place jack stands under reinforced frame points before working underneath. Many DIYers skip this critical safety step, risking thousands of pounds of vehicle collapse. Once elevated, complete lug nut removal and carefully slide the wheel off, supporting its full weight to avoid stem damage during removal.
Step-by-Step Valve Stem Replacement Process
Removing the Damaged Stem Without Rim Damage
Position the wheel horizontally with valve hole facing up. Apply penetrating oil around the stem base and wait 5 minutes—this breaks corrosion bonds on stubborn stems. Insert the removal end of your valve tool through the rim opening, hook it over the stem base, and pull straight out with firm, steady pressure. Never twist or jerk as this damages the rim hole. For corroded stems, alternate between gentle tapping with a rubber mallet and pulling motions. If the stem breaks mid-removal, use needle-nose pliers to extract remaining fragments from the rim hole, then clean thoroughly with a wire brush.
Installing the New Stem Properly: Avoiding Costly Mistakes
Lubricate the new stem’s rubber base with soapy water—this reduces installation friction by 70% compared to dry installation. Insert the installation end of your valve tool through the rim, hook the new stem’s base, and pull it through until the rubber flange seats firmly against the rim. You should hear a distinct “pop” when properly seated. Use your thumb to press around the stem base, checking for even contact with the rim—gaps here cause immediate leaks. For TPMS valves, ensure the sensor body clears the rim’s inner edge before final seating. Never hammer stems into place as this damages the airtight seal.
Critical Post-Repair Testing and Validation
Immediate Leak Detection Using Professional Methods
Don’t assume proper installation means no leaks—70% of DIY repairs fail initial testing. Mix dish soap with water in a 1:4 ratio and generously coat the entire stem area, especially where rubber meets metal. Look for bubble formation indicating leaks. Inflate the tire to 40 PSI (higher than normal for testing) and monitor for 5 minutes—any bubble growth means reinstallation is needed. For TPMS systems, drive at 15+ MPH for 10 minutes to activate sensors, then verify readings on your dashboard. If the warning light persists, the sensor may need reprogramming.
Final Torque and Reassembly Checklist
Before remounting the wheel, verify these five critical points: stem rotates freely (indicates proper seating), no soap residue remains (attracts dirt), valve cap is hand-tightened (provides secondary seal), tire pressure matches manufacturer specs (check door jamb sticker), and TPMS resets properly. When reinstalling the wheel, hand-tighten lug nuts in star pattern before lowering, then torque to exact specification (usually 80-100 ft-lbs) with vehicle on ground. Under-torqued wheels wobble and damage new stems; over-torqued wheels warp brake rotors.
When to Seek Professional Help: Critical Warning Signs
Certain situations require immediate professional intervention regardless of skill level. If you notice cracks radiating from the valve hole in the rim itself, continuing repairs risks catastrophic wheel failure at speed. Aluminum wheels with corroded stem holes often need machining that exceeds DIY capabilities. Vehicles with complex TPMS systems (common on models after 2015) frequently require dealer-level programming tools—improper installation triggers persistent warning lights and inaccurate readings. Additionally, if you’ve attempted replacement twice without stopping the leak, underlying rim damage likely exists that requires professional assessment.
Final Note: Regular valve stem maintenance prevents 80% of failures—replace rubber stems every 5 years regardless of condition as they harden with age. Keep a valve core tool and spare cores in your emergency kit for instant fixes. For persistent issues after proper replacement, consult a tire specialist immediately rather than risking dangerous blowouts. Remember that proper tire maintenance isn’t just convenient—it’s a critical safety measure that protects you and others on the road.