Nothing ruins a smooth drive in your Hyundai Elantra like the sudden illumination of the tire pressure warning light. Properly inflated tires aren’t just about avoiding that annoying dashboard alert—they’re critical for safety, fuel economy, and maximizing tire lifespan. The good news is that checking your tire pressure has never been easier thanks to your Elantra’s integrated Tire Pressure Monitoring System (TPMS), which displays real-time pressure readings right on your instrument cluster. Unlike older vehicles that required manual gauges and guesswork, your Elantra gives you instant, precise pressure data for all four tires without ever leaving the driver’s seat.
This guide shows you exactly how to access and interpret your Hyundai Elantra’s tire pressure readings, customize display units, respond to warning indicators, and establish a maintenance routine that keeps you safe and saves you money. Whether you’re preparing for a road trip or just staying on top of routine maintenance, you’ll learn how to check tire pressure on Hyundai Elantra models in under two minutes with no special tools required.
Access Your Elantra’s Tire Pressure Display in Under 30 Seconds
The Hyundai Elantra’s instrument cluster consolidates all essential vehicle information into easily accessible views, with tire pressure readings available through the Utility view mode. This feature eliminates the need for manual pressure gauges in everyday situations, giving you immediate visibility into each tire’s condition without requiring you to exit the vehicle.
Locate Utility View Mode Using Steering Wheel Controls
To access your tire pressure display, start by using the controls on your steering wheel to navigate through the instrument cluster display options. Depending on your Elantra model year, these controls typically appear as buttons on the left side of the steering wheel or as a toggle switch on the steering column. Press the “Display” or “Info” button repeatedly until you reach the Utility view mode—this usually takes 3-5 button presses from the default speedometer view.
Once in Utility view, you’ll see numerical pressure readings for all four wheels simultaneously. The display typically shows front left, front right, rear left, and rear right tires in a clear layout that makes comparison effortless. If your tires are properly inflated, all readings will appear similar and within the manufacturer’s recommended range. A significantly lower reading on one tire often indicates a slow leak or puncture that requires attention before your next drive.
Read Individual Wheel Pressure Values Accurately
When reviewing your tire pressure display, note that the values represent current air pressure measured in your selected unit (PSI, kPa, or bar). For the most accurate assessment, check pressure when your tires are “cold”—meaning the vehicle has been stationary for at least three hours or driven less than one mile. Tires warm up during driving, causing pressure to increase by approximately 1 PSI for every 10°F temperature rise, which can lead to inaccurate readings if you check immediately after driving.
Pay attention to the relationship between tire pressures, not just individual values. Consistent readings across all four tires (within 2-3 PSI) indicate proper inflation. A single tire reading 4+ PSI lower than the others likely has a slow leak. If all tires show low pressure, temperature changes or gradual air loss may be affecting your entire set. Pro tip: Check your pressure first thing in the morning before driving for the most reliable cold tire measurement.
Customize Your Tire Pressure Display Units for Clearer Readings

Your Elantra allows complete customization of how tire pressure values appear throughout the vehicle’s information systems. Whether you’re more comfortable with PSI, kPa, or bar measurements, changing this setting ensures the displayed numbers match your understanding and make immediate sense when you check tire pressure.
Change Units Through the Infotainment System Menu
To adjust your tire pressure display units, navigate through your touchscreen infotainment system using this precise sequence: Tap the Settings icon > Select General > Choose Unit > Find and select “Tyre pressure unit” (note the British spelling in the menu). You’ll then see three options: PSI (Pounds per Square Inch), kPa (Kilopascal), and bar. Select your preferred unit, and the change applies immediately across all vehicle displays.
This setting persists through vehicle restarts and battery disconnections, so you won’t need to reset it each time you drive. If multiple drivers use your Elantra with different unit preferences, each person can quickly adjust the setting before checking pressure. The process takes less than 15 seconds once you’re familiar with the menu path, making it easy to switch between units if needed.
Understand Measurement Unit Differences for Accurate Inflation
While changing units alters the displayed numbers, the actual tire pressure remains unchanged—only the measurement system differs. Most Hyundai Elantra models recommend 32-35 PSI for normal driving conditions, which converts to approximately 220-240 kPa or 2.2-2.4 bar. Knowing these conversions helps when comparing readings across different vehicles or consulting service centers that may use different standards.
Critical note: Never inflate your tires based solely on the numerical value without knowing which unit you’re viewing. Adding air to reach “35” when your display shows kPa instead of PSI would severely underinflate your tires, creating a dangerous driving situation. Always verify your current unit setting before making adjustments.
Decode Your Elantra’s TPMS Warning Indicators Correctly

Your Hyundai Elantra’s Tire Pressure Monitoring System actively watches each tire and alerts you when pressure drops to unsafe levels. Understanding the difference between warning light patterns prevents unnecessary panic and ensures you respond appropriately to actual problems rather than temporary fluctuations.
Identify Critical Warning Light Patterns Immediately
The TPMS warning indicator appears as a yellow symbol resembling a flat tire with an exclamation point inside it on your instrument cluster. A steady illuminated light means one or more tires has dropped 25% or more below the recommended pressure—time to check your readings. This light typically appears when pressure falls below 24 PSI on a tire rated for 32 PSI.
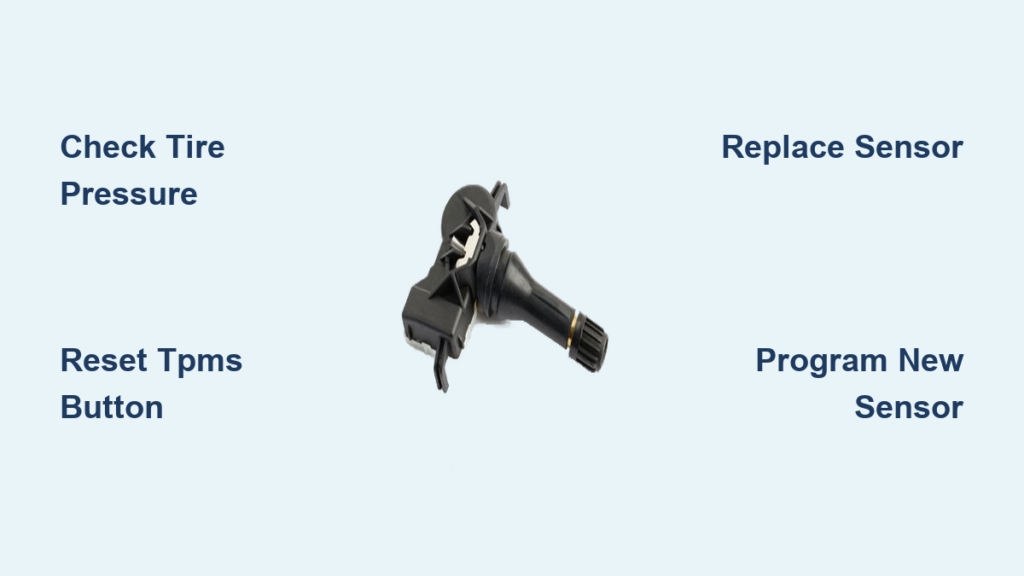
A flashing TPMS light (illuminating for one second, then off for three seconds) indicates a system malfunction rather than low pressure. This could signal a failed sensor, low sensor battery, or communication error between the sensor and vehicle computer. Unlike the steady light, a flashing indicator won’t resolve itself after adjusting tire pressure and requires professional diagnosis at a Hyundai service center.
Take Appropriate Action When Warnings Appear
When the TPMS light illuminates steadily, check all four tire pressures using your instrument cluster display. Compare readings to the recommended specifications found on your driver’s door jamb placard. Add air to any underinflated tires, then drive your Elantra for 10-15 minutes at speeds above 15 mph to allow the system to reset. Most models automatically turn off the warning light once proper pressure is confirmed through driving.
If the light remains illuminated after correcting pressure and driving, try resetting the system by parking the vehicle for 20 minutes with the ignition off, then restarting. Persistent illumination despite proper inflation indicates a sensor issue that requires professional service—don’t ignore this warning as it compromises your safety monitoring system.
Find Your Elantra’s Exact Recommended Pressure Specifications

Your instrument cluster shows current pressure readings, but knowing the correct target values is essential for proper inflation. Hyundai specifies different pressure requirements based on your Elantra model, trim level, and intended load, so using generic recommendations could lead to improper inflation.
Locate the Door Jamb Placard for Manufacturer Specifications
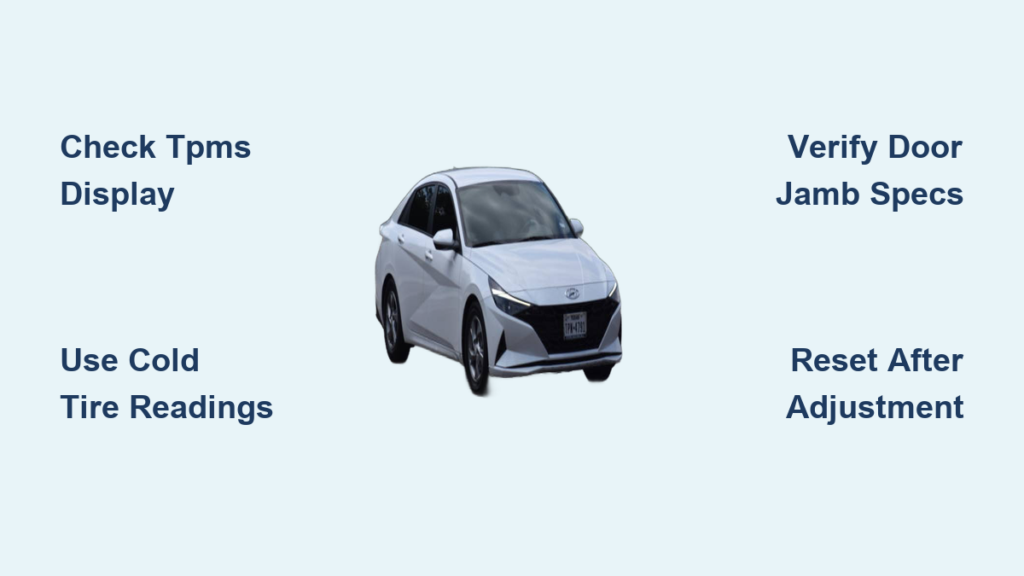
The most reliable source for your specific Elantra’s recommended tire pressure is the placard attached to the driver’s side door jamb. Open the driver’s door and look at the vertical edge of the door frame where the latch mechanism appears when closed. This small sticker lists cold tire pressure specifications for both front and rear tires, often providing separate recommendations for normal loads (up to three passengers with minimal cargo) versus maximum loads (full passenger and cargo capacity).
Some Elantra models also include a secondary placard inside the fuel filler door, so check both locations if you don’t find the information on the door jamb. The specifications represent cold tire pressure—the reading you should see when tires haven’t been driven in several hours. Important: Never use the maximum pressure listed on the tire sidewall itself, as this represents the tire’s capability, not your vehicle’s requirements.
Adjust Pressure for Driving Conditions and Seasons
Your recommended pressure may need seasonal adjustments. During winter months, check pressure more frequently as temperatures drop—tire pressure decreases approximately 1 PSI for every 10°F temperature decrease. Many Elantra owners find checking pressure bi-weekly during extreme temperature swings prevents unexpected low-pressure warnings.
When carrying heavy loads or planning long highway trips, consult your door jamb placard for maximum load specifications, which typically require 2-4 PSI more than normal recommendations. This slight increase compensates for added weight and prevents excessive tire flexing that leads to overheating and premature wear. For everyday driving with typical passenger loads, stick to the standard recommended pressures.
Establish a Tire Pressure Check Routine That Works
Consistent tire pressure monitoring delivers significant benefits that compound over time. The five-second check your Elantra makes possible takes less time than adjusting your mirrors but impacts safety, efficiency, and tire longevity more than almost any other routine maintenance task.
Create a Sustainable Monthly Check Schedule
For most Elantra owners, checking tire pressure once per month provides optimal maintenance without becoming burdensome. Choose a consistent trigger like the first day of each month or when you fill your gas tank. Morning checks before driving provide the most accurate cold tire readings. If you’ve recently replaced tires or sensors, increase frequency to weekly checks for the first month to establish baseline readings and identify potential issues early.
Before long trips exceeding 100 miles, perform a pressure check after loading passengers and cargo but before departing. The added weight affects your ideal pressure, and highway speeds generate significant heat in tires. A quick verification ensures you’re starting your journey with properly inflated tires that will maintain safe pressure throughout your drive.
Maximize Benefits Through Consistent Monitoring
Properly inflated tires extend tread life by up to 25% compared to underinflated tires, saving you hundreds of dollars in premature tire replacements. They also improve fuel efficiency by 3% on average—translating to real savings at the pump over time. Most importantly, correctly inflated tires maintain optimal contact with the road, reducing stopping distances and improving handling during emergency maneuvers.
Your Elantra’s integrated system makes checking tire pressure easier than ever, but don’t become complacent. Combine digital monitoring with occasional manual gauge checks (at least twice yearly) to verify sensor accuracy. By making this quick check part of your routine, you’ll enjoy safer drives, better fuel economy, and longer-lasting tires—all while avoiding that dreaded TPMS warning light.