
You’ve just unpacked your new Airmoto tire inflator, ready to tackle flat tires on the road, but you notice the battery is dead. Without a proper charge, your portable air compressor won’t work when you need it most—like during that unexpected tire emergency on your weekend road trip. Understanding how to properly charge your Airmoto tire inflator ensures you’ll always have reliable inflation power when tire pressure drops. This guide explains the exact charging process, indicator light meanings, and troubleshooting steps so you can keep your inflator ready for action.
Many drivers waste valuable time trying to figure out why their portable inflator won’t power on, only to discover they’ve been charging it incorrectly. Following the proper charging procedure for your Airmoto model prevents battery damage and extends the device’s lifespan. You’ll learn not just how to connect the charger, but how to verify your inflator is charging correctly and how long to leave it plugged in for optimal battery health.
Locating the Charging Port on Your Airmoto Inflator
Your Airmoto tire inflator features a discreet charging port that’s easy to miss if you’re not looking in the right place. Unlike some models that place ports on the side, the Airmoto positions its charging connection on the bottom edge of the device, adjacent to the power button. The port appears as a small, oval-shaped opening with a metallic interior that accepts a specific charging cable.
What Type of Charging Cable Does Airmoto Use?
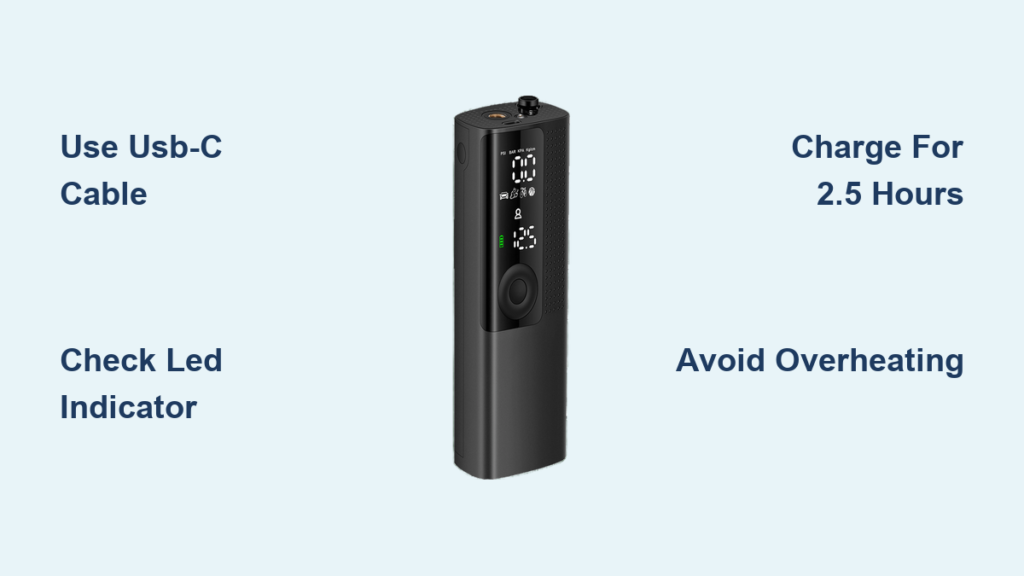
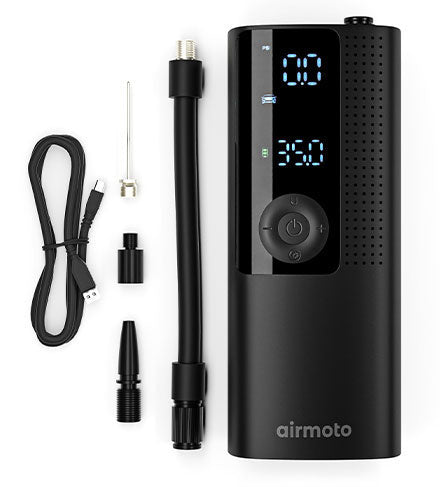
The Airmoto tire inflator requires a USB-C charging cable for power delivery, not the older Micro-USB standard found on some competing models. This modern connection offers faster charging and more durable plug design that works regardless of orientation. When purchasing replacement cables, ensure they support at least 5V/2A power delivery to maintain optimal charging speed.
Identifying Charging Port Damage Before Connecting
Before inserting your charging cable, inspect the port for these common issues:
– Visible debris – Dust or pocket lint can prevent proper connection
– Bent pins – The four contact points inside should be straight and uniform
– Physical damage – Cracks or dents around the port opening
– Corrosion – White or green buildup indicating moisture exposure
If you notice any damage, clean the port gently with a dry toothpick or compressed air before attempting to charge. For severe damage, contact Airmoto support rather than forcing the cable connection.
Proper Power Source Requirements for Charging
Using the wrong power source can significantly extend charging time or potentially damage your inflator’s battery. The Airmoto requires specific electrical characteristics to charge safely and efficiently.
Compatible Wall Adapters for Home Charging
For home charging, use a standard USB wall adapter rated between 5V/1A and 5V/2.4A. Most modern smartphone chargers meet these specifications, but avoid:
– Fast-charging adapters (18W+) that exceed safe input levels
– Old, damaged adapters with frayed cords
– Adapters from unknown manufacturers without safety certifications
Vehicle Charging Options for On-the-Go Power
When charging from your vehicle, the Airmoto works with both:
– Cigarette lighter ports – Standard 12V vehicle power outlets
– USB vehicle adapters – Dedicated car USB ports (verify 5V output)
Never connect directly to your vehicle’s battery terminals, as this bypasses critical voltage regulation and could damage your inflator.
Step-by-Step Charging Procedure
Follow these precise steps to ensure your Airmoto charges correctly every time.
Connecting Your Charger Safely
- Power down your inflator – Press and hold the power button until the device shuts off completely
- Insert the USB-C cable – Gently slide the connector into the port until it clicks into place
- Connect to power source – Plug the other end into your wall adapter or vehicle port
- Verify connection – Check that the cable doesn’t wiggle loosely in either port
Interpreting LED Charging Indicators

Your Airmoto uses a color-coded LED system to communicate charging status:
| LED Color | Meaning | Action Required |
|---|---|---|
| Solid red | Charging in progress | Leave connected |
| Flashing red | Charging error | Disconnect and investigate |
| Solid blue | Charging complete | Safe to disconnect |
| No light | No power connection | Check cable and power source |
If the LED doesn’t illuminate within 30 seconds of connecting, try a different cable or power source before assuming device failure.
Charging Time Expectations and Battery Management
Understanding how long charging takes and how to maintain battery health prevents unnecessary frustration and extends your inflator’s service life.
How Long Does a Full Charge Take?
A completely depleted Airmoto tire inflator requires approximately 2.5-3 hours for a full charge when using a standard 5V/2A power source. Factors affecting charging time include:
– Ambient temperature – Cold environments slow charging
– Cable quality – Poor cables reduce power transfer efficiency
– Power source stability – Unstable voltage extends charging duration
For best results, charge at room temperature (68-77°F) with the original cable.
Signs Your Inflator Has Completed Charging
Don’t rely solely on time estimates—look for these confirmation indicators:
– LED changes from red to solid blue
– Power button illumination stabilizes
– Device feels slightly warm (not hot) to the touch
– Subtle change in internal component sounds
Troubleshooting Common Charging Problems
Even with proper technique, you might encounter charging issues that prevent your Airmoto from powering up.
Why Your Airmoto Won’t Charge When Plugged In
If your inflator shows no signs of charging after connection, systematically check these components:
- Power source verification – Test your wall adapter with another device
- Cable integrity check – Look for bends, kinks, or frayed areas
- Port cleanliness – Remove any obstructing debris from both ends
- Battery reset – Disconnect for 30 seconds, then reconnect
Addressing Intermittent Charging Issues
When your inflator starts charging but stops unexpectedly:
– Ensure the cable isn’t bent at sharp angles near the connectors
– Try charging in a different electrical circuit (other outlets may have voltage fluctuations)
– Clean charging ports with isopropyl alcohol on a cotton swab (power off first)
– Check for overheating protection activation—let device cool before resuming charge
Safety Precautions During Charging
Following these safety protocols prevents damage to your inflator and protects you from potential hazards.
Critical Charging Safety Rules
Never:
– Leave charging unattended for extended periods
– Charge on flammable surfaces like beds or sofas
– Use damaged cables or adapters with exposed wires
– Charge in extremely hot or cold environments
– Cover the device while charging (blocks heat dissipation)
When to Stop Charging Immediately
Disconnect your Airmoto and move it to a safe location if you notice:
– Burning smell or unusual odors
– Visible smoke or sparks
– Excessive heat (too hot to touch comfortably)
– Swelling or deformation of the device body
– Persistent flashing error lights after troubleshooting
Maximizing Battery Life Between Charges
Proper charging habits significantly extend how long your Airmoto remains operational between charges.
Optimal Charging Practices for Longevity
- Partial charging is better – Avoid complete discharge before recharging
- Store at 50% charge – For long-term storage, maintain mid-level battery
- Charge before seasonal use – Top up before storing for winter or summer
- Avoid extreme temperatures – Don’t leave in hot cars or freezing conditions
How Often to Charge for Storage
If storing your inflator for more than 30 days:
– Charge to approximately 50% capacity
– Store in a cool, dry place away from direct sunlight
– Recharge to 50% every 90 days to maintain battery health
– Perform a full charge cycle before next use
When to Seek Professional Service
Some charging issues indicate internal problems that require professional attention rather than DIY fixes.
Signs You Need Airmoto Support
Contact customer service if:
– Charging port is physically damaged beyond surface cleaning
– Device gets excessively hot during normal charging
– Battery swells or leaks fluid
– Multiple verified good cables fail to establish connection
– Warranty hasn’t expired (typically 1-2 years)
Never attempt to open or repair the battery compartment yourself—this voids warranties and creates serious safety risks.
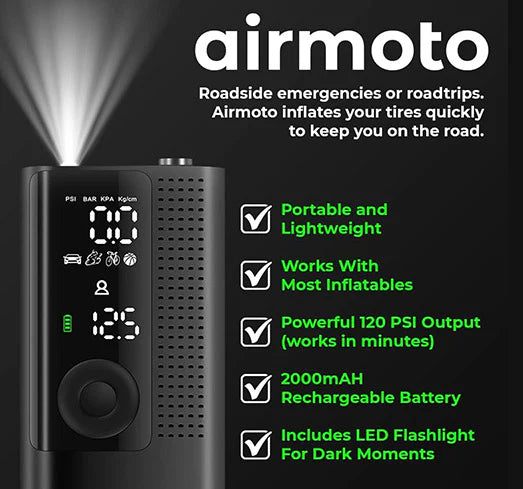
Final Note: Proper charging ensures your Airmoto tire inflator remains reliable when you need it most. By following these specific procedures, you’ll maximize battery life and avoid common charging pitfalls. Remember to check your inflator’s charge level monthly and perform maintenance charging as needed. Keep the original charging cable in your vehicle with the inflator so you’re always prepared to power up before an emergency. A fully charged Airmoto can typically inflate a standard passenger tire from 20 to 35 PSI in under 3 minutes, making regular charging essential for roadside readiness.


