
Checking and adjusting your tire pressure might seem like a simple task, but doing it correctly ensures optimal vehicle performance, safety, and tire longevity. When your tires aren’t inflated to the proper specifications, you risk uneven tread wear, reduced fuel efficiency, and compromised handling—especially in emergency situations. Most drivers don’t realize that underinflated tires contribute to thousands of preventable accidents each year. In this guide, you’ll learn the precise steps to check and adjust your tire pressure correctly, recognize warning signs of improper inflation, and maintain optimal pressure throughout changing seasons. Whether you’re preparing for a road trip or performing routine maintenance, these actionable techniques will keep you driving safely.
Finding Your Vehicle’s Correct Tire Pressure Specifications
Before adjusting your tire pressure, you must know the manufacturer’s recommended settings for your specific vehicle. These specifications vary significantly between models and even trim levels, making guesswork dangerous for both safety and tire longevity.
Where to Locate Official Pressure Recommendations
Your vehicle’s door jamb contains a critical information sticker that lists the exact PSI (pounds per square inch) requirements for both front and rear tires. This placard, typically found on the driver’s side door edge or B-pillar, provides pressure values specific to your vehicle’s weight distribution and suspension design. Never rely solely on the maximum pressure printed on the tire sidewall—that number represents the tire’s capacity, not your vehicle’s requirement. For trucks and SUVs carrying heavy loads, check your owner’s manual for adjusted pressure specifications that account for additional weight.
Understanding Pressure Measurement Units
While PSI remains the standard measurement in the United States, many modern vehicles display pressure requirements in kPa (kilopascals) or bar units, particularly on European imports. A quality digital pressure gauge will automatically convert between these units, but knowing the basic conversions prevents confusion: 1 bar equals approximately 14.5 PSI, and 100 kPa equals about 14.5 PSI. Maintaining consistent measurement units prevents dangerous overinflation or underinflation errors that could compromise handling.
Essential Tools for Accurate Tire Pressure Management
Having the right equipment makes the difference between a quick, accurate pressure check and a frustrating, potentially dangerous guessing game. The proper tools ensure you’re working with reliable measurements rather than approximations that could compromise safety.
Choosing the Right Pressure Gauge
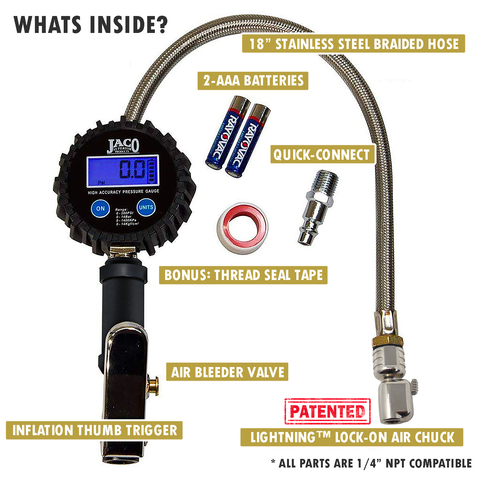
Digital gauges provide the most accurate readings with clear displays that eliminate parallax errors common in dial-style gauges. Look for models with a bleeder valve that allows precise pressure reduction without repeatedly removing and reattaching the gauge. While pencil-style gauges are inexpensive, their internal mechanisms often provide inconsistent readings that vary between measurements. For frequent use, invest in a gauge with an ergonomic grip and protective case to maintain calibration.
Reliable Air Sources for Pressure Adjustment
Gas station air pumps frequently deliver inconsistent pressure and may shut off prematurely, making precise inflation challenging. Consider keeping a portable 12-volt compressor in your vehicle for accurate, controlled inflation anywhere. These units typically include automatic shut-off features that maintain your target pressure within 1 PSI tolerance. If using public air pumps, bring coins or payment method and allow extra time for multiple inflation attempts to reach precise specifications.
Step-by-Step Tire Pressure Adjustment Procedure
Proper tire pressure adjustment requires more than just adding air—it demands a systematic approach that accounts for temperature variables, measurement accuracy, and vehicle-specific requirements. Following these steps ensures you achieve optimal inflation every time.
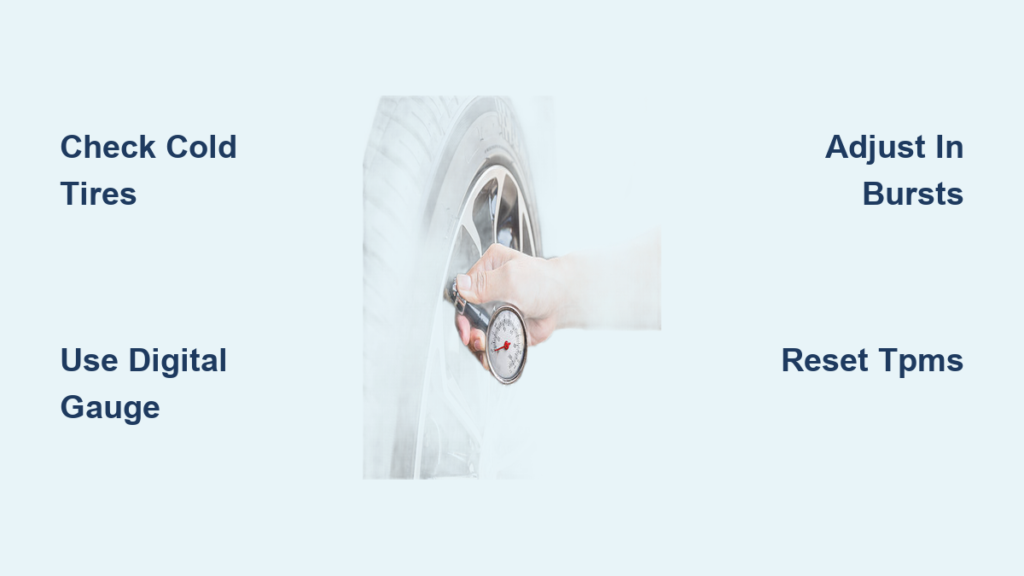
Checking Pressure on Cold Tires
Always check tire pressure when tires are “cold”—meaning the vehicle hasn’t been driven more than 1-2 miles at low speed. Driving heats tires, increasing internal pressure by 4-6 PSI, which leads to inaccurate readings. For the most precise measurement, check pressure first thing in the morning before daily driving begins. Remove the valve cap and firmly press your gauge onto the valve stem until the hissing stops, then read the measurement immediately as air begins escaping.
Adding Air to Reach Target Pressure
With your target PSI established and cold tire measurement taken, connect your air source to the valve stem. Inflate in short bursts while frequently checking pressure—most people overinflate by 3-5 PSI when adding air continuously. Digital gauges with bleeder valves allow micro-adjustments: press the bleed button while monitoring the display to reduce pressure in 0.5 PSI increments until reaching your target. Always recheck pressure after driving 10-15 minutes to confirm stability.
Releasing Excess Air Correctly
If you’ve overinflated, don’t simply press the valve core with a tool—this risks damaging the delicate valve mechanism. Instead, use your pressure gauge’s built-in bleeder function or press the center pin of the valve stem with the plastic cap you removed earlier. Release air in 2-3 second intervals, rechecking pressure after each release. The valve cap serves an important function beyond keeping dirt out—it maintains a secondary seal that prevents slow air leaks, so always reinstall it securely.
Seasonal Pressure Adjustments and Environmental Factors
Tire pressure fluctuates with temperature changes, requiring seasonal awareness that many drivers overlook. Understanding these environmental impacts prevents dangerous pressure deviations throughout the year.
Managing Winter Pressure Drops
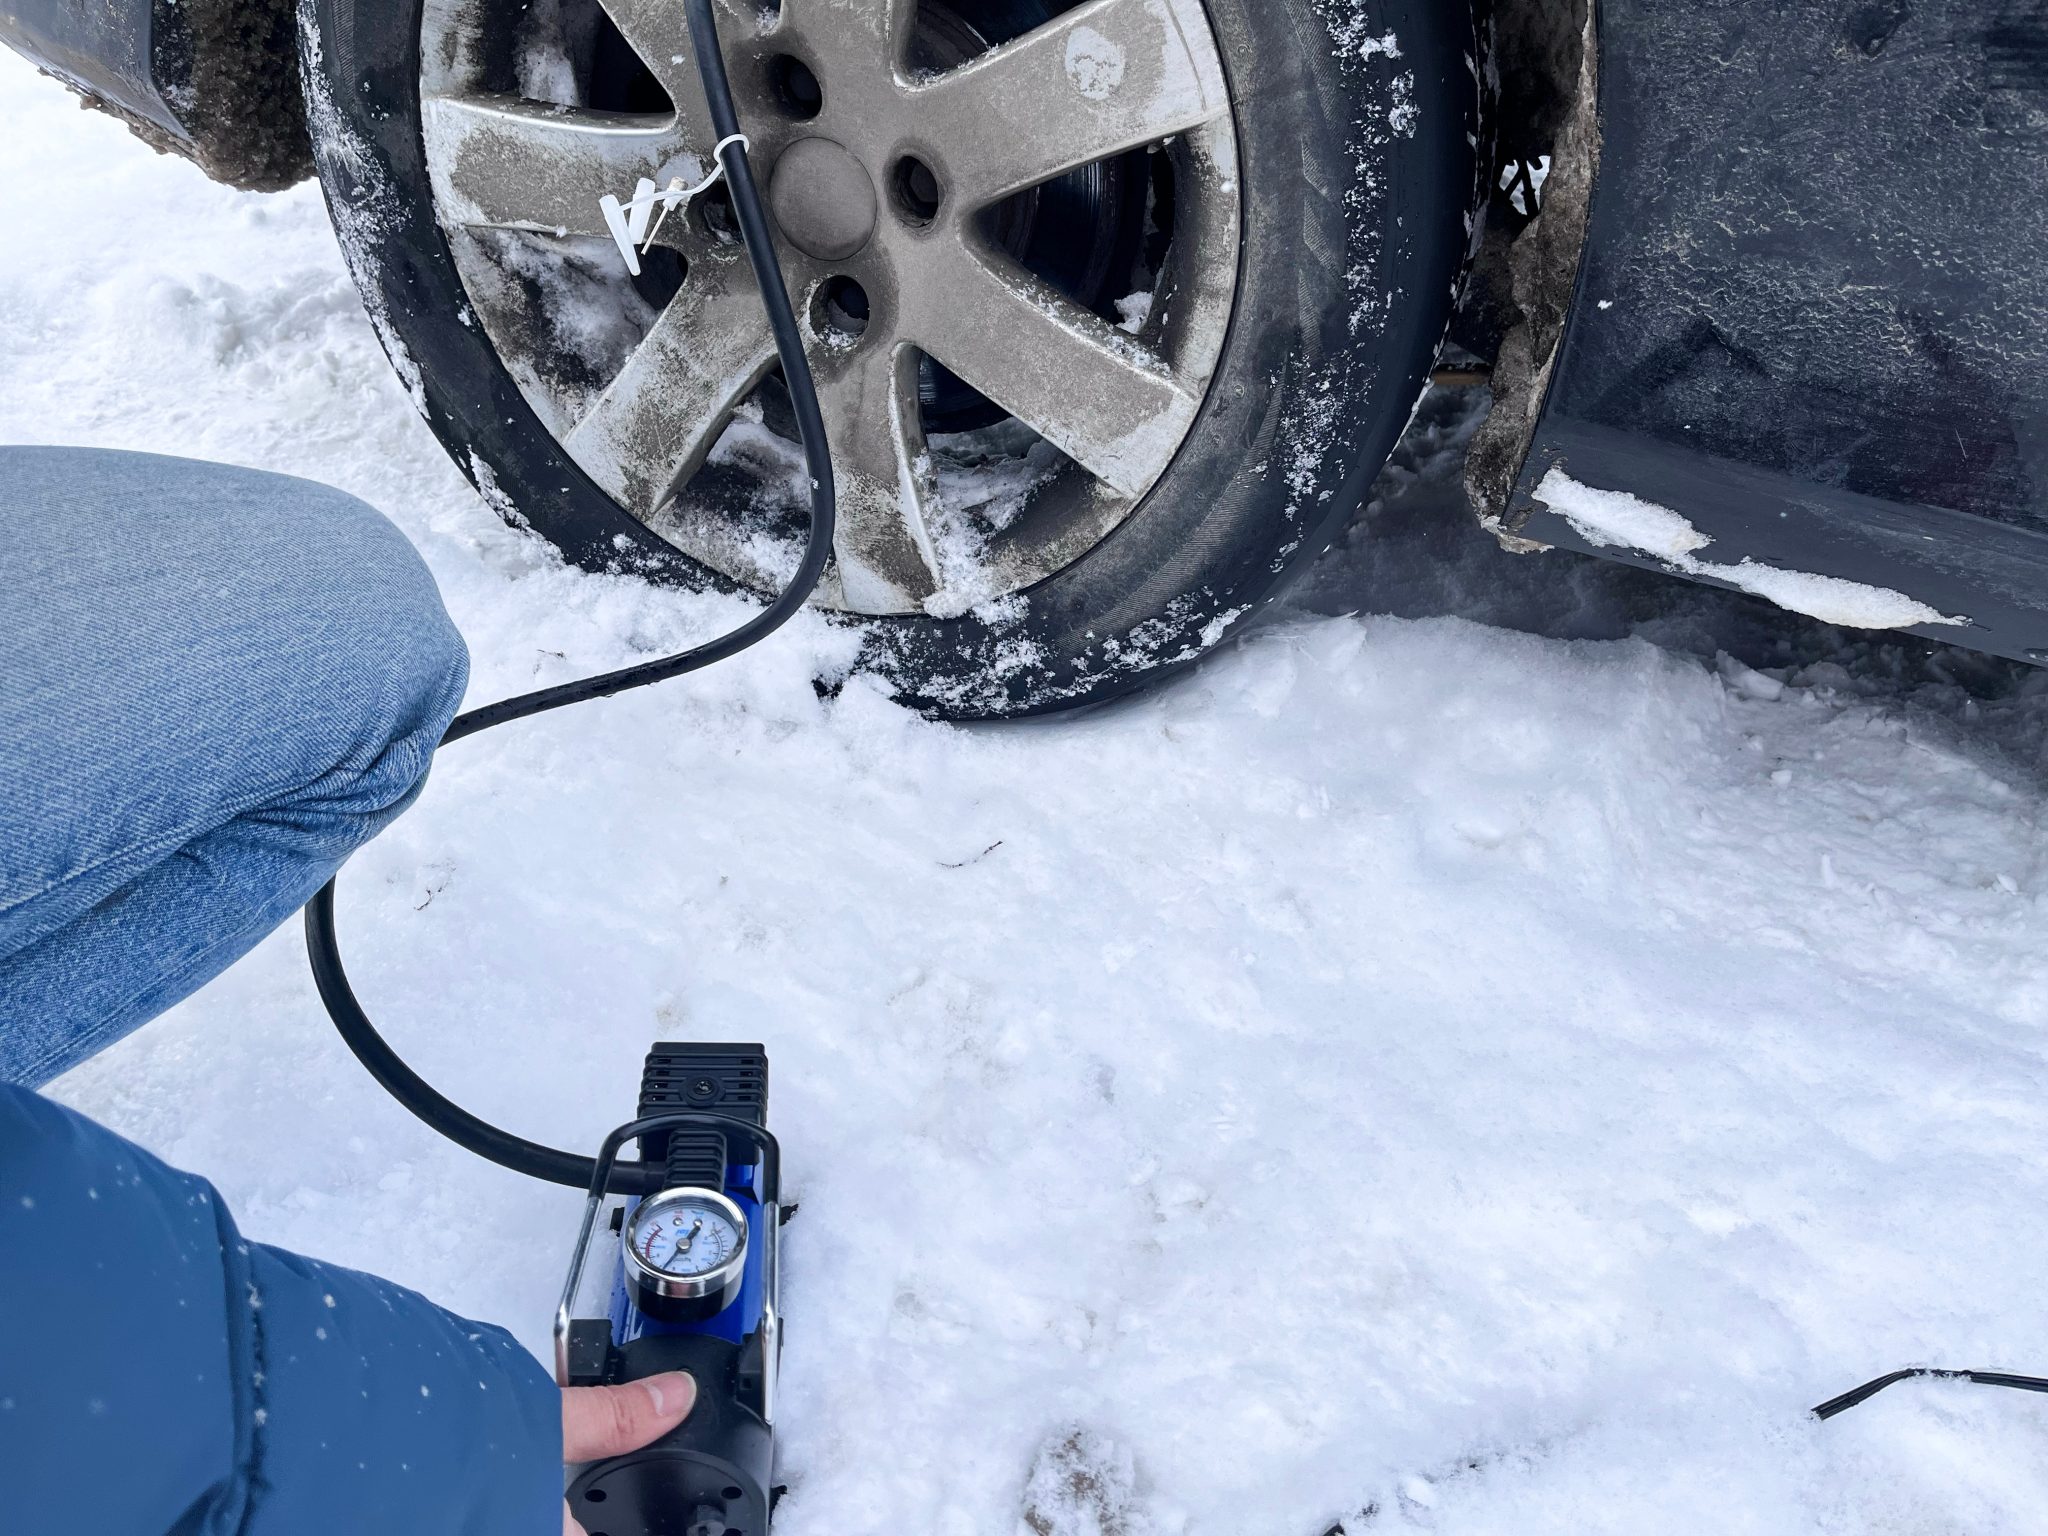
For every 10°F (5.6°C) drop in temperature, tire pressure decreases by approximately 1-2 PSI. During significant cold snaps, your tires might lose 5-8 PSI overnight, triggering TPMS warnings even when no leak exists. Check pressure more frequently during seasonal transitions and adjust accordingly—don’t ignore TPMS alerts during cold weather, as some pressure loss could indicate an actual problem.
Summer Pressure Considerations
While tires naturally gain pressure in hot weather, never deflate tires to “compensate” for temperature increases. The manufacturer’s recommended pressure already accounts for normal operating temperatures. Only adjust pressure if you’ll be driving in extreme conditions (100°F+ for extended periods), and even then, limit reductions to 2-3 PSI below normal specifications.
Troubleshooting Common Pressure Problems
Recognizing and addressing pressure-related issues quickly prevents unnecessary tire damage and maintains optimal vehicle handling characteristics.
Diagnosing Slow Leaks
If you’re consistently adding air every 2-3 weeks, you likely have a slow leak. Submerge the tire in a water-and-soap solution to locate bubbles indicating the leak source. Common culprits include corroded valve stems, bead seal failures, or small punctures in the tread. Address leaks immediately—driving on underinflated tires generates excessive heat that can cause internal damage beyond repair.
Interpreting TPMS Warning Lights
Modern vehicles feature Tire Pressure Monitoring Systems that alert you to significant pressure deviations. A steady TPMS light indicates one or more tires are 25% below specification, while a flashing light signals system malfunction. After adjusting pressure, some vehicles require manual TPMS reset through the dashboard menu—consult your owner’s manual for specific reset procedures.
Preventing Future Pressure Issues Through Maintenance
Proactive maintenance prevents most common tire pressure problems while extending tire life and maintaining optimal vehicle performance.
Monthly Pressure Check Routine
Establish a habit of checking tire pressure monthly using your own calibrated gauge—not relying solely on TPMS alerts. Include the spare tire in your checks, as many drivers discover their emergency spare is flat only when needed. When rotating tires, take the opportunity to verify pressure on all four wheels simultaneously.
Valve Stem Maintenance Protocol
Replace rubber valve stems every 2-3 years, as ozone exposure causes them to become brittle and develop micro-leaks. Metal valve stems with rubber cores provide better longevity but still require periodic inspection. Always use valve caps—they create an additional seal that prevents slow air loss through the valve mechanism.
Regularly maintaining proper tire pressure delivers measurable benefits: improved fuel economy by up to 3%, extended tire life by thousands of miles, and enhanced handling that could prevent accidents. By following these precise techniques, you transform a simple maintenance task into a critical safety practice that protects you and your passengers on every journey. Remember that proper tire pressure isn’t just about numbers—it’s about ensuring your vehicle performs exactly as engineered when you need it most.


