
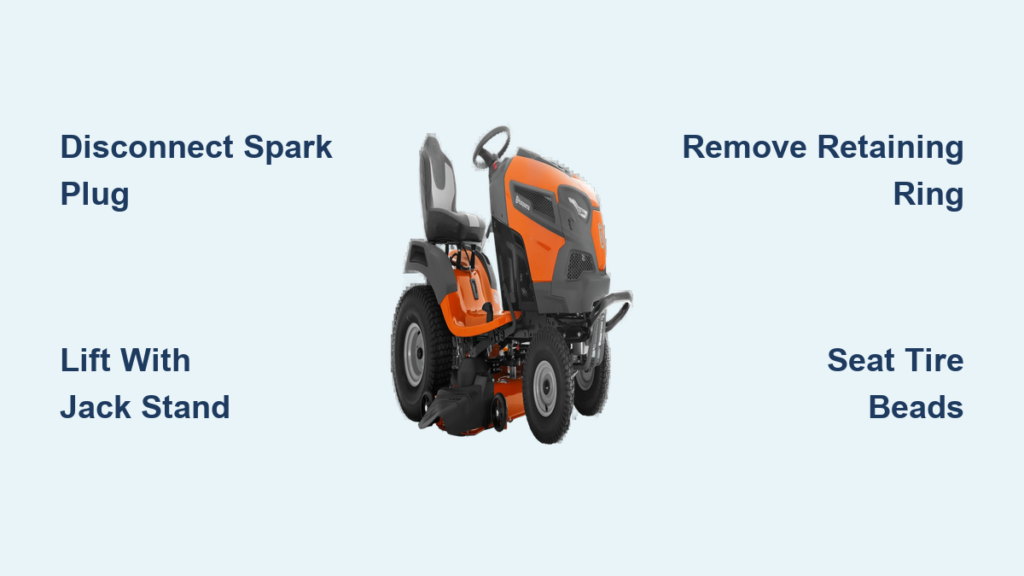
Replacing a flat or worn front tire on your Husqvarna riding mower is a practical DIY task that takes about an hour and can save you $50-$100 in service fees. Whether you’re dealing with a punctured tire on your YTH21K46, YTH22V46, or YTH24V48 model, this repair is well within reach for most homeowners with basic mechanical skills. The entire process requires common tools you likely already own and a manufacturer-approved replacement tire that matches your mower’s specifications.
This guide walks you through every critical step to safely remove your damaged front tire, mount the new one, and get your Husqvarna mower back in action. Before starting, ensure you’re working on a level surface with ample space around your mower—this prevents dangerous shifts during the repair process. With the right preparation and attention to safety, you’ll complete this task efficiently while avoiding common mistakes that could damage your equipment or cause injury.
Gather Essential Tools for Your Husqvarna Front Tire Replacement
Having all necessary tools within arm’s reach prevents frustrating interruptions during your tire replacement. Start with proper lifting equipment: a floor jack or bottle jack rated for your mower’s weight (typically 600-1,000 lbs capacity) and a sturdy jack stand rated for at least 2,000 lbs. Never work under a mower supported only by a jack—this creates a deadly hazard if the jack fails.
For the tire service itself, collect these specific items:
– Slot screwdrivers (1/4″ and 3/8″ blades)
– Tire irons or tire levers (3-4 recommended)
– Liquid dish detergent for bead lubrication
– Ratcheting tension strap (12-15 feet)
– Air compressor with pressure gauge
– Valve stem core tool or needle-nose pliers
– Safety goggles and work gloves
Pro Tip: Use wood blocks instead of commercial wheel chocks—they’re cheaper and provide better stability on uneven surfaces. Place these behind the rear tires before lifting to prevent accidental rolling, even on seemingly flat ground.
Execute Critical Safety Precautions Before Starting Work
Safety must be your top priority when working on any machinery. Begin by parking your Husqvarna mower on a completely level surface and engaging the parking brake. Turn off the ignition and remove the key—this simple step prevents accidental engine startup that could cause catastrophic injury.
The most crucial safety step is disconnecting the spark plug wire(s). Lift the hood and carefully disconnect the spark plug wire, tucking it away from the terminal. For twin-cylinder models like the YTH24V48, disconnect both spark plug wires. This precaution is non-negotiable because the engine could still start if a piston happens to be in the compression stroke, creating a severe injury hazard.
Wear safety goggles throughout the process—especially when prying on the retaining ring, which can spring off with considerable force. Work gloves protect your hands from sharp edges on the wheel rim and tire beads. Remember: skipping protective gear might save 30 seconds now but could cost you serious injury.
Lift and Support Your Husqvarna Mower Properly for Front Tire Access
With safety precautions in place, carefully elevate the front of your riding mower. Position wood blocks against the rear tires to prevent rolling, then locate the proper jack point—typically under the front axle or reinforced frame crossmember in front of the engine. Consult your owner’s manual if uncertain about jack points for your specific model.
Slowly pump the jack to raise the front wheels 4-6 inches off the ground, watching for stability. Once at working height, place a jack stand beneath the frame directly beside the jack. Carefully lower the mower onto the jack stand, then remove the jack. Verify stability by gently rocking the mower—if it moves, raise it again and reposition the jack stand.
Visual Cue: The front wheel should spin freely without touching the ground. If the mower sits unevenly, lower it completely and reposition on a flatter surface before proceeding.
Remove the Front Wheel Assembly on Husqvarna Models
Start by pulling off the plastic axle cover with a firm straight pull—it snaps onto the axle end. Beneath this cover, you’ll see the retaining ring (a U-shaped or C-shaped clip) followed by one or more washers. This retaining ring is the critical component securing your wheel to the axle.
How to Safely Remove the Retaining Ring
Insert a flat-blade screwdriver between the axle shaft and upper portion of the retaining clip. Apply steady upward pressure to pry the clip straight up off the shaft—never pry toward yourself. The clip has small dimples that hold it in place, so you may need to work the screwdriver back and forth to release these points.
Be prepared for the retaining ring to come off suddenly once the dimples release. This is precisely why safety goggles are mandatory. Once removed, slide off any washers in the order they came off and set them aside where they won’t roll away.
Slide Off the Wheel Assembly
With the retaining ring and washers removed, the wheel assembly should slide freely off the axle. If it sticks, gently tap around the hub with a rubber mallet—never strike the rim directly with metal tools. Check for hidden set screws or corrosion that might be binding the components together.
Dismount the Old Tire from Your Husqvarna Wheel Rim
With the wheel assembly on your work surface, begin by removing the valve stem cap and using pliers to extract the valve core. This releases all air pressure, making the tire much safer and easier to work with. A fully inflated tire can explode if heated or struck, so this step is non-negotiable.
Break the Tire Bead Loose from the Rim
Using tire irons, start at a point opposite the valve stem and work the bead over the rim edge. Insert one tire iron between the bead and rim, then use a second iron to pry the bead over the lip. Work around the tire in small increments until one side is completely free. Flip the wheel and repeat for the other side.
For stubborn beads, spray soapy water around the bead interface or tap the sidewall with a rubber mallet. Never use metal hammers directly on the tire—this can damage the tire structure and create weak spots.
Mount the New Tire Correctly on Your Husqvarna Mower Wheel
Before installation, thoroughly clean the wheel rim with a wire brush to remove rust, corrosion, or debris. Inspect carefully for cracks or bends that could compromise the tire seal—replace the rim if damaged.
Position and Lubricate for Proper Bead Seating
Place the new tire flat with the valve stem hole aligned at 12 or 6 o’clock (not 3 or 9 o’clock) for easier future pressure checks. Lubricate the top bead generously with liquid detergent—this is critical for proper seating and prevents damage during installation.
Work the rim into the tire using tire levers, prying the bead over the rim lip as you progress around the wheel. Flip the assembly and repeat for the second bead, taking extra time since the tire now has less give. Work slowly and methodically to avoid pinching the bead.
Seat the Tire Beads and Inflate to Proper Husqvarna Specifications
With both beads on the rim, reinstall the valve core and begin inflation. Start with just enough air to see the beads moving outward toward the rim edges. Watch carefully for even seating—if one side seats before the other, push down on that side to help the opposite bead engage.
Troubleshoot Stubborn Bead Seating Issues
If beads refuse to seat, wrap a ratcheting tension strap around the tire circumference and tighten it to force beads outward. Then add air pressure—the combination of strap tension and air pressure should cause the beads to snap into place with an audible click.
Inflate to the pressure specified in your owner’s manual (typically 14-20 PSI for lawn tires). Over-inflation makes tires prone to damage, while under-inflation causes poor ride quality and accelerated wear.
Reinstall the Front Wheel Assembly and Complete Final Checks
Slide the wheel assembly back onto the axle, ensuring proper alignment with the keyway if present. Reinstall washers in their original order, then snap the retaining ring back onto the axle groove until it clicks into place. Push the axle cover securely onto the end of the axle.
Lower the mower completely, remove rear wheel blocks, and reconnect the spark plug wire(s) before testing. Start the mower and take a short test drive to verify proper operation. Check for vibrations or handling issues that might indicate improper installation.
Prevent Future Front Tire Problems on Your Husqvarna Mower
After completing your tire replacement, implement these maintenance practices to extend tire life:
– Check tire pressure monthly (14-20 PSI depending on model)
– Inspect for punctures, cracks, or uneven wear patterns
– Clean debris from wheel wells after each use
– Store mower on flat surface with tires off concrete if possible
– Rotate front tires seasonally to promote even wear
By following these steps precisely, you’ll successfully change the front tire on your Husqvarna riding mower while avoiding common pitfalls that lead to rework or damage. This repair not only saves money but also gives you valuable mechanical knowledge for future maintenance tasks. With your new tire properly installed, your Husqvarna mower will deliver smooth, reliable performance through the entire mowing season.


