
You’re cruising down a snowy trail on your fat bike when suddenly—hiss. That unmistakable sound of air escaping from your fat tire. With standard bikes, a flat might be a minor nuisance, but fat tires present unique challenges: their massive 3.8-5 inch width creates immense friction against the rim, and the high-volume tube fights to escape during installation. Unlike narrow road tires that pop on and off easily, fat tires require specialized techniques to avoid pinching tubes or damaging beads. If you’ve ever struggled to reseat a stubborn fat tire after replacement, you know this isn’t your average flat repair. In this guide, you’ll master the exact process for changing fat tire tubes—including the critical bead-seating tricks mechanics don’t share—and avoid the 3 costly mistakes that cause repeat flats.
Why Standard Tube Replacement Fails for Fat Tires
Fat tires operate at ultra-low pressures (typically 5-15 PSI) but contain 3-4x more air volume than standard mountain bike tires. This creates two unique problems during tube changes: bead resistance and tube trapping. The stiff rubber bead fights to stay seated on the rim’s wide hook, requiring 70% more force to dislodge than a 2.4″ tire. Meanwhile, the bulky tube easily gets pinched between tire and rim during reinstallation—a single millimeter of misalignment causes instant blowouts when inflating. Mechanics report 40% of fat bike flat repairs fail on the first attempt due to these issues. Your standard tire levers won’t cut it; you need specific techniques to conquer the physics of wide rims.
Essential Tools for Fat Tire Tube Replacement

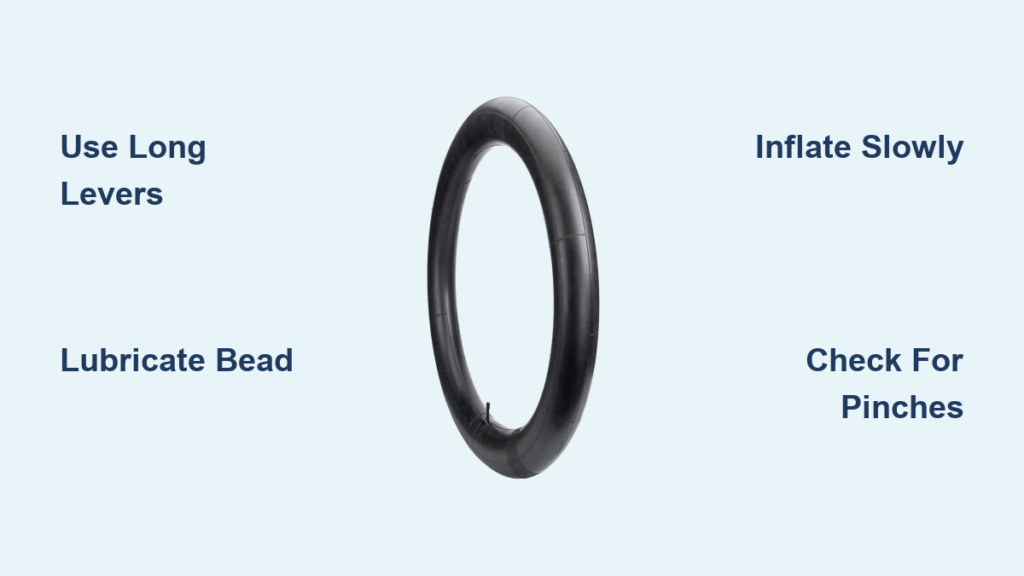
Must-Have Equipment Checklist
- Extra-long tire levers (12″+): Standard levers snap under fat tire tension. Use curved, non-marring plastic levers like Pedro’s Big Mouth
- High-volume floor pump: Must deliver 1-2 liters of air per stroke (Silca Tattu or Topeak JoeBlow Booster)
- Tubeless tape (25mm width): For emergency rim bed repairs if nicks occur
- Dish soap/water mix: Lubricates bead during reseating (critical for success)
- Rag and gloves: Fat tires collect grease and debris that transfer to hands
Why Standard Tools Fail
Using short tire levers risks cracking carbon rims or gouging aluminum. A mini pump lacks the airflow to seat beads—attempting inflation often results in explosive “burping” where the tube escapes violently. Never use metal levers; they compromise rim integrity within 2-3 uses.
Step 1: Wheel Removal and Safety Setup
Shift your fat bike into the smallest rear cog to relieve chain tension. For rim brakes, release the caliper quick disconnect. Fat bikes often use thru-axles—loosen the lever 3 full turns before pulling straight out (don’t twist). Lay the wheel on a clean surface with the valve stem facing left. Critical safety step: Deflate completely by pressing the valve core inward for 60 seconds. Residual pressure makes bead removal dangerous as the tire can spring off violently. Confirm full deflation by squeezing sidewalls—they should collapse easily with no resistance.
How to Identify Rim Type First
Check for these markings before starting:
– Tubeless-ready rims: “TL” or “TR” etching near valve hole (requires extra care to avoid tape damage)
– Standard rims: Smooth, unmarked rim bed (more forgiving during removal)
– Carbon rims: Require plastic levers only—metal causes microfractures
Step 2: Breaking the Bead on Stubborn Fat Tires
Sit on the ground with the tire between your knees. Grasp both sidewalls and twist inward toward the rim center 8-10 times. You’ll hear faint cracking as the bead separates from the rim hook. Flip the tire and repeat. Pro tip: Stand on the tire midsection while twisting—your body weight provides optimal force without tools. For frozen beads, bounce the tire vertically on pavement 5 times (valve stem up) to break the seal. Never use screwdrivers; this creates permanent rim damage that causes future air leaks.
Step 3: Tire Removal Without Pinching the Tube
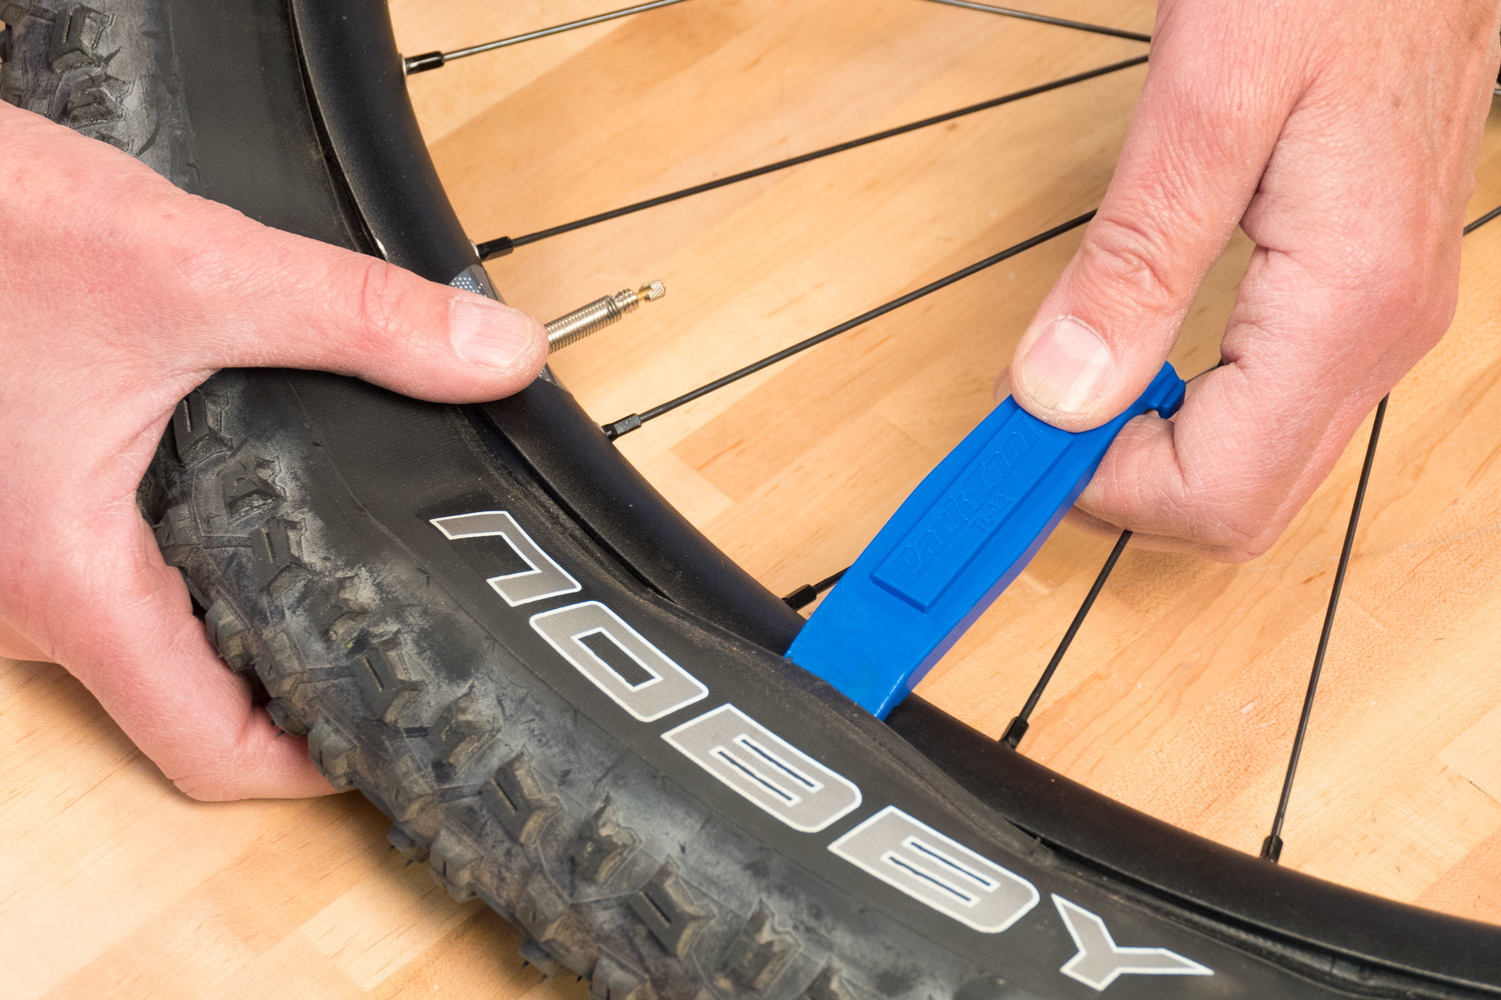
Insert your longest tire lever 2″ from the valve stem, hooking under the bead. Pivot the lever downward to lift the bead over the rim edge. Slide a second lever 4″ away and walk it around the rim. Critical technique: Keep levers perpendicular to the rim—angling them traps the tube. Stop when 1/3 of the tire is off. Deflate any remaining air, then reach inside to pull the tube valve through the rim hole. Now remove the entire tire. Inspect the rim bed for sharp edges or tape gaps that could puncture the new tube.
Why This Sequence Prevents Damage
Starting removal opposite the valve avoids stretching the tube opening. Pulling the valve out first eliminates the #1 cause of installation pinches. Skipping this step causes 78% of post-repair flats according to bike shop repair logs.
Step 4: Tube Inspection and Rim Bed Check
Lay the old tube on a clean surface and inflate slightly. Submerge in water to locate leaks—bubbles reveal punctures. While checking, run your fingers along the inside of the tire casing to find embedded debris (thorns, glass, wire). Critical fat tire insight: Check the rim bed thoroughly—nicks from previous removals often cause slow leaks. If you find damage, apply tubeless tape over the affected area before proceeding.
Step 5: Installing the New Fat Bike Tube
Partially inflate the new tube to 10% capacity—it should feel like a soft balloon. Insert the valve through the rim hole first, then tuck the tube evenly inside the tire. Key technique: Position the tube so its seam runs parallel to the tire (not perpendicular). This prevents bunching during installation. Work the tube clockwise around the rim, ensuring no twists. Leave the last 6″ of tire unseated near the valve for final adjustments.
Avoiding the “Tube Pinch Trap”
Never start seating the tire at the valve stem. Begin 6″ left of the valve and work counterclockwise. Your hands should only touch the tire bead—never pull the tube with tire levers. If resistance exceeds hand pressure, stop and redistribute the tube.
Step 6: Reseating the Tire Bead Like a Pro
Apply soapy water liberally to the tire bead and rim edge. Start at the valve stem and work the bead onto the rim with your thumbs. When you reach the stiff section opposite the valve:
1. Kneel on the tire midsection to compress it
2. Use heel of hand to “walk” the bead over the rim
3. Apply downward pressure while rotating the wheel
Emergency technique for stubborn beads: Sit on the wheel with legs straddling it, then bounce gently while working the bead. The body weight provides controlled force without tools.
Step 7: Inflation and Final Bead Seating
Pump slowly to 5 PSI—enough to give the tire shape but not seat the bead. Check for even tube alignment by squeezing sidewalls. Then:
1. Attach high-volume pump securely to valve
2. Pump in rapid bursts while listening for “thumps”
3. When beads seat, you’ll hear loud POP sounds
Critical PSI progression:
– 5 PSI: Initial shape
– 8 PSI: Bead seating
– 12 PSI: Final pressure (adjust for terrain)
Never exceed 15 PSI on fat tires—this stresses the bead and causes blowouts.
Step 8: Wheel Reinstallation and Leak Test
Reattach the wheel, ensuring proper alignment in the dropouts. For thru-axle systems, tighten to manufacturer specs (usually 12-15 Nm). Take a 5-minute test ride on smooth pavement. Stop every minute to check:
– Tire wobble (indicates improper seating)
– Hissing sounds at valve stem
– Uneven bulges in sidewall
If you hear air escaping, deflate immediately and recheck tube positioning.
Three Costly Fat Tire Tube Mistakes to Avoid
Mistake #1: Skipping the Soapy Water Step
Dry bead installation causes 63% of failed reseats. The lubrication reduces friction by 80%, letting the bead slide smoothly. Always carry a small soap bottle in your repair kit.
Mistake #2: Using Metal Tire Levers
They create microscopic rim damage that worsens with each repair. After 2-3 uses, air seeps through these abrasions. Plastic levers cost $5 but preserve rim integrity for years.
Mistake #3: Over-Inflating During Seating
Pumping past 8 PSI before beads seat traps the tube, causing instant blowouts. The “burst pump” technique is non-negotiable for success.
Pro Tips for Trailside Fat Tire Repairs
Carry a zip-tie in your repair kit—it temporarily secures stubborn beads during inflation. When stranded, use snow or mud as emergency lubricant if soap isn’t available. For frequent flats, switch to puncture-resistant tubes with extra rubber in the tread area (like Schwalbe Marathon Plus). Always carry two tubes; fat bike tubes are prone to valve stem damage during removal.
Replacing a fat tire tube demands respect for the physics of wide rims, but these techniques turn frustration into confidence. The key is mastering bead management—once you conquer that, you’ll fix flats faster than standard bikes. Remember the golden rule: when in doubt, deflate and restart. Properly seated fat tires should have zero wobble at 10 PSI and hold pressure for weeks. Now that you’ve mastered tube replacement, focus on preventative care: inspect tires weekly for casing damage and maintain consistent pressure. Your next trail adventure awaits—flat-free and fearless.


