
That flat tire on your tractor isn’t just an inconvenience—it halts your entire operation. Unlike passenger vehicles with tubeless tires, most tractors rely on inner tubes that require specialized techniques to replace. The process demands more physical effort and technical knowledge than changing a car tire, with stubborn beads that have fused to rims over years of use creating the biggest hurdle. Whether you’re maintaining a small garden tractor or servicing massive rear tires on vintage equipment, mastering this repair saves costly service calls and keeps your equipment operational when you need it most.
This guide walks you through every critical phase of replacing a tractor tire inner tube, from gathering the right tools to troubleshooting common problems after installation. You’ll learn techniques that work across most tractor applications, though specific approaches vary based on tire size and rim configuration. By following these steps methodically, you can complete this repair successfully without professional assistance—preserving both your budget and your operational timeline.
Before starting, recognize that tractor tire work rewards preparation and patience. Rushing through bead breaking or skipping inspection steps creates problems that only become apparent after reassembly, forcing you to repeat the entire process. Set aside adequate time, ensure all necessary tools are on hand, and approach the task systematically. The investment in proper technique pays dividends through fewer frustrations and longer-lasting tube performance.
Essential Tools and Equipment for Inner Tube Replacement
Skip standard automotive tire tools—they lack the leverage needed for agricultural tires. Successful inner tube replacement requires specific equipment designed for the unique demands of tractor tire work.
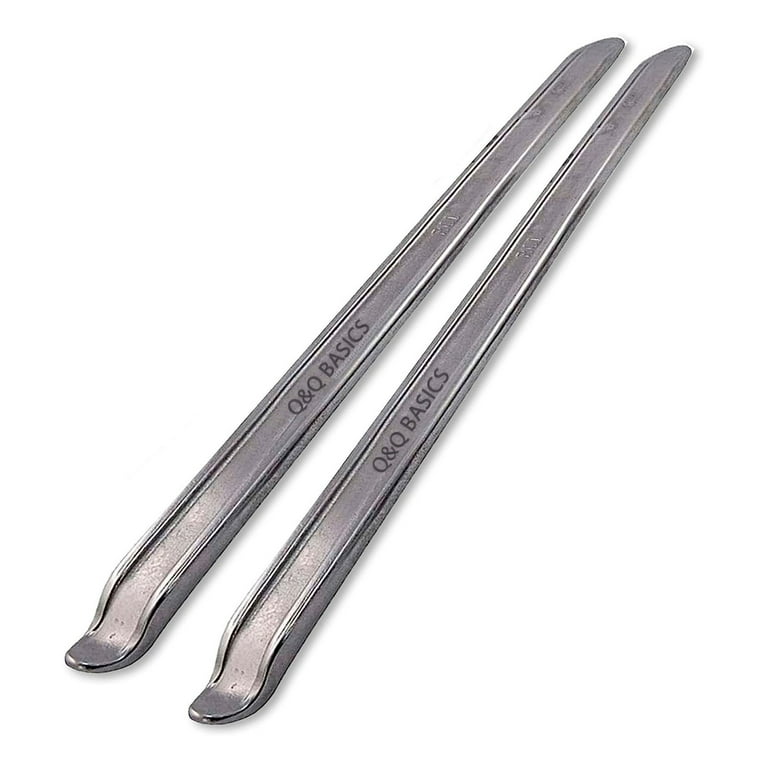
Grab at least two tire irons of varying lengths—12-inch and 24-inch options provide the necessary leverage for stubborn beads. Farm supply stores sell specialized tire spoons or flat crowbar-style tools that won’t gouge rim surfaces like screwdrivers would. These curved-end tools hook securely over tire beads without damaging rims.
A rubber mallet serves multiple critical functions: breaking beads loose without marring surfaces, driving valve stems into tire interiors during removal, and assisting with bead reseating. The rubber material prevents metal-to-metal contact that would damage painted or powder-coated rims—particularly important for restored equipment.
Don’t forget a valve core removal tool for rapid air release from both old and new tubes. Hand pumps work for smaller tires but become exhausting for larger applications—verify your pump reaches the 18-35 PSI required for most tractor tires before starting.
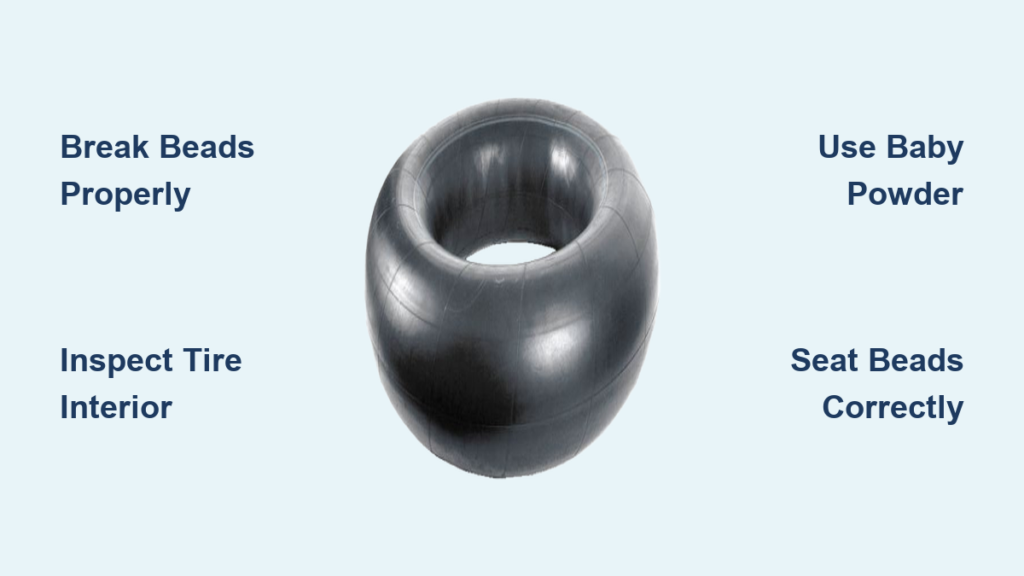
Baby powder might seem unusual in your toolkit, but it’s critical for installation. A light coating on the tube’s exterior reduces friction, allowing smooth positioning without bunching. This simple step dramatically reduces pinch risk during reassembly.
Break the Tire Beads Without Damaging the Rim
The bead—the rubber edge creating the airtight seal against the rim—presents the most challenging aspect of tractor tire tube replacement. Breaking these stubborn beads requires technique that varies based on tire size and age.
Start by removing the valve core to release all air pressure. With the tire completely deflated, strike the sidewall near the rim edge with your rubber mallet, working methodically around the circumference. Listen for the subtle pop indicating bead release from the rim. For tires mounted for years, this alone often proves insufficient.
For tires remaining on the tractor, leverage the machine’s weight to assist bead breaking. With the valve core removed, carefully drive the tractor forward and backward in inch-long movements. This flexing causes the tire to shift on the rim, often releasing stubborn beads without requiring heavy lifting. Stop immediately once you feel or hear the release—further movement can damage the tire.
When traditional techniques fail, bumper jack methods provide mechanical advantage. Position the deflated tire under a receiver hitch, place a bumper jack base against the tire near the rim edge, and raise the hitch. This creates tremendous force to break aged beads, though stable positioning is essential to prevent dangerous jack slippage.
Remove the Old Tube Without Damaging the Tire Interior
With both beads loosened from the rim, extract the damaged tube carefully to avoid harming the tire’s interior.
Insert your tire irons between the first bead and rim at multiple points, working around the circumference until that complete bead clears the rim edge. This typically demands the most physical effort in the entire process, especially for tires mounted for decades. Work gradually—forcing the bead can damage the rim or injure your hands.
Once one bead clears the rim, locate the valve stem base inside the tire. Use your rubber mallet to hammer the valve stem completely into the tire interior, pushing the stem and its mounting flange away from the rim hole. Grip the stem with pliers and pull the entire old tube assembly from the tire.
Before installing your new tube, inspect the tire interior thoroughly. Run your hand carefully around the entire circumference, feeling for debris, sharp objects, or damage that could puncture your replacement tube. Wipe the interior with a rag to catch fragments hands might miss. Address any interior damage before proceeding—otherwise, your new tube will fail prematurely.
Prepare the New Inner Tube for Installation
New inner tubes arrive compressed significantly smaller than their operational size. Proper preparation prevents installation failures.
Slightly inflate your new tube to approximately the tire’s size. This stretches the rubber compounds, helping the tube better fill the tire’s interior void. More importantly, this reveals manufacturing defects—bubbles, thin spots, or weak areas that would cause premature failure. Return any tube showing uneven expansion or visible defects.
Apply baby powder to the exterior of your slightly inflated tube, creating a slippery surface that allows smooth movement within the tire. Use a light, misty coating—enough to reduce friction without creating heavy deposits that could interfere with proper seating. This powder dramatically reduces the force needed during positioning while minimizing pinch risks.
Deflate the pre-inflated tube slightly while leaving enough air to eliminate folds and wrinkles. The tube should appear smooth and evenly distributed rather than flattened against itself. Any twists or irregularities at this stage will translate to improper positioning and potential failure after installation.
Install the New Tube Without Pinching or Twisting
Two installation sequences exist—choose based on your tire and rim geometry.
For standard tractor tires, position one tire bead on the rim first, then insert the tube and align the valve stem through the rim hole, followed by working the second bead over the rim edge. This sequence provides the best control over tube positioning.
For low-profile tires where the rim edge diameter significantly exceeds the rim body diameter, place the tube on the bare rim first, then lower the tire casing over it. This reversed sequence is the only practical solution for these challenging configurations.
Ensure the valve stem protrudes through the rim hole and use a valve stem retainer or strong string tied around the stem base to prevent it from falling back into the wheel cavity. This simple precaution avoids the frustrating situation of a disappearing stem requiring complete disassembly.
Work the tube under the tire edge using your hands primarily, supplementing with tire irons only as necessary. The powdered surface should allow smooth sliding without excessive force. Check frequently to ensure the tube isn’t being pinched or pushed out of position as you work the remaining bead over the rim edge.
Inflate Properly to Seat Both Beads
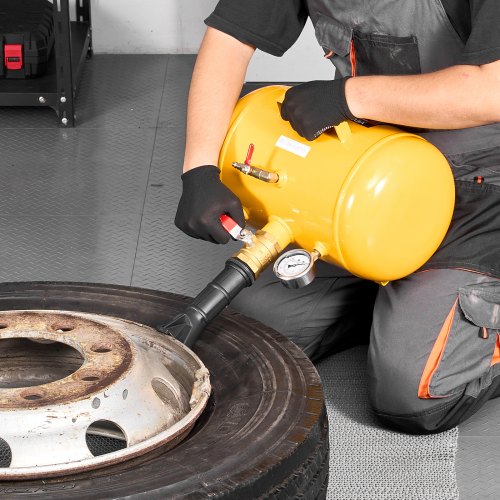
With the tire assembled on the rim but before full inflation, introduce 5-10 PSI of air to fill the tube from its vacuum-flattened state. This slight inflation provides a buffer that helps prevent pinch points during final bead seating and keeps the valve stem from falling internally.
Inflate slowly while monitoring both tire beads to ensure they remain properly seated against the rim edge. The rim line—a visible indicator of proper rim-to-bead contact—should remain visible and even around the circumference on both sides. Watch particularly carefully at the valve stem area, where improper positioning most commonly causes problems.
Continue inflating to the tire’s specified working pressure (typically 18-35 PSI for most tractor uses). Verify that all beads remain properly seated and that the valve stem is centered and perpendicular to the wheel surface. Any angling indicates shifted tube positioning requiring immediate correction.
Prevent Common Installation Mistakes That Cause Failures
Understanding frequent installation errors helps avoid frustrating repairs. The valve stem being pulled into the rim cavity during inflation ranks as the most commonly reported issue. Prevent this by either removing the valve core before first inflation or using a valve stem retainer that locks to the stem.
Pinching the tube between the tire bead and rim creates immediate or delayed failures. Baby powder application dramatically reduces this risk by allowing the tube to slide rather than catch. Slight tube inflation during installation eliminates the vacuum effect that pulls tube material into the bead-to-rim interface.
Twisted tubes create irregular wear patterns leading to premature failure. Ensure the tube is smooth and unwrinkled before beginning bead installation, and avoid any rotation during the process. Pre-inflation and powder application both contribute to maintaining proper tube orientation throughout assembly.
When to Call a Professional Instead of DIY
Despite the satisfaction of successful DIY repairs, certain situations favor professional service. Split-rim assemblies present genuine safety risks if disassembled incorrectly—the spring tension can cause serious injury. Unless you have specific experience, leave these to professionals.
Large rear tractor tires can weigh over 200 pounds—operators without adequate lifting capability should not attempt to remove and transport these heavy wheel assemblies. Seek assistance or use mechanical lifting equipment rather than risking personal injury.
Professional tire tube installation typically costs $10-$25 per tire. For operators without specialized tools, limited physical capability, or time constraints, professional service often represents the most economical choice when considering hidden costs of frustration and potential damage from unsuccessful DIY attempts.
Troubleshoot Leaks and Issues After Installation
Persistent leaks after installation typically stem from three causes. Pinch marks—small punctures where the tube was caught between tire and rim—often manifest as slow leaks. The only reliable repair involves complete disassembly and reinspection.
Valve stem leaks occur when the stem is crooked in the rim hole. Remove the valve core and apply soapy water around the stem base while pressurized—bubbles reveal leak locations. Stem replacement rather than repair provides the most reliable solution.
Bead seal issues cause pressure loss around the circumference, typically indicating inadequate bead seating, rim damage, or debris preventing proper sealing. Disassembly, thorough cleaning of all sealing surfaces, and careful reassembly typically resolve these issues.
Maintain Your Tractor Tires for Longevity
Properly installed inner tubes provide years of reliable service with regular maintenance. Inspect tire pressure monthly for actively used equipment—pressure loss exceeding 10% over one month typically indicates a leak requiring investigation.
UV exposure degrades rubber compounds over time, making shaded storage preferable for spare tires and tubes. Temperature extremes accelerate aging, with consistent moderate temperatures providing optimal storage conditions.
For seasonally stored equipment, maintain full tire pressure to prevent flat spots and associated bead seating issues when returning to service. Some operators slightly overinflate stored tires to account for normal pressure loss during storage intervals.


