
You’re tightening lug nuts after a tire rotation when suddenly—snap. That broken tire stud leaves you stranded with a wheel that won’t secure properly. Ignoring this critical failure risks wheel detachment at highway speeds, making this one of the most urgent repairs your vehicle will ever need. Unlike complex engine work, replacing a damaged tire stud requires only basic tools and 30 minutes of your time. This guide delivers the exact steps mechanics use to replace snapped or stripped lug studs on any car, truck, or SUV. You’ll learn how to extract stubborn broken bolts, install new studs without special equipment, and torque lug nuts to manufacturer specifications—avoiding costly tow bills and dangerous roadside emergencies.
Why Ignoring a Broken Tire Stud Creates Immediate Danger
Driving with a missing or damaged tire stud drastically reduces wheel security. Each remaining lug nut must compensate for the failed stud, multiplying stress by 25% on vehicles with four-lug patterns and 20% on five-lug setups. This uneven pressure causes accelerated wear on adjacent studs and distorts the wheel hub’s mating surface. Within just 100 miles, you may notice dangerous vibrations during braking as the wheel shifts microscopically on the hub. Most critically, the remaining lug nuts gradually loosen from the excessive load, potentially leading to complete wheel separation—a scenario responsible for over 1,200 preventable highway accidents annually according to NHTSA data.
How Broken Studs Compromise Your Braking System
When a wheel isn’t perfectly seated due to missing studs, the rotor wobbles against brake pads during stops. This creates uneven pad wear that turns your steering wheel violent during braking. You’ll hear rhythmic thumping sounds that worsen with speed as the warped rotor slams against calipers. Left unaddressed, this damages expensive brake components within weeks. The vibration also accelerates wheel bearing wear since the hub assembly isn’t uniformly supported.
Essential Tools for Tire Stud Replacement (No Specialty Equipment Needed)
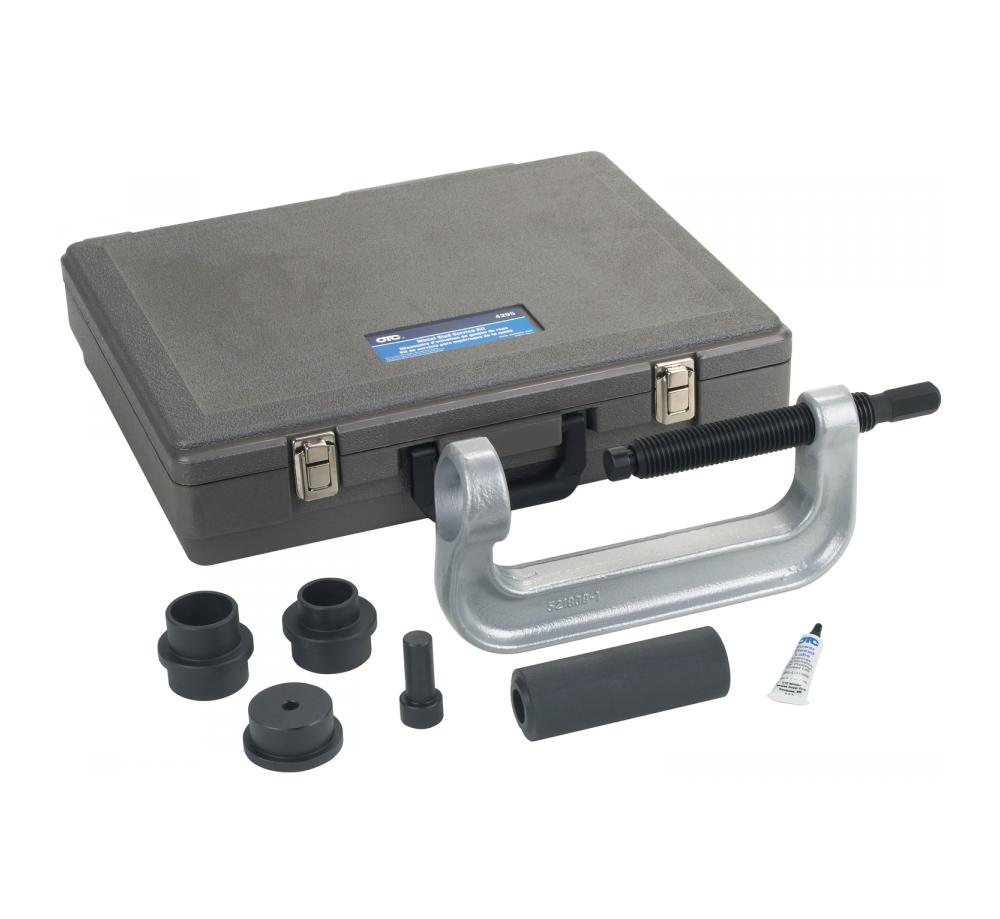
Skip expensive dealer tools—this repair succeeds with common garage items. You’ll need a 1/2-inch breaker bar (minimum 18-inch length), matching socket for your lug nuts, rubber mallet, and penetrating oil like PB Blaster. Crucially, include two identical lug nuts: one for extraction and one for installation. A 1-inch diameter washer (3/8-inch center hole) acts as your makeshift stud press. For rusted hubs, add a 3/4-inch drift punch and 4-pound sledgehammer. Always use OEM-spec replacement studs matching your vehicle’s thread pitch (typically 1.25mm or 1.5mm) and shank diameter—measured with calipers if original packaging is lost.
Why Standard Lug Nuts Are Your Best Extraction Tool
That second lug nut isn’t optional—it creates the controlled force needed to push out broken studs without damaging the hub. Thread it onto the broken stud stub until it’s 1/4-inch below the hub surface, then tighten with your breaker bar. This compresses the stud against the hub while protecting threads during extraction. Never hammer directly on the stud remnant; you’ll mushroom the end and make removal impossible. For deeply recessed breaks, stack multiple lug nuts on the extraction nut for added height.
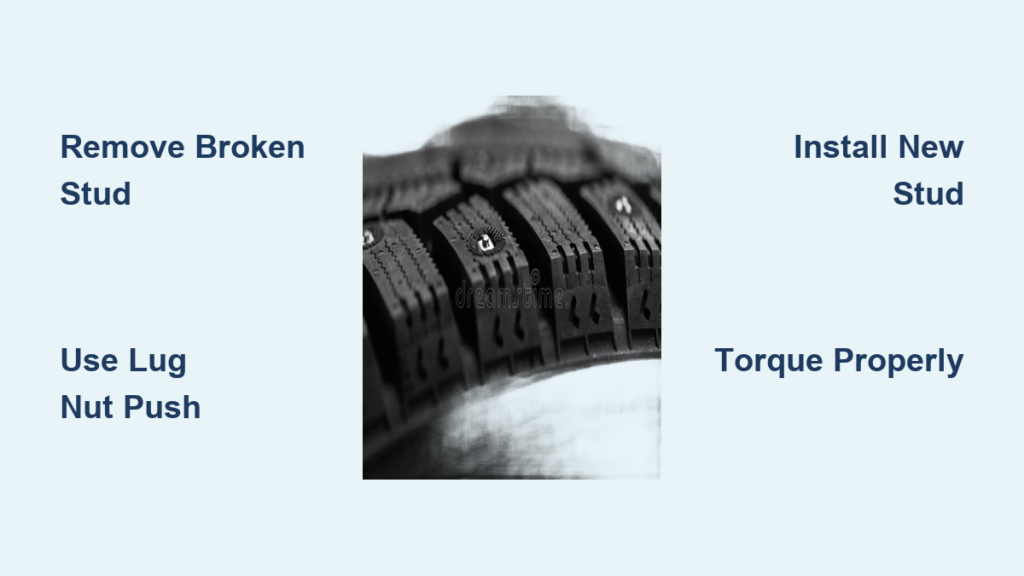
Step-by-Step Broken Stud Removal Process
Begin with the wheel securely chocked and the vehicle lifted on jack stands—never work under a car resting solely on a hydraulic jack. Remove the affected wheel and spray penetrating oil where the stud meets the hub. Wait 15 minutes for deep penetration before proceeding. For studs broken flush or below hub surface:
Method 1: The Lug Nut Push Technique (Works 90% of Cases)
- Thread your extraction lug nut onto the broken stud until it contacts the hub
- Place the washer over the stud and hand-tighten your second lug nut against it
- Gradually tighten the second nut with your breaker bar in 1/4-turn increments
- As pressure builds, the broken stud will slowly push through the hub flange
- Once the stud tip emerges, remove both nuts and pull the stud free by hand
Method 2: Hammer Extraction for Stubborn Studs
When corrosion welds the stud to the hub, position your drift punch against the stud’s inner end. Strike sharply with a sledgehammer while rotating the punch 90 degrees after each blow. Alternate between hammering and reapplying penetrating oil every 30 seconds. Stop immediately if the stud rotates freely—this indicates thread damage requiring professional repair. For studs broken outward, clamp vice grips on the remnant and twist counterclockwise while tapping with a mallet.
Installing Your New Tire Stud Correctly

Dry-fit the new stud before final installation. It should slide through the hub hole with firm hand pressure but no binding. If resistance occurs, clean the hole with a wire brush—never force the stud. Proper alignment is critical: the stud’s shoulder must sit flush against the hub’s inner surface. Misalignment causes wheel wobble and rapid stud failure.
Securing the New Stud Without Special Tools
- Insert the new stud from the back of the hub with its knurled shoulder against the metal
- Place the washer over the threaded end protruding through the wheel face
- Thread your installation lug nut onto the stud and tighten finger-tight
- Using your breaker bar, gradually tighten the nut in 1/8-turn increments
- Stop when the stud’s shoulder seats firmly against the hub (you’ll feel resistance)
- Back off the nut 2 full turns—do not fully remove it yet
Critical warning: Over-tightening cracks the hub casting. If the nut resists turning before seating the shoulder, the stud is binding—remove and clean the hole.
Reassembly and Torque Sequence That Prevents Future Failures
Before reinstalling the wheel, coat new lug nuts with anti-seize compound on threads only—never on the nut’s seating surface. Mount the tire and hand-tighten all lug nuts in a star pattern. Lower the vehicle until the tire just touches the ground, then tighten to 50% of final torque (typically 60-80 ft-lbs). Fully lower the vehicle and complete tightening to manufacturer specification using a calibrated torque wrench. Always re-torque after 50 miles—this critical step compensates for initial seating movement.
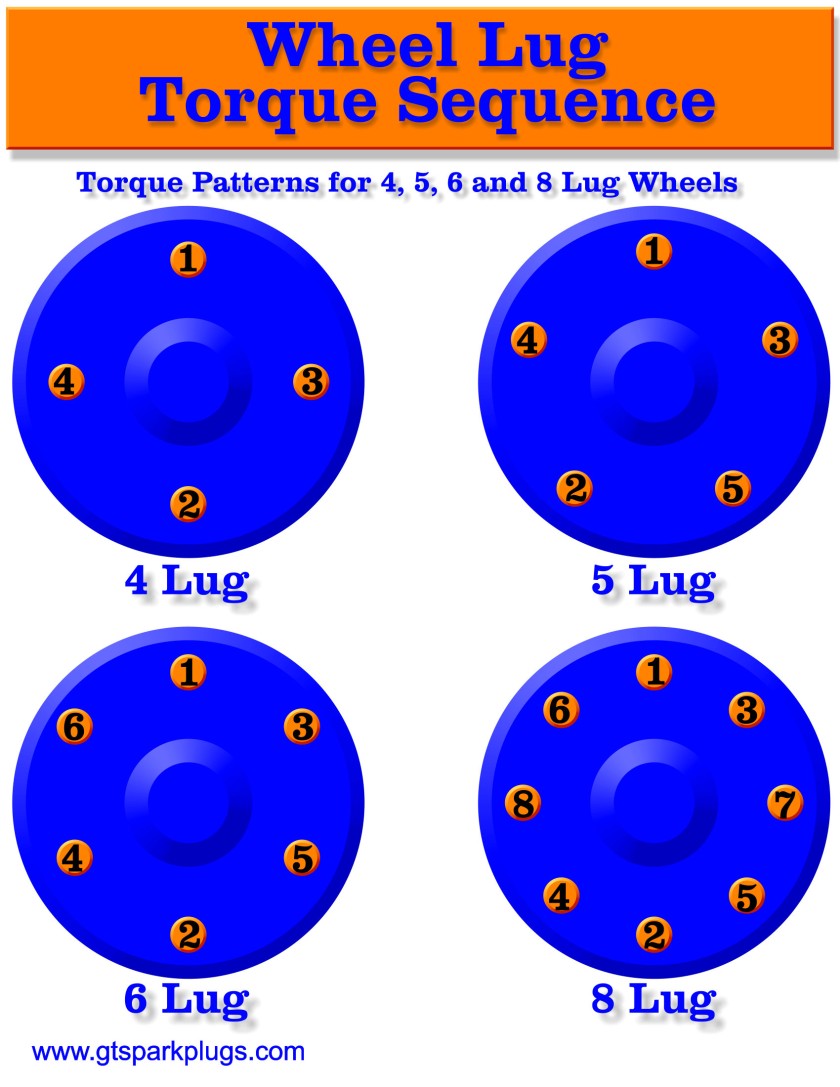
Why Your Torque Pattern Matters More Than You Think
Tightening lug nuts in sequence (not circling the wheel) prevents rotor warpage. For five-lug wheels, follow this order: 1-3-5-2-4. For four-lug patterns, use 1-3-2-4. Each nut requires three progressive passes: first to 30% torque, second to 70%, final to 100%. Skipping this causes uneven clamping force that distorts the rotor within 500 miles. Never use an impact wrench for final tightening—it delivers inconsistent torque that strips threads.
Preventing Recurring Stud Failures Through Proper Maintenance
90% of stud breakages stem from improper lug nut torque. Under-torqued nuts vibrate loose, causing studs to shear from lateral stress. Over-torqued nuts stretch threads beyond yield strength. Check torque monthly with a click-type wrench, especially after new tire installation. During rotations, inspect for “stud shine”—polished threads indicating nut movement. Replace any stud showing corrosion at the hub interface, as rust weakens the metal by up to 40%.
When to Call a Professional Instead of DIY
Seek mechanic help if you encounter these red flags:
– Stud spins freely in the hub (indicates stripped threads)
– Hub shows cracks around the stud hole
– You’re working on a newer vehicle with aluminum hubs (easily damaged by DIY)
– Extraction requires drilling (risks damaging wheel bearings)
Aluminum hubs on modern trucks and performance cars demand specialized thread inserts—attempting DIY often costs more in hub replacement than professional repair.
Final Safety Verification Before Driving
After installation, perform these critical checks: Jack up the repaired wheel and spin it while listening for grinding (indicates hub damage). Check for wheel wobble by grasping the tire at 12 and 6 o’clock—any movement over 1/8 inch means improper stud seating. Drive slowly for the first mile, then stop to recheck lug nut torque. If vibrations occur during this test drive, stop immediately—the wheel isn’t properly seated.
Replacing a broken tire stud isn’t just about fixing a snapped bolt—it’s restoring the critical connection between your vehicle and the road. By following these precise steps, you’ve eliminated a potentially catastrophic failure point using nothing but basic tools. Remember that proper torque isn’t optional; it’s the difference between safe travel and a roadside disaster. For ongoing safety, include lug nut torque checks in your monthly maintenance routine and always carry two spare studs in your emergency kit. If you encounter persistent issues during this repair, consult your vehicle’s service manual for hub-specific specifications or visit a trusted mechanic—your safety is worth the professional insight.


