
Struggling with a flat tire or upgrading your wheels? Knowing how to change a tire on a rim properly can save you hundreds of dollars in shop fees while giving you complete control over your vehicle’s safety and performance. Whether you’re replacing worn rubber, fixing a puncture, or installing new wheels, mastering this essential automotive skill puts you in charge of one of the most critical safety components on your vehicle. This step-by-step guide covers everything you need to successfully remove an old tire and mount a new one on your rim without professional assistance.
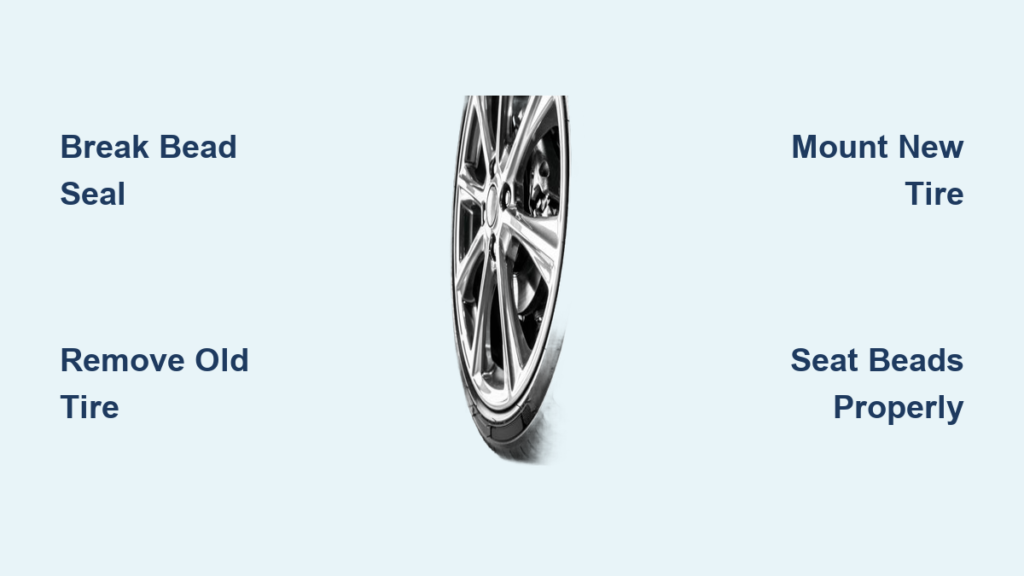
Many drivers mistakenly believe tire changing requires expensive equipment only available at service centers, but with the right techniques and basic tools, you can accomplish this task safely in your garage or driveway. The process involves several critical stages: breaking the bead seal that holds the tire to the rim, carefully removing the old tire, properly positioning the new tire, and finally seating the beads to create an airtight seal. Rushing through any of these steps risks damaging your rim, compromising tire performance, or creating dangerous driving conditions. Take your time, follow each procedure precisely, and never skip safety precautions—your life depends on properly mounted tires.
Gather Essential Tools and Equipment
Having the correct tools before starting prevents frustration and potential damage to your tire or rim. A quality tire iron or lever set is non-negotiable—these curved metal bars hook over the rim edge and provide the leverage needed to separate the tire bead from the rim flange. Using two levers simultaneously prevents the tire from resealing as you work around the circumference. For vehicle-mounted tires, a reliable jack and sturdy jack stands are mandatory safety equipment—never work under a vehicle supported only by a jack.
A bead breaker tool significantly reduces the physical effort required to break the initial tire-to-rim seal, though determined DIYers can accomplish this with tire irons alone. Don’t forget a valve core tool to completely deflate the tire before beginning, as working with any residual pressure creates serious safety hazards. Specialized tire mounting lubricant—never petroleum-based products—is essential for protecting the rubber during installation and ensuring proper bead seating.
Organize your workspace thoroughly before starting: clear debris from your work area, ensure adequate lighting, and arrange all tools within easy reach. Wearing heavy-duty work gloves protects your hands from sharp rim edges and provides better grip during physically demanding steps. Having everything prepared beforehand prevents mid-process interruptions that could compromise safety or damage components.
Prepare Your Workspace and Vehicle
Creating a stable, safe environment is critical before attempting to change a tire on a rim. Work on a completely flat, level surface—garage floors or paved driveways work best—as any slope can cause the tire or rim to roll unexpectedly. Position wheel chocks around tires that remain on the ground to prevent accidental vehicle movement. If working with a mounted wheel, loosen the lug nuts while the vehicle is still on the ground using a star pattern to prevent rotor warping, then safely elevate the vehicle using jack stands as your primary support.
This preparation sequence might seem time-consuming, but skipping any step risks serious injury. Never rely solely on a hydraulic jack for support—jack stands provide the essential redundancy that could save your life if the jack fails. Take thirty seconds to verify your jack stands are properly positioned under designated vehicle lift points before placing any body parts beneath the vehicle. This careful approach prevents the most common tire-changing accidents and creates the stable platform needed for successful tire removal and installation.
Break the Tire Bead Seal
Breaking the bead seal—the airtight connection between tire and rim—is often the most physically demanding part of changing a tire on a rim. Start by completely deflating the tire using a valve core tool, listening for escaping air until the tire collapses inward. Attempting this process with any remaining pressure risks sudden, uncontrolled separation that can damage rims or cause injury.
Position your bead breaker tool or tire iron at the tire-rim junction and apply steady, firm pressure to separate the bead from the rim flange. Work methodically around the circumference in small sections, repositioning your tools as needed. Apply mounting lubricant before breaking the seal to ease subsequent steps, but understand that lubricant won’t help with the initial separation—this requires pure mechanical force.
When using tire irons, insert the first lever approximately six inches from your position, then use the second to hook over the rim and pry outward. Continue this process around the entire circumference until the first bead completely clears the rim flange. Flip the tire over and repeat for the second bead. This stage requires significant physical effort, especially with stiff tires or corrosion-bonded rims, but rushing leads to damaged components.
Remove the Tire from the Rim
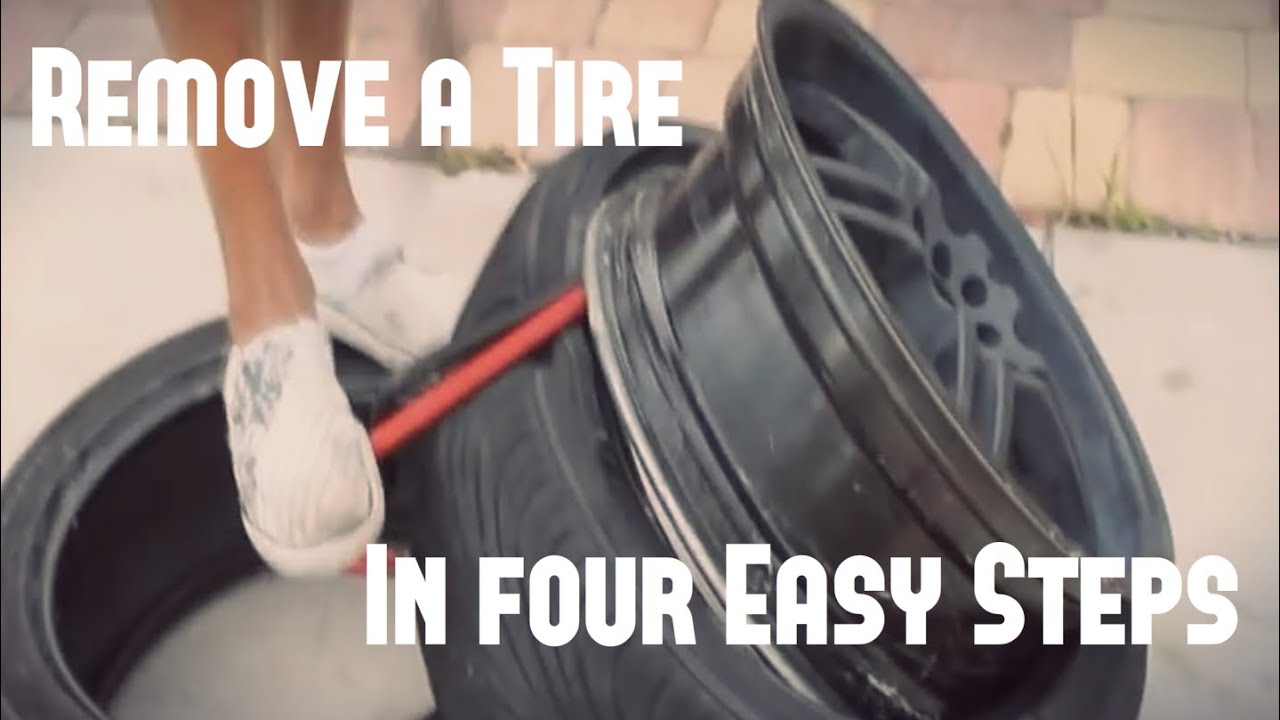
With both bead seals broken, the tire should now slide freely off the rim, though stubborn combinations may require additional persuasion. Start by working one side completely over the rim edge, using your hands or a rubber mallet to tap the sidewall in tight spots. Avoid using metal tools directly on the rim to prevent scratches or dents that could compromise future seals.
Once one side is fully removed, inspect the rim thoroughly for damage, corrosion, or debris that could affect the new tire’s performance. Clean the bead seats with a wire brush to remove old sealant, rust, or accumulated grime that might prevent proper seating. Pay special attention to the valve stem hole area where debris often accumulates. If you discover any rim damage—bends, cracks, or significant corrosion—repair or replacement is necessary before proceeding. Mounting a new tire on a damaged rim wastes your effort and creates serious safety hazards.
Mount the New Tire on the Rim
Proper mounting technique ensures your new tire functions safely and performs as designed. Begin by applying generous amounts of tire mounting lubricant to both the rim beads and the inner surfaces of the new tire—this protects the rubber and facilitates proper seating. Position the tire so the valve stem aligns with the rim’s valve hole and check for rotation direction arrows if applicable.
Start by working one bead over the rim edge at the top, using your hands to push it onto the flange before moving downward. Progress slowly around the circumference, verifying the bead sits properly on the rim flange as you go. The second bead presents the greatest challenge—use tire irons strategically to hook it over the rim edge while maintaining pressure to prevent slipping back.
Some installers find it helpful to push down on the tire center while working the second bead, effectively reducing the circumference the bead must traverse. Once both beads are on the rim but not yet seated in the bead seats, you’re ready for inflation. Never skip lubrication at this stage, as dry mounting can cause bead damage that leads to dangerous failures during driving.
Inflate and Seat the Tire Beads

Proper inflation creates the airtight seal essential for tire function. Begin by reinstalling the valve core, then attach your air hose and inflate in short bursts while checking bead seating progress. You should hear audible clicks as the beads snap into position against the rim flanges. Most passenger tires seat properly between 25-35 PSI, though stubborn combinations may require up to 40-45 PSI—never exceed the maximum pressure listed on the tire sidewall.
Once both beads have visibly seated, continue inflating to the recommended pressure (typically 32-35 PSI). Verify the pressure with an accurate gauge, as visual inspection alone can’t confirm proper inflation. Check for leaks by applying soapy water to the bead areas and valve stem—bubbles indicate air escaping that must be addressed before use.
Perform Final Safety Verification
Before considering your tire change complete, conduct thorough safety checks. Inspect both beads completely around the circumference for uniform seating with no gaps or bulges. Verify the tire is centered on the rim with even clearance on both sides. Recheck pressure after ten minutes to confirm stability—if pressure drops significantly, identify and fix the leak immediately.
For vehicle-mounted tires, reinstall using proper lug nut torque in a star pattern. Most passenger vehicles require 80-110 foot-pounds—use a torque wrench for accuracy. Over-tightening can warp components while under-tightening risks wheel detachment. After driving 50-100 miles, recheck lug nut torque to account for any settling.
Maintenance Tips for Long-Term Tire Performance
Proper tire maintenance extends service life and ensures safety. Check pressure monthly when tires are cold, as driving increases pressure readings. Under-inflated tires generate excess heat and wear prematurely, while over-inflation compromises handling. Inspect tires regularly for cuts, punctures, bulges, or abnormal wear patterns.
Rotate tires every 5,000-8,000 miles according to your vehicle’s drivetrain configuration to achieve even wear. Maintain proper wheel alignment to prevent rapid, uneven tire wear. Avoid driving over curbs, potholes, or debris that can damage tires and rims. During seasonal temperature changes, check pressure more frequently as thermal fluctuations significantly affect inflation.
Changing a tire on a rim successfully requires patience, proper technique, and respect for the process. While this skill saves money and builds automotive confidence, recognize when professional assistance is needed—your safety and others on the road depend on properly installed tires. With practice and attention to detail, you’ll master this essential maintenance task and enjoy the satisfaction of complete vehicle self-sufficiency.


