
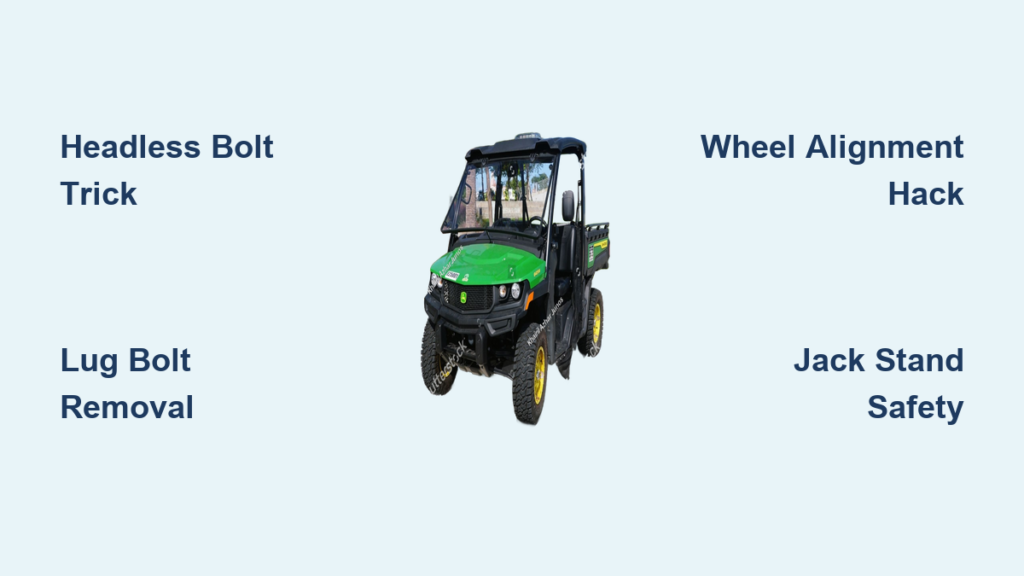
Changing a tire on your John Deere Gator isn’t like changing a standard car tire—that much becomes painfully clear when you try to hold a 30+ pound wheel in position while simultaneously aligning multiple mounting points. Unlike passenger vehicles where wheels slide directly onto protruding lug bolts, Gator utility vehicles reverse this arrangement with studs extending outward from the hub. This fundamental design difference transforms what should be routine maintenance into a frustrating physical challenge, especially for operators with limited strength or mobility. Whether you own an HPX 4×4, Trail HS 4×4, or CX model, this guide reveals the proven techniques that experienced Gator owners use to complete tire changes solo in under an hour—no matter your age or physical capability.
Why Your Gator Tire Change Feels Impossible
The core frustration stems from the Gator’s unique wheel mounting system that forces you to hold the wheel against gravity while aligning multiple holes with protruding studs. On standard vehicles, lug bolts extend outward from the hub, allowing wheels to simply slide on. But with Gator models, you must position the wheel over the studs while maintaining perfect flush contact—a two-handed job that becomes nearly impossible when the wheel’s weight keeps pulling it away from alignment. Front wheels present the greatest challenge, often weighing 30-40 pounds, and the problem intensifies on even slightly sloped terrain where gravity actively works against you. Understanding this fundamental difference prepares you for the specific techniques that transform this struggle into a manageable single-person task.
Essential Tools for Gator Tire Success
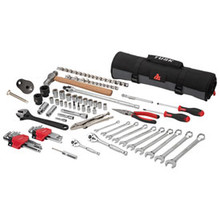
Skip the standard automotive toolkit—Gator tire changes require specialized preparation. Before lifting your vehicle, gather these critical items:
- A jack rated for your Gator’s weight (typically 2-3 tons)
- Heavy-duty jack stands (never rely on the jack alone)
- Standard lug wrench with correct socket size
- Rubber mallet (metal hammers damage components)
- Penetrating oil for stuck wheels
- Headless bolt kit (detailed below)
- Wooden blocks for improvised support
- Clean rags for hub preparation
The headless bolt is your secret weapon—you’ll create this by cutting the head off a standard JD20 lug bolt ($2-$5 at dealers) and filing a screwdriver slot into the shaft end. This simple modification solves the alignment challenge by providing a hanging point that supports the wheel while freeing both hands for installation.
Remove Your Gator Wheel Without Damage
Begin by loosening lug bolts while the vehicle remains on solid ground—trying to break them loose while supporting a raised wheel is a recipe for frustration. Work in a star pattern, backing each bolt out just one full turn. Next, position your jack under the manufacturer’s recommended lift point and raise the vehicle until the tire clears the ground by 3-4 inches. Critical safety step: Immediately place jack stands beneath the frame before proceeding—never work under a vehicle supported only by a jack.
With stable support in place, completely remove all lug bolts and set them aside in a clean container. Remove the outer cap with a flathead screwdriver, then extract the axle bolt and washer. Before attempting to pull the wheel, locate and remove the C-clip—a small circular retaining ring that often gets overlooked. If the wheel resists removal (common on front wheels due to corrosion), apply penetrating oil around the hub interface and wait 10-15 minutes. Then, place a short wooden block against the wheel’s rear center and strike it firmly with a rubber mallet—this distributes force evenly without damaging components. Work progressively around the wheel if needed, but verify all retaining hardware has been removed first.
Overcome the Gator Wheel Alignment Nightmare

This is where most Gator owners hit a wall—positioning the new wheel so its mounting holes align with the protruding studs while holding its full weight. Gravity works against you, especially on uneven terrain, making traditional automotive techniques useless. Forget trying to “muscle” it into place; instead, implement these proven solutions:
The Headless Bolt Technique (Most Reliable)
- Thread your modified headless bolt into the top lug hole of the hub
- Roll the wheel into position beneath the hub
- Lift the wheel until the top mounting hole engages the headless bolt
- The wheel now hangs freely, freeing both hands for installation
- Begin threading standard lug bolts into the remaining holes
- Once 2-3 bolts are securely engaged, remove the headless bolt and finish tightening
Pro tip: Add a slight taper to the headless bolt’s end with a grinder—this creates a guiding surface that catches the wheel hole less aggressively during alignment. Store your headless bolt behind the Gator’s seat for instant access during future changes.
Three Alternative Methods When You’re Unprepared
Lever Bar Method: Position a 2-3 foot metal bar beneath the wheel with one end resting on solid ground. Use leverage to raise the wheel to hub height, then shift the bar left/right to fine-tune alignment. Ideal for operators with limited upper body strength but good mechanical advantage understanding.
Board and Support Technique: Roll the tire onto a sturdy board, then use your knee to raise/lower the assembly to achieve alignment. Wooden blocks of varying thicknesses provide adjustable height support once position is achieved—perfect for field repairs with minimal tools.
Drift Pin Approach: Insert a sturdy metal pin through the wheel rim first, then through the hub, creating a physical connection that supports the wheel while allowing rotation. Works best on larger wheels with multiple rim access points.
Source Replacement Hardware Correctly
Don’t risk safety with mismatched hardware—Gator lug bolts (typically JD20 specification) require exact thread matching. Take an existing bolt to your local hardware store for precise matching—counter staff can identify suitable replacements from inventory. John Deere dealers offer authentic parts but at a premium price ($4-$5 vs $2-$3 at general retailers). When matching bolts:
- Verify thread pitch and diameter match exactly
- Ensure bolt length provides adequate hub engagement
- Check for proper shoulder design (some Gator bolts have specific shoulder dimensions)
- Replace any bolts showing stripped threads or deformation
Tire Installation: Avoid Critical Mistakes
With the wheel hanging from your headless bolt, begin threading standard lug bolts into position. Work in a star pattern to ensure even pressure across the wheel face. Before tightening, verify the wheel sits completely flush against the hub—any gap indicates misalignment that will cause vibration during operation. Tighten in stages: first to hand-tight, then to 70-80 ft-lbs using a torque wrench for final security. Never fully tighten one bolt before beginning others, as this creates uneven stress that can damage hub components.
Prevent Future Stuck Wheels
Regular maintenance dramatically reduces future tire change difficulty. During each service:
- Clean hub surfaces with a wire brush to remove corrosion
- Apply light coating of anti-seize compound to axle shaft
- Inspect bearings for wear or pitting
- Check hub seals for damage that allows moisture intrusion
Store your Gator in covered areas when possible, or use wheel covers to protect hub assemblies during extended outdoor storage. These simple steps prevent the corrosion bonds that make wheels impossible to remove.
Safety First: Non-Negotiable Practices
- Never work under a vehicle supported only by a jack—always use jack stands rated for your Gator’s weight
- Wear safety glasses when cutting bolts or striking components
- Use rubber mallets instead of metal hammers to prevent component damage
- Verify all retaining hardware is removed before forcing wheel separation
- Double-check lug bolt tightness after driving 50-100 feet
Final Tips for Gator Tire Success
Mastering Gator tire changes comes down to understanding the unique mounting system and using purpose-built techniques rather than automotive methods. The headless bolt technique solves 90% of installation challenges—prepare this simple tool before you need it. For removal issues, patience with penetrating oil and controlled rubber mallet strikes beats brute force every time. Most importantly, approach each tire change as an opportunity to inspect bearings, seals, and hardware—catching minor issues now prevents major problems later. With these methods, you’ll transform what most Gator owners consider a dreaded chore into a routine maintenance task you can complete confidently, safely, and efficiently—no matter your physical capability.


