
Your heart pounds as you hear that unmistakable thump-thump-thump from your driver’s side wheel. You pull over to the shoulder, realizing you’ve got a flat tire and no roadside assistance nearby. Don’t panic—changing a tire is one of the most essential car maintenance skills every driver should know. Whether you’re stranded on a quiet country road or stuck in a parking lot, this practical guide will walk you through exactly how to change a tire for beginners safely and efficiently. You’ll learn the proper sequence, avoid common mistakes that could damage your vehicle, and get back on the road with confidence—no prior mechanical experience required.
Essential Safety Preparations Before Changing Your Tire
Before you even think about touching that lug wrench, your first priority must be creating a safe working environment. Pull your vehicle completely off the roadway onto a flat, stable surface away from traffic. Engage your parking brake firmly and place your car in “Park” (automatic) or first gear (manual). Turn on your hazard lights to increase visibility, then retrieve wheel wedges—rocks or sturdy pieces of wood work in emergencies—from your trunk to block the wheels diagonally opposite the flat tire. If you’re on an incline, position these wedges uphill from your tires. Never work under a vehicle supported only by a jack, and keep all passengers clear of the changing area. These critical safety steps prevent your vehicle from rolling and could save your life during the tire-changing process.
What to Do When You Notice a Flat Tire
Pull over safely within 1-2 miles of noticing the flat—driving farther damages your wheel rim. Signal well in advance and gradually reduce speed while steering firmly to maintain control. Choose a location with maximum visibility to approaching traffic, preferably with a wide shoulder. Avoid soft ground like gravel or dirt that could destabilize your jack. Once stopped, take three deep breaths to calm your nerves—panicking leads to mistakes when you need clear thinking most. Check your surroundings for potential hazards like steep embankments or limited space before beginning your tire change.
Required Tools for a Successful Tire Change
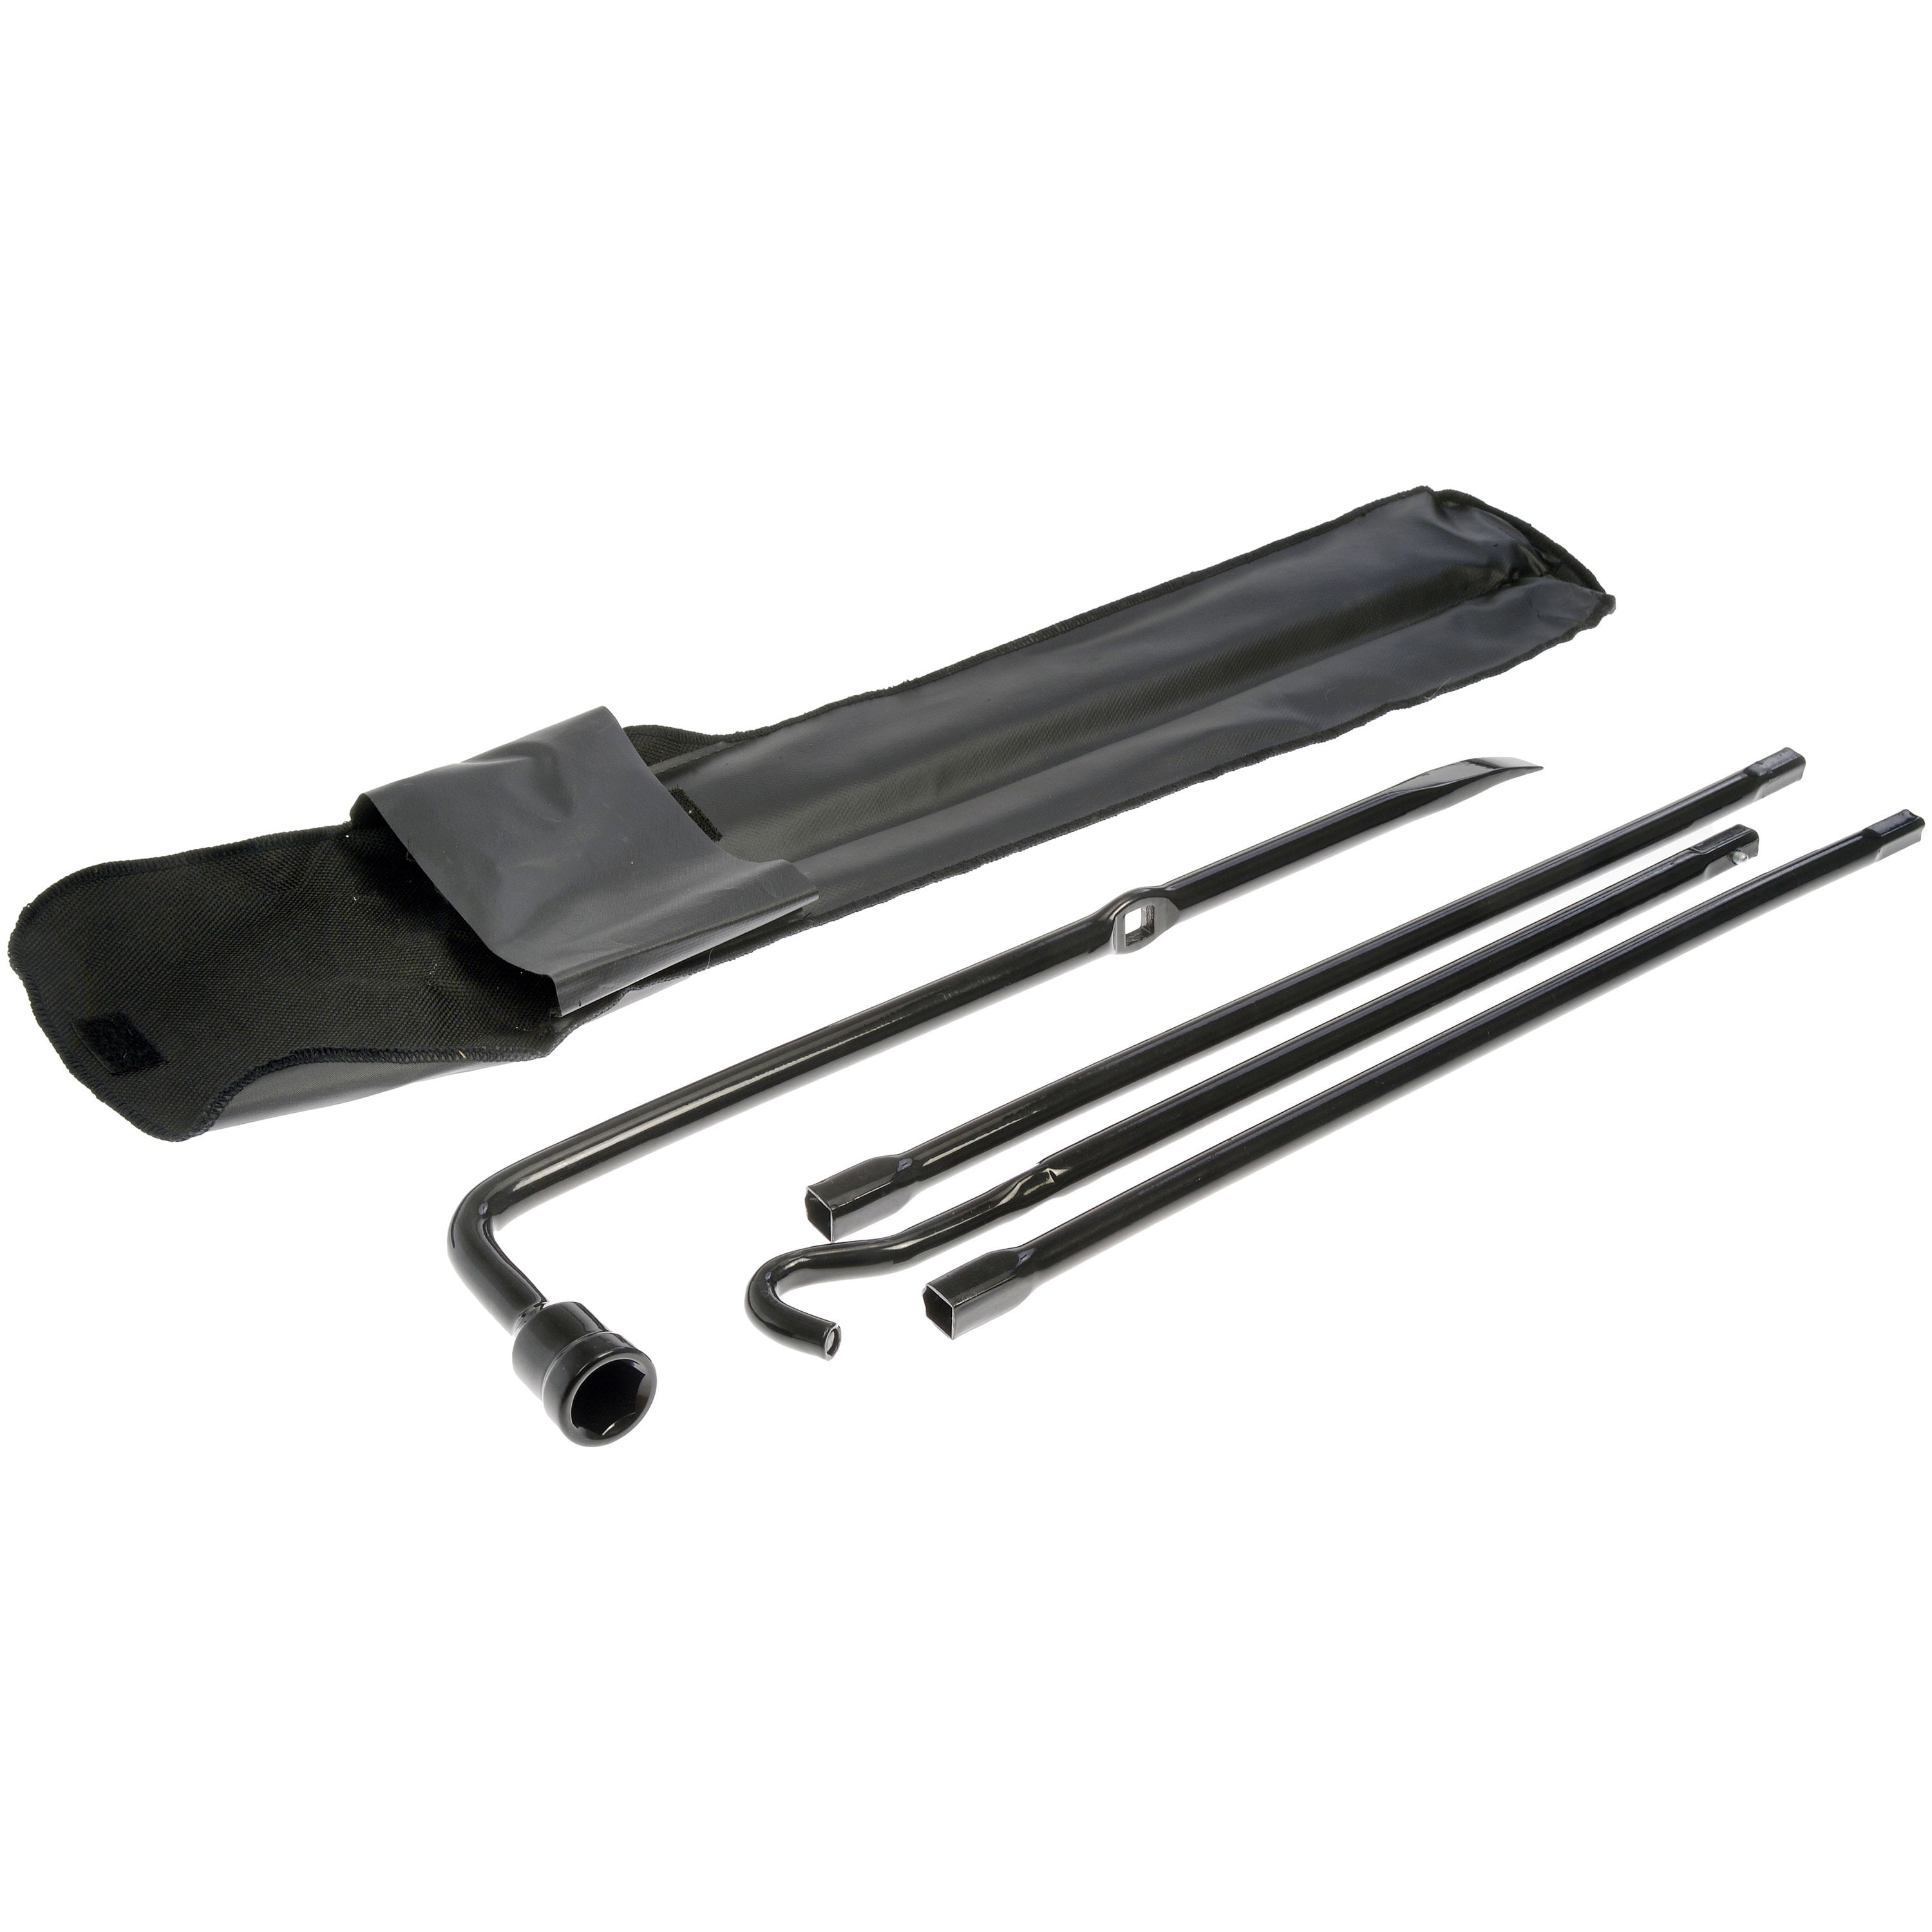
Your vehicle’s emergency kit should contain four essential items: a spare tire (donut or full-size), jack, lug wrench, and owner’s manual. Verify your spare tire has adequate pressure (typically 60 PSI when stored) and inspect it for cracks or dry rot. The lug wrench must fit your vehicle’s specific lug nuts—some cars use standard nuts while others require specialty tools. Many modern vehicles include wheel lock keys if your rims have security lug nuts. Familiarize yourself with these tools before an emergency by locating them in your trunk and practicing removal in your driveway. Missing or incompatible tools render the entire process impossible, so check your emergency kit quarterly.
How to Locate and Organize Your Tire Changing Equipment
Most vehicles store the spare tire underneath the cargo area or vertically against the rear wall. Consult your owner’s manual for specific release mechanisms—many require turning a handle beneath the floor mat. Keep your jack and wrench secured near the spare for quick access. Organize tools in a dedicated bag to prevent them from rolling around your trunk. Before starting, lay out all equipment within arm’s reach on a clean, flat surface away from traffic. Position your flashlight (if working at night) to illuminate your workspace without blinding oncoming drivers. This preparation prevents frantic searching when you’re already stressed from the flat tire.
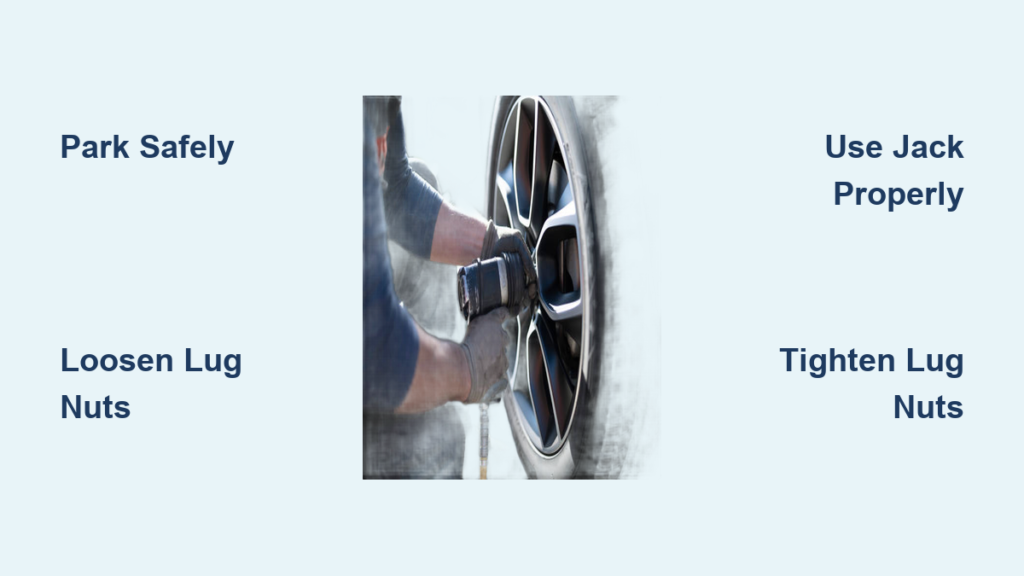
Proper Lug Nut Loosening Technique

Begin with lug nuts slightly loose while the tire still contacts the ground—this prevents the wheel from spinning freely. Use the correct-sized socket from your wrench and position yourself perpendicular to the nut for maximum leverage. Break each nut counterclockwise with firm, steady pressure using your body weight rather than arm strength. Loosen nuts in a star pattern (skip every other nut) to maintain wheel alignment on the hub. Only loosen approximately ¼ to ½ turn—enough to move freely but not fall off. Never remove nuts completely at this stage. This crucial step requires physical effort but prevents dangerous wheel wobble when lifting the vehicle.
Why You Should Never Fully Remove Lug Nuts Before Jacking
Removing all lug nuts before lifting creates an unstable situation where the wheel could shift unexpectedly. Keep nuts partially threaded to maintain wheel positioning as you raise the vehicle. The slight resistance helps align the spare tire correctly during installation. If you accidentally remove a nut completely, secure it in your pocket immediately—dropped nuts often roll into inaccessible areas. This precaution saves precious minutes of frantic searching and prevents driving away with missing hardware.
Safely Lifting Your Vehicle with a Jack
Position your jack under the manufacturer-specified lift point—usually a reinforced pinch weld or frame section marked by notches near the wheel well. Consult your owner’s manual for exact locations as improper placement can bend or puncture your vehicle’s undercarriage. Pump the jack handle slowly while watching for stability. Lift just high enough for the flat tire to clear the ground by 1-2 inches—typically 6-8 inches total. Never place any body parts beneath the lifted vehicle. Verify stability by gently rocking the vehicle before proceeding. Over-lifting increases jack instability and makes tire removal more difficult.
Common Jacking Mistakes That Damage Your Vehicle
Placing the jack on plastic body panels, suspension components, or oil pans causes catastrophic damage. Avoid soft surfaces like grass or loose gravel that compromise jack stability. Never use bricks, wood blocks, or other makeshift supports instead of the proper jack. These unstable solutions frequently collapse, potentially crushing hands or feet. If your vehicle slips off the jack, lower it completely before repositioning—never attempt adjustments while partially lifted.
Removing the Flat Tire and Installing the Spare
With the vehicle securely lifted, completely remove all lug nuts and set them aside in a container or hubcap to prevent loss. Grip the flat tire at 3 and 9 o’clock positions, then pull straight toward you with controlled force. If stuck, gently kick the tire’s inner sidewall to break the seal. Position the spare tire by aligning valve stems with hub bolts, then push firmly until seated. Hand-thread all lug nuts in the star pattern before lowering. Ensure nuts turn smoothly—if they bind, reposition the tire slightly. This careful alignment prevents cross-threading that could strip critical mounting hardware.
How to Properly Torque Lug Nuts Without a Torque Wrench
While a torque wrench provides precise tightening, most drivers rely on body mechanics for proper lug nut tension. Lower the vehicle until the tire just touches the ground, then tighten nuts in the star pattern using your body weight. Apply steady pressure until the wrench handle bends slightly—this typically achieves 75-100 ft-lbs for most passenger vehicles. Never use excessive force that could snap lugs. Recheck tightness after driving 50-100 miles as thermal expansion affects seating. Improperly torqued lugs can cause wheel vibration or complete detachment while driving.
Post-Change Safety Checks and Limitations
Before driving away, verify all lug nuts feel equally tight by hand. Lower the jack completely and stow all equipment securely. Drive cautiously at reduced speeds (typically 50 mph maximum) and avoid hard braking or acceleration with temporary spare tires. Visit a tire shop within 50-75 miles to repair or replace your flat tire—donuts aren’t designed for extended use. Listen for unusual vibrations that indicate improper installation. Remember that spare tires have strict mileage and speed limitations printed on their sidewalls that must be followed for safety.
Why You Should Always Double-Check Your Work
A single missing or loose lug nut creates dangerous imbalance that worsens with speed. Pull over after the first mile to recheck tightness as seating occurs during initial driving. Inspect your temporary spare for punctures or damage that could cause another flat. Keep your hazard lights on while driving to the repair shop to alert other drivers of your limited mobility. These final precautions transform a roadside emergency into a manageable situation rather than creating additional hazards.
Final Note: Changing a tire becomes significantly easier with practice. Store this guide in your glove compartment and perform a “dry run” in your driveway to build confidence. Remember that safety always comes first—when in doubt, call for professional assistance rather than risking injury. Keep your emergency kit stocked with reflective triangles, gloves, and a portable air compressor to maintain proper spare tire pressure. With these skills mastered, you’ll handle flat tires with calm competence rather than roadside panic.


