
If you’ve noticed your Husqvarna lawn mower pulling to one side or heard the telltale hiss of a slow leak, you’re probably facing a tire replacement task. Changing a Husqvarna lawn mower tire requires specific knowledge because these mowers use a unique retaining ring system instead of traditional bolts to secure the wheels. Unlike car wheels that rely on lug nuts, Husqvarna models like the popular YTH21K46 feature a clever axle cover system held in place by a snap ring that sits in a precision-machined groove. This design actually makes wheel removal simpler once you understand the mechanism, but it often confuses first-time DIYers who expect conventional fasteners.
The good news is that with the right tools and technique, you can replace a flat or worn tire on your Husqvarna mower in under an hour without specialized equipment. This guide walks you through every critical step, from safely removing the retaining ring that secures the wheel to properly mounting your new tire. By following these instructions, you’ll avoid common mistakes that could damage your mower or cause injury, saving you a trip to the repair shop and getting you back to maintaining your lawn quickly.
Gather Required Tools and Materials
Before you begin, assemble all necessary tools to avoid frustrating interruptions mid-project. Your primary tool for this job is a flat-blade screwdriver, which serves as the essential implement for prying the retaining ring from its groove. This simple tool is often all you need to disconnect the wheel from the axle, but having additional items makes the process smoother and safer.
Safety equipment deserves equal priority alongside your primary tools:
– Safety goggles protect your eyes from the retaining clip, which can release with considerable force
– Heavy-duty work gloves provide grip when handling slippery components and protect against sharp metal edges
– Tire irons assist with prying the tire bead away from the rim edge during separation
– A tire pressure gauge and air pump become necessary for proper reinflation
Take time to verify you have everything before starting. Working with incomplete tools often leads to improvised solutions that can damage your mower or cause injury. Keep your workspace clean and well-lit—this repair requires attention to detail, especially when handling the spring-loaded retaining ring that could potentially fly off if not managed properly.
Remove Front Wheel from Axle
Begin your Husqvarna tire replacement by safely positioning your mower. Park on a flat, level surface and engage the parking brake if your model includes one. This prevents unwanted movement during repair and gives you a stable working environment. Disconnect the spark plug wire to prevent accidental starting, a crucial safety step many overlook.
Start by removing the axle cover from the outermost end of the assembly. This plastic cover typically pulls off with a firm twist or direct pull, revealing the retaining ring beneath. If the cover resists, gently rock it back and forth while pulling outward rather than applying excessive force in one direction—forcing it can crack the plastic. Some models require you to press a small tab or button while removing the cover, so check your operator’s manual if you encounter resistance.
Once the axle cover is removed, you’ll see the retaining ring sitting in a machined groove near the end of the axle shaft. This ring, shaped like a “U” or “C,” has two small legs extending from its curved body. The dimples on the ring help maintain position during normal operation but also give you a starting point for removal. Take a moment to observe how the ring sits in its groove before attempting to pry it free, as understanding this relationship makes the actual removal process much easier.
Take Off Retaining Ring Safely

Removing the retaining ring requires patience and the correct technique to avoid injury or component damage. Position your flat-blade screwdriver between the axle shaft and the upper portion of one of the clip’s legs, specifically targeting the flat edge rather than attempting to pry between the legs themselves. Apply steady, firm upward pressure to begin lifting the ring from its groove.
Follow these critical safety steps:
– Keep your face and body clear of the clip’s potential trajectory path
– Work the screwdriver under the flat edge gradually, moving around the circumference
– Support the wheel assembly with your free hand as the clip releases
– Place a shop rag over the clip as you work to contain it if it flies off
The clip is designed to slide straight up and off the shaft once you overcome its spring tension—not to bend permanently. The entire wheel assembly should slide off the axle shaft once the ring clears the groove, so have a hand ready to support the wheel as it comes free. Contrary to what some believe, you typically don’t need to replace the retaining ring after removal—it can be reused multiple times unless visibly damaged.
Deflate and Remove Old Tire
With the wheel assembly detached, focus on separating the tire from its rim. For pneumatic tires with inner tubes, begin by completely deflating the tire. Locate the valve stem on the inner tube (accessible through a small hole in the rim) and press the valve core to release all air. Press down firmly on the tire to squeeze out any remaining air trapped between the inner tube and tire casing.
You have two effective methods for separating the tire from the rim:
Tire Iron Method:
– Insert tire irons between the rim and tire bead
– Work around the circumference systematically, loosening both inner and outer beads
– Use multiple irons to hold progress as you move around the tire
Inner Tube Removal Method (often easier):
– With the tire sufficiently deflated, work your hand into the space between tire and rim
– Gradually pull the inner tube out through this opening
– Once the tube is removed, the tire can typically be pulled off by hand
The inner tube method eliminates the risk of rim damage and is particularly valuable when working with older, brittle tires that might crack under tool pressure. Choose the approach that best suits your comfort level and available tools.
Inspect Rim and Hub Components
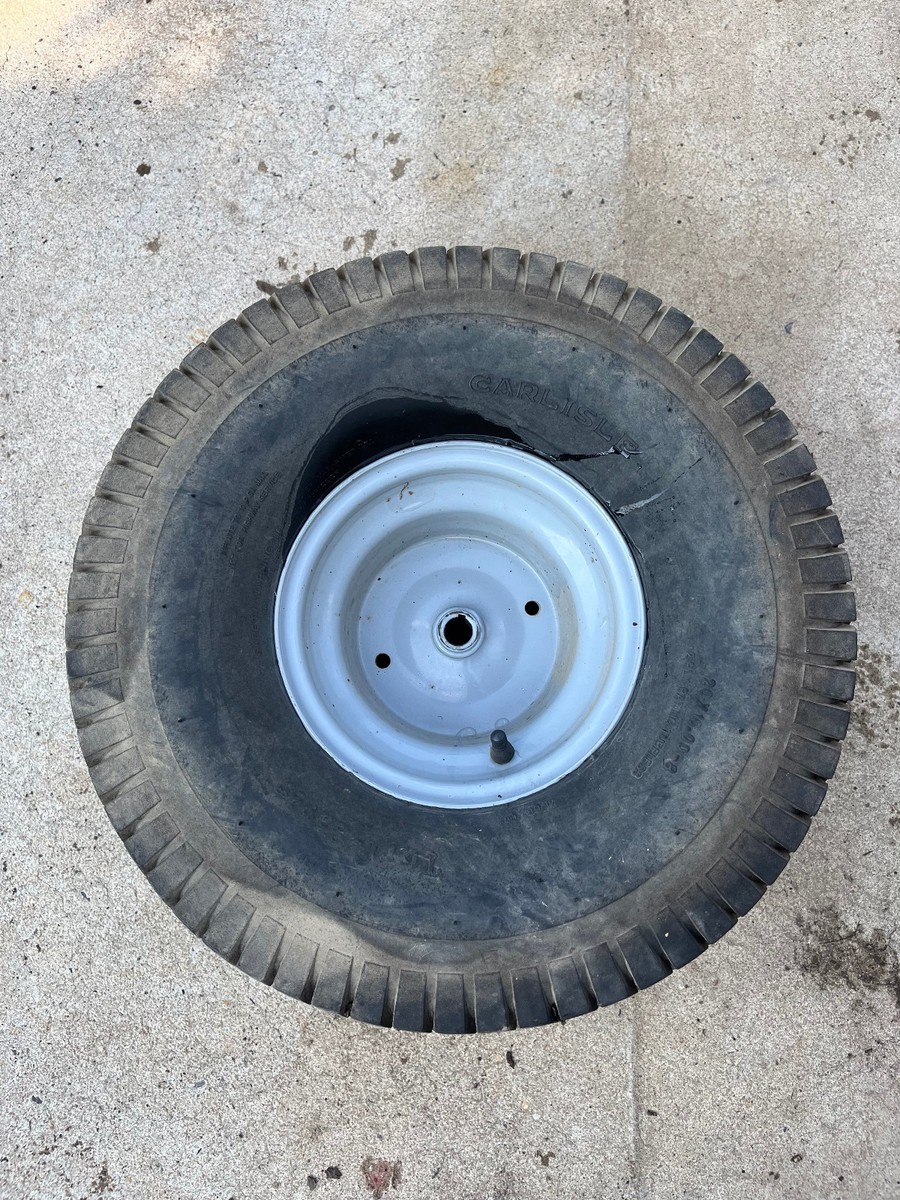
Before installing your replacement tire, thoroughly inspect all components. Examine the rim for signs of damage, rust, or deformation that could affect tire seating. Pay special attention to the bead seats where the tire edge contacts the rim—these surfaces should be smooth and free of debris, corrosion, or physical damage that might create an imperfect seal.
Critical inspection points:
– Check the inner tube for cracks, weak spots, or deterioration around the valve stem
– Examine the axle shaft and its machined groove for debris or damage
– Verify washers and spacers are intact and undamaged
– Look for signs of excessive wear on the hub assembly
Replace any components showing damage rather than risking premature failure. The relatively low cost of a new inner tube makes it a worthwhile investment compared to the hassle of repeating this repair. If the axle groove appears worn or deformed, address this issue before reinstalling the wheel, as a compromised groove can prevent the retaining ring from securing properly.
Install New Tire Correctly
Selecting the correct replacement tire ensures proper mower performance and safety. The tire size specifications appear on the sidewall of your existing tire, typically formatted as “15×6.00-6” indicating width, aspect ratio, and rim diameter. Using an incorrectly sized tire affects mower stability, alters ground clearance, and can strain the drive system.
When mounting the new tire, reverse your removal process. If using an inner tube, partially inflate it to give the tire shape, then work the tire onto the rim starting from the opposite side of the valve stem hole. Push the tire bead over the rim edge gradually, working around the circumference until both beads seat properly. This often requires significant hand strength, so don’t hesitate to ask for assistance.
For tubeless installations, ensure rim surfaces are clean and dry before mounting. Apply a small amount of tire mounting lubricant to the bead seats if available. Once mounted, verify both beads seat evenly around the entire circumference before inflation. Inflate gradually, checking bead seating at each stage, and stop if you notice irregular bulges suggesting improper bead alignment.
Reinstall Wheel Assembly
With your new tire installed and properly inflated, reverse the removal steps to return the wheel assembly to your mower. Slide the wheel onto the axle shaft, positioning any washers or spacers exactly as they were before removal. The wheel should slide on smoothly until it approaches its final position, at which point the retaining ring should begin engaging with its machined groove.
As the wheel reaches its fully seated position, you’ll feel or hear the retaining ring click into place. Verify this seating by attempting to pull the wheel outward slightly—the ring should hold securely. If the wheel wobbles or pulls off easily, the retaining ring isn’t properly seated, and you should remove the wheel to investigate.
Complete the installation by pressing the axle cover firmly onto the end of the axle until it snaps into place. The cover should sit flush with no visible gaps. Finally, check your tire pressure against the recommended specification on the tire sidewall or in your operator’s manual. Adjust inflation as needed—over-inflated tires reduce traction, while under-inflated tires wear prematurely.
Maintain Proper Tire Pressure
Establish a regular tire maintenance schedule to extend the life of your replacement tire. Check pressure at least once monthly during mowing season using a reliable pressure gauge rather than visual estimation. Pressure naturally fluctuates with temperature changes, and even small deviations affect how your mower handles.
Proper inflation provides:
– Optimal traction on various terrain types
– Consistent cutting height across your lawn
– Reduced strain on mower components
– Smoother operation and less vibration
Under-inflated tires cause the mower to sit lower on one side, resulting in uneven cutting and premature wear on the tire’s edges. Over-inflated tires reduce the contact patch with the ground, compromising stability on slopes. Periodically inspect tires for cracks in the sidewall, worn tread patterns, or embedded debris. Catching problems early allows you to plan replacement on your schedule rather than dealing with sudden flats during critical mowing periods. With proper care, your new Husqvarna mower tire should provide reliable service for many seasons.


