
Your tires are your vehicle’s only point of contact with the road, and their pressure directly affects handling, fuel efficiency, and tread life. Yet if your tire gauge is giving you inaccurate readings, you’re essentially driving blind. A gauge that reads 32 PSI when your tires actually have 35 PSI could lead to underinflated tires, uneven wear, and compromised safety. Fortunately, learning how to calibrate a tire gauge is a straightforward process that takes just a few minutes and can save you from costly repairs and dangerous driving conditions. This guide covers everything you need to know about verifying and maintaining your gauge’s accuracy, from simple DIY checks to professional calibration services.
Why Inaccurate Tire Pressure Readings Cost You Money and Safety
Improper tire inflation represents one of the most preventable vehicle maintenance issues, yet millions of drivers unknowingly operate with underinflated tires due to faulty gauges. Industry data shows that underinflated tires can reduce fuel economy by up to 3% for every 1 PSI drop across all tires. For the average driver, this translates to hundreds of dollars wasted annually on unnecessary fuel consumption.
Beyond fuel costs, inaccurate pressure readings dramatically impact safety. Tires operating 10 PSI below recommended pressure increase stopping distance by several car lengths during emergency braking scenarios. This seemingly small discrepancy could mean the difference between avoiding a collision and being involved in one. Your tire gauge serves as the critical diagnostic tool for maintaining proper inflation, making its accuracy non-negotiable for responsible vehicle ownership.
The financial impact extends to premature tire replacement as well. Underinflated tires wear out faster—particularly on the outer edges—requiring replacement years earlier than properly inflated tires. Most tire manufacturers void warranties when uneven wear patterns indicate chronic underinflation. For commercial fleet operators, these small calibration errors multiplied across multiple vehicles create significant unnecessary expenses that directly impact the bottom line.
How Tire Gauge Drift Affects Your Daily Driving
Tire pressure gauges don’t suddenly fail; they gradually drift out of calibration through normal use. The internal mechanisms—whether mechanical springs in analog gauges or electronic sensors in digital models—are subject to wear that subtly alters their accuracy over time. A gauge that was perfectly accurate when new might read 2-3 PSI high after six months of regular use, creating a false sense of security.
This gradual drift often goes unnoticed because tire pressure changes naturally with temperature fluctuations. Drivers might attribute inconsistent readings to seasonal changes rather than gauge inaccuracy. The insidious nature of this problem means many drivers unknowingly maintain improper tire pressure for extended periods, accelerating tire wear and compromising vehicle safety without realizing their gauge is the culprit.
Spotting a Faulty Tire Gauge Before It Causes Damage
Recognizing when your tire gauge has lost accuracy prevents you from making maintenance decisions based on faulty information. Several clear indicators signal it’s time to verify your gauge’s calibration status immediately.
Inconsistent Readings Across Multiple Measurements
If your gauge shows 33 PSI on your front tires one day but reads 36 PSI the next day under identical conditions, your gauge has likely drifted out of calibration. While temperature does affect tire pressure (approximately 1 PSI for every 10°F change), a quality gauge should provide consistent measurements when checking the same tire without air being added or removed. Test this by measuring a tire’s pressure three times in quick succession—if the readings vary by more than 1-2 PSI, your gauge needs verification.
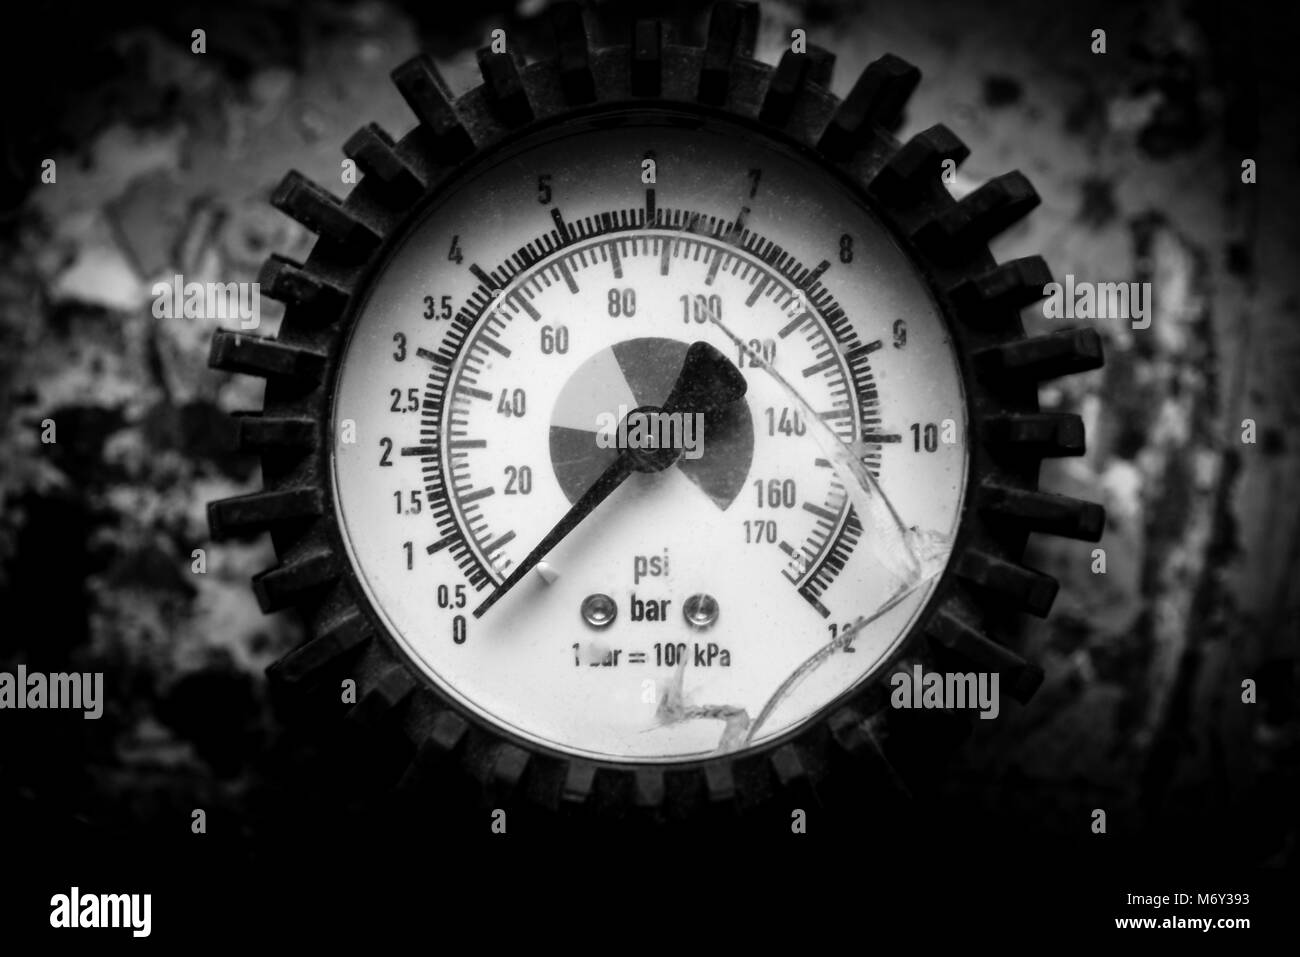
Physical Damage That Compromises Accuracy
Any visible damage to the gauge body, stem, or housing warrants immediate accuracy testing. A bent stem, even if slight, can prevent proper sealing against the valve core, creating false low-pressure readings. Cracks in the housing allow air leakage that affects measurement accuracy. Most concerning is internal damage from impacts—a gauge dropped on concrete may appear functional but have misaligned internal components that produce dangerously inaccurate readings.
Age-Related Calibration Drift
Most manufacturers recommend replacing tire gauges every two to three years of regular use. The internal seals and sensing components degrade over time, particularly when exposed to temperature extremes inside vehicles. Summer heat exceeding 140°F in parked cars accelerates seal deterioration in analog gauges and affects electronic components in digital models. Winter cold makes internal lubricants stiff, causing temporary accuracy issues that become permanent as the gauge ages. If your gauge is approaching this age threshold, verification testing becomes essential before each use.
Testing Your Tire Gauge Against Reliable References
You don’t need specialized equipment to verify your gauge’s accuracy. Several accessible methods provide reliable calibration checks using commonly available references.
Gas Station Gauge Comparison Method
Visit multiple gas stations with air pumps and compare your gauge against their built-in gauges. For best results, test at three different stations to establish a consensus reading. Inflate a tire to 35 PSI using your gauge, then immediately check it against the station’s gauge. Repeat this process at different pressure levels (20, 30, and 40 PSI). If your gauge consistently matches station gauges within 1-2 PSI across all pressure points, it’s likely accurate. Remember that station gauges themselves can drift, so this method works best as general verification rather than precise calibration.
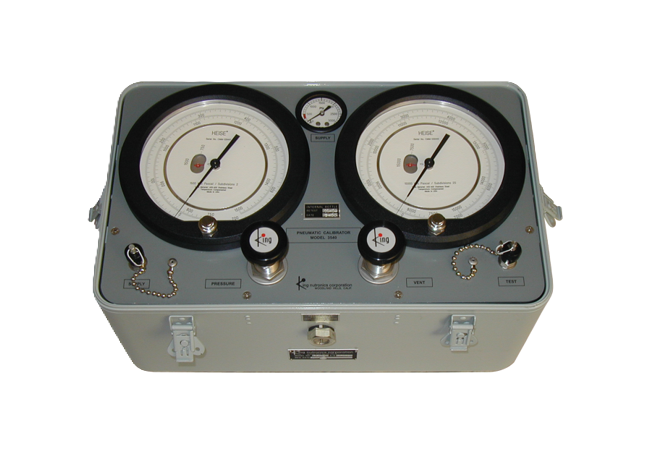
Nitrogen Fill Service Verification
Many tire centers offering nitrogen fills maintain high-precision calibrated equipment. These providers will often verify your gauge’s reading against their system at no charge. The process is simple: have your tires inflated with nitrogen to a specific pressure, then check the reading with your gauge immediately afterward. If your gauge matches the nitrogen provider’s reading within 1 PSI, it’s functioning properly. This method provides higher accuracy than gas station comparisons since nitrogen fill equipment typically undergoes regular professional calibration.
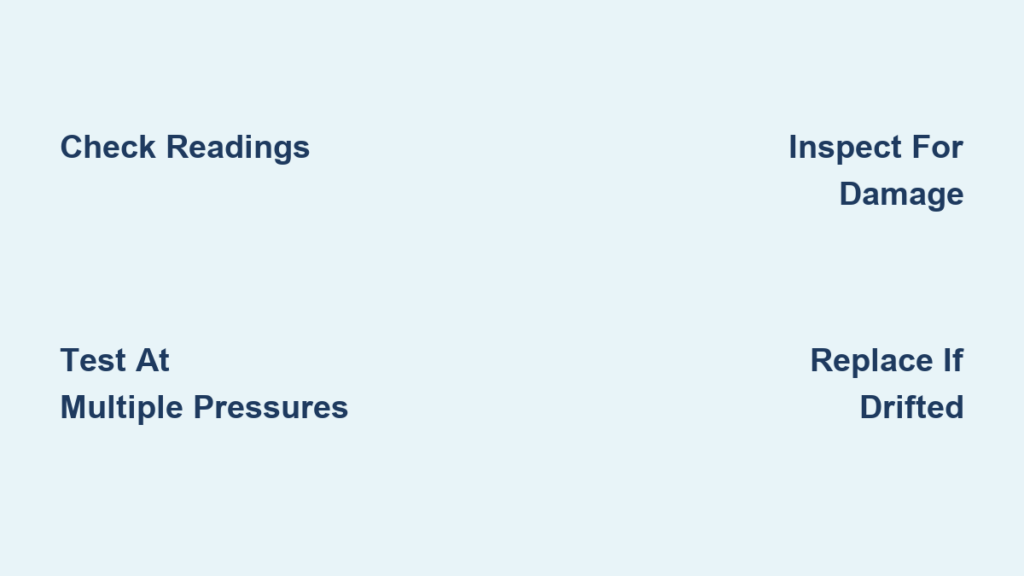
Step-by-Step Verification Process for Home Mechanics
Follow this systematic approach to verify your tire gauge’s accuracy without specialized equipment.
Temperature Stabilization Before Testing
Allow your gauge to stabilize at room temperature for at least 30 minutes if it has been stored in extreme conditions. Testing a cold gauge against a warm reference produces misleading comparisons since temperature affects both the gauge mechanism and pressure readings. Perform all testing in a climate-controlled environment to eliminate temperature variables.
Multi-Point Pressure Verification
Test your gauge at multiple pressure points across its operating range. Begin at low pressure (15-20 PSI), move to normal operating pressure (30-35 PSI), and finish at high pressure (45-50 PSI). Inflate a test chamber or spare tire to each level using a separate reference gauge, then immediately read the pressure with your gauge under test. Record all readings and compare them to the reference values.
Calculate the deviation at each point by subtracting the reference reading from your gauge’s reading. Consistent deviation across all points (e.g., always reading 2 PSI high) suggests a calibration offset you can mentally compensate for. Varying deviation at different pressures indicates non-linear error that typically requires gauge replacement, as most consumer gauges lack adjustment capability for this type of error.
When Replacement Outperforms Calibration
Not all accuracy problems can be resolved through calibration. Understanding when to replace your gauge saves time and money while ensuring reliable readings.
Physical Damage That Cannot Be Repaired
If your analog gauge’s needle sticks, jumps erratically, or fails to return to zero, internal damage has likely occurred that cannot be cost-effectively repaired. Digital gauges with damaged displays, non-functional buttons, or inconsistent readings typically have electronic failures that justify replacement. The cost of professional repair usually exceeds the price of a new gauge, particularly for units under $50. When physical damage is evident, replacement is always the safer, more economical choice.
Excessive Deviation Beyond Correction Range
Most adjustable gauges have a calibration window of about ±3-5 PSI. If your gauge reads consistently 8 PSI high or low across all pressure points, adjustment cannot bring it back to specification. This level of deviation indicates significant component degradation that will continue to worsen. At this point, the gauge has likely reached the end of its service life, and replacement provides more reliable performance than attempted calibration.
Daily Habits That Preserve Gauge Accuracy
Proper care extends your gauge’s calibration interval and ensures reliable readings throughout its service life. Implement these simple practices to protect your investment.
Proper Storage Techniques
Store your gauge in a protective case or dedicated pouch when not in use. The stem is particularly vulnerable to bending if the gauge is loose in a toolbox or glove compartment. Many gauge failures begin with a bent stem that stresses internal connections. A dedicated storage slot eliminates this risk and keeps debris out of the pressure port. For digital gauges, remove batteries during extended storage periods to prevent corrosion from battery leakage.
Temperature Protection Strategies
Avoid leaving gauges in vehicles during extreme weather. Summer temperatures inside parked vehicles can exceed 140°F, which degrades seals and affects electronic components. Winter cold makes internal lubricants stiff and can cause condensation that leads to corrosion. Carry gauges inside your vehicle’s cabin or use insulated storage when vehicles will be parked in temperature extremes. Never store gauges in truck beds or motorcycle saddlebags where they’re exposed to direct sunlight and weather.
Correct Connection Technique
Handle the stem carefully when connecting to valve stems. Cross-threading or forcing a gauge onto a valve stem damages both components. Press the gauge straight onto the valve with gentle, even pressure, and remove it with a straight pulling motion rather than twisting. Before each use, briefly depress the valve core to clear any dust or particles that might affect the seal. For gauges used in dusty environments, periodic cleaning with compressed air helps maintain accuracy.
Essential Tire Gauge Maintenance Checklist
Create a simple routine to ensure your tire gauge remains accurate between professional verifications:
- Weekly: Visually inspect for physical damage, clean the pressure port with a soft brush
- Monthly: Compare against a known-accurate reference at multiple pressure points
- Seasonally: Verify accuracy after extreme temperature changes (beginning of summer/winter)
- Annually: Replace if over two years old, regardless of apparent performance
- After impacts: Immediately verify accuracy if the gauge is dropped or struck
A properly calibrated tire gauge takes just seconds to use but provides information that affects your vehicle’s safety, efficiency, and longevity. By implementing these verification and maintenance practices, you’ll drive with confidence knowing your tire pressure readings are accurate, protecting your investment and ensuring your safety on the road. Make gauge verification part of your regular maintenance routine, and you’ll avoid the hidden costs and dangers of inaccurate tire pressure measurements.


