
That frustrating moment when your riding mower’s tire goes flat and you need to replace the tube or install a new tire—only to discover the stubborn bead won’t release from the rim. Breaking down a lawn mower tire seems simple in theory but often becomes a genuine workout due to rust, corrosion, and years of pressure bonding the rubber to metal. Unlike car tires, small mower tires present unique challenges that make bead separation more difficult than you might expect. This guide delivers proven techniques that actually work, whether you’re dealing with a riding mower front tire or a compact push mower wheel. You’ll learn exactly how to break down a lawn mower tire using common tools and clever methods that save time and prevent damage to your equipment.
Gather Your Tire Removal Toolkit
Having the right equipment before starting prevents mid-project frustration and ensures a smooth process. The most critical tools fall into three categories: basic hand tools, lifting equipment, and specialized bead breakers.
Essential Hand Tools for Tire Breakdown
Socket wrenches and impact drivers quickly remove lug nuts, while a rubber mallet loosens the wheel from the hub without damage. Tire irons provide the leverage needed once the bead breaks free, and flat-blade screwdrivers serve as emergency bead breakers. Keep penetrating oil like PB Blaster on hand for rusted components—it needs 30 minutes to penetrate corrosion before you begin. Safety gloves protect against sharp metal edges, and safety glasses shield your eyes from flying debris during prying operations.
Critical Lifting and Support Equipment
Never skip proper lifting procedures—a hydraulic floor jack raises the mower safely, but jack stands provide essential secondary support. Position the jack under manufacturer-recommended lifting points on the frame or axle, not the mower deck which could bend or crack. For small push mowers, a sturdy block of wood may suffice to elevate the tire. Never work under a mower supported only by a jack—this single safety mistake causes hundreds of injuries annually.
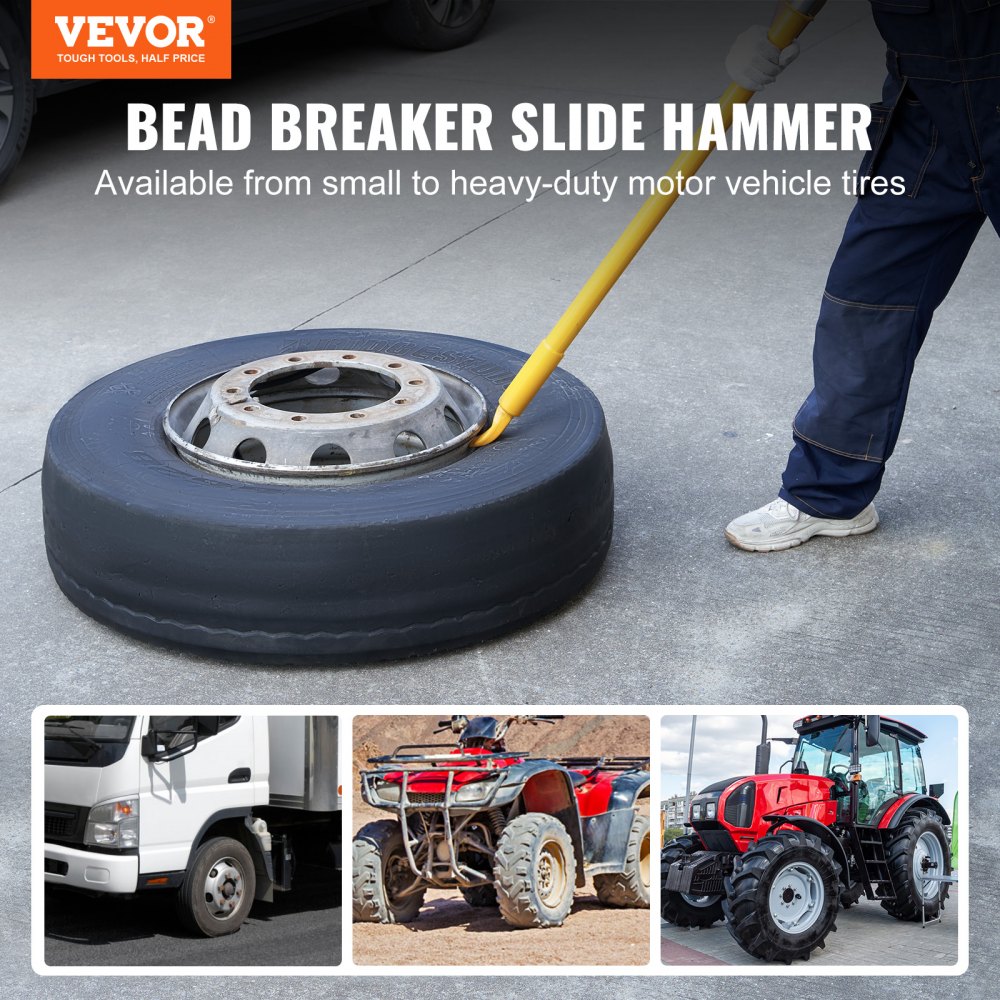
Specialized Tools That Make the Difference
While not essential, dedicated bead breakers dramatically simplify the process. The Harbor Freight model 92961 handles tires from light trucks down to 4-inch rims, making it versatile for lawn equipment. A heavy-duty vise (minimum 6-inch capacity) provides controlled pressure for bead separation without hammering. Ratchet straps serve dual purposes—breaking stubborn beads and seating new tires during installation.
Prepare Your Mower for Safe Tire Removal
Skipping proper preparation leads to damaged equipment and potential injuries when attempting to break down a lawn mower tire. Follow these critical steps before touching any tools.
Critical Safety Preparations Before Starting
Begin by disconnecting the spark plug wire to prevent accidental engine startup—a step that prevents dozens of injuries each year. Park on a completely level surface like concrete, not grass or gravel that could shift during work. Engage the parking brake on riding mowers and chock the opposite wheels to prevent rolling. Take photos of the wheel assembly before disassembly to document lug nut placement and directional tread patterns. Store small parts in a container to prevent loss—those tiny valve stems disappear quickly in grass.
Workspace Organization for Efficiency
Clear a 6-foot radius around your work area to prevent tripping while maneuvering heavy components. Lay out all tools within arm’s reach so you don’t need to leave the work area mid-procedure. For riding mowers, position jack stands before raising the machine—never attempt to slide them under a raised mower. Have a shop light positioned to illuminate the bead area, as rust and corrosion often hide in shadowed rim sections.
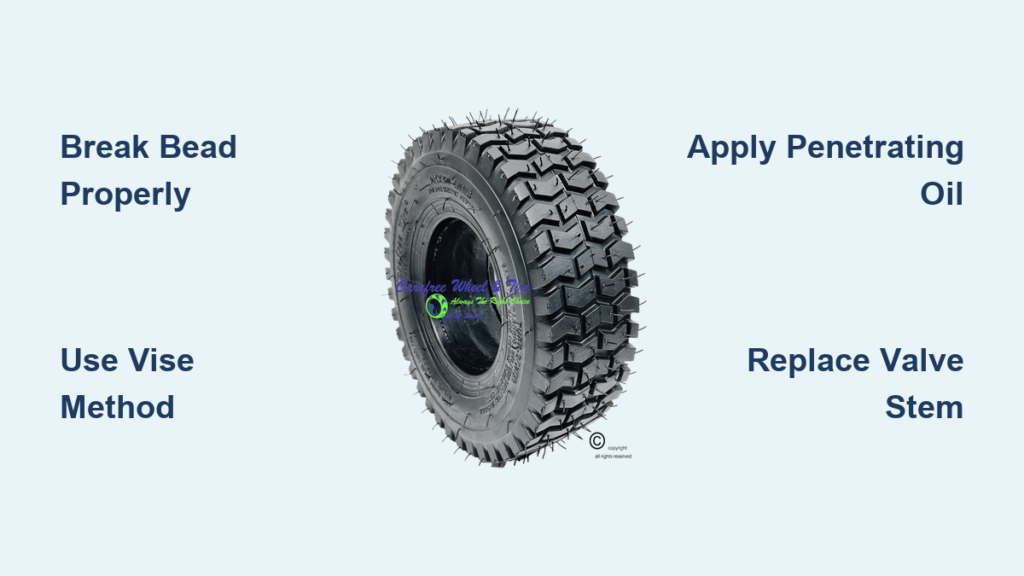
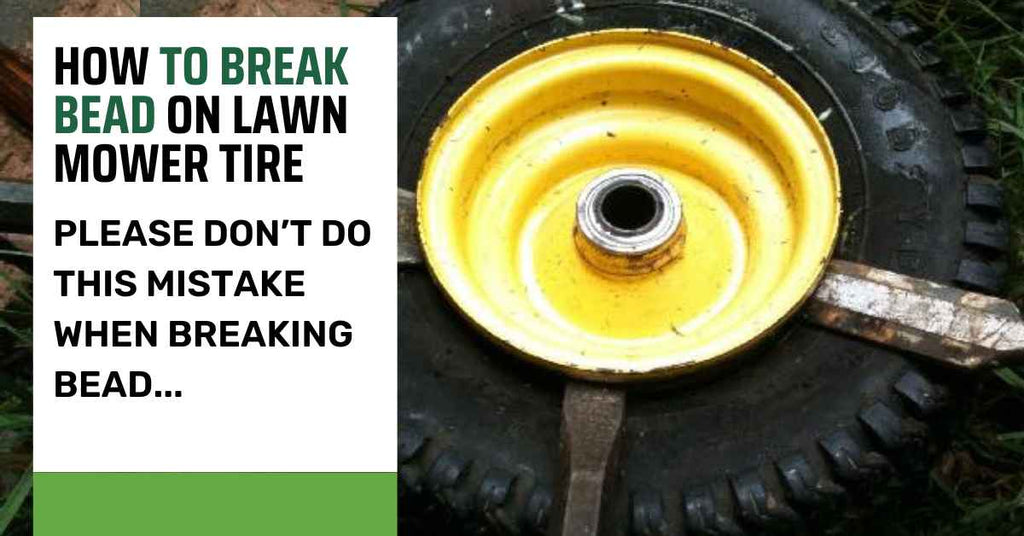
Break the Tire Bead Using Proven Methods
The bead—the reinforced rubber edge that seals against the rim—presents the primary obstacle when you need to break down a lawn mower tire. Choose the method that matches your available tools and tire condition.
Vise Method for Controlled Bead Breaking

Place the wheel assembly centered in a heavy-duty vise with the tire facing up. Gradually tighten the vise jaws against the tire sidewalls, applying even pressure around the circumference. Continue tightening until you hear the bead release with a distinct “pop.” This method works exceptionally well for front tires under 10 inches in diameter and requires no hammering. Users report success with heavily rusted tires that resisted other methods, with one noting this technique would have saved him “twenty years of frustration.”
Vehicle Ramp Technique for Stubborn Tires
Position a 2×10 board (approximately 3 feet long) on the ground with one end against the tire. Drive a vehicle wheel slowly up the ramp until its weight presses directly on the tire. Turn the steering wheel side to side to distribute force while applying downward pressure. This method proves particularly effective for old, rusted tires that have bonded to the rim. For best results, allow penetrating oil to soak overnight before attempting this technique.
Lever and Pressure Board Alternative
Lay the tire alongside an elevated surface like a building sill. Position a 6-inch steel piece against the tire bead next to the rim, with a 6-8 foot 2×6 board on top. Apply downward pressure on the board’s free end to force the steel downward, pushing the bead away from the rim. This mechanical advantage method requires no special tools and works well for small tires where other techniques fail.
Extract Tire from Rim After Bead Release
Once the bead breaks on one side, complete the removal process with these efficient techniques.
Complete Tire Removal Procedure
With one bead broken, insert screwdrivers or tire irons between the tire and rim, working systematically around the circumference. After the first side releases completely, flip the wheel and repeat for the opposite bead. Leave 2-3 PSI of air in the tire during removal—this prevents complete collapse that makes breaking the second bead significantly harder. For particularly stubborn tires, apply soapy water or tire lubricant around the bead area to help separate rubber from metal.
Handling Stubborn Rust and Corrosion
When rust bonds the bead to the rim, apply penetrating oil to the contact area and wait 30 minutes before attempting removal. For extreme cases, carefully heat the rim with a propane torch (avoiding direct flame contact with rubber) to expand the metal and break the rust bond. After removal, use a wire brush followed by 120-grit sandpaper to create smooth mating surfaces. One user reported that previous tire sealer applications created “a bugger bear to break down” situations requiring multiple vehicle passes before release.
Reinstall and Seat New Tires Properly
Mounting a new tire requires specific techniques to achieve proper bead seating—often more challenging than removal.
Effective Bead Seating Techniques
Apply tire lubricant to both bead edges before mounting. Wrap a ratchet strap around the tire circumference and tighten while attempting to inflate—this forces sidewalls outward for better rim contact. Remove the valve core before inflation to allow maximum air volume for seating the beads. Strike the tire tread with a rubber mallet while rotating the wheel to help force rubber against the rim edges. Inflate in short bursts, checking bead position after each addition of air.
Critical Valve Stem Considerations
Always replace the valve stem when installing a new tire—it’s a $2 insurance policy against future leaks. Inspect the valve hole in the rim for burrs or damage that could pinch the new stem. After both beads are seated, reinstall the valve core and inflate to the manufacturer’s specified pressure (typically 10-15 PSI for lawn equipment).
Safety Protocols for Every Stage
Protect yourself throughout the tire breakdown process with these essential safety measures.
Personal Protection Requirements
Wear heavy-duty work gloves to prevent cuts from sharp rim edges, especially on corroded wheels. Safety glasses are non-negotiable—flying metal particles cause permanent eye damage annually during tire work. Closed-toe boots with steel toes protect feet from dropped components, and long sleeves prevent scratches from rusted metal. Never place hands between the tire and rim during bead breaking—sudden releases can crush fingers.
Equipment Safety Checks
Verify jack stand stability by attempting to rock the mower before working underneath. Keep bystanders clear of the work area, especially during vehicle-based bead breaking methods. When using vises or clamps, ensure they’re securely mounted to prevent slipping. Treat all tires as pressurized until completely deflated—sudden releases can cause unexpected component movement.
Breaking down a lawn mower tire successfully requires the right combination of preparation, technique, and patience. By following these proven methods, you’ll overcome even the most stubborn bead bonds without damaging rims or risking injury. Remember that leaving 2-3 PSI of air during removal prevents collapse issues, and replacing valve stems during reinstallation prevents future headaches. For frequent tire work, investing in a dedicated bead breaker pays for itself quickly in saved time and reduced frustration. When in doubt about your ability to safely complete the job, professional tire service remains a cost-effective alternative that protects both you and your equipment.


