
Winter driving demands preparation, and knowing how to install tire chains can mean the difference between reaching your destination safely or being stranded on a snow-covered road. When highway signs flash “chains required,” drivers who have practiced this skill can confidently secure their vehicles and continue their journey while others struggle with unfamiliar equipment. Tire chains create the traction needed to climb steep inclines, navigate slick descents, and maintain control on roads that would otherwise be impassable. This comprehensive guide walks you through every step of the process, from initial preparation to long-term storage, ensuring you’re ready when winter conditions demand chains.
Before attempting chain installation on a snowy roadside under pressure, you need to understand the complete process. Installing tire chains involves selecting the right type for your vehicle, positioning them correctly, securing all connections, and tightening them properly. Each step requires attention to detail—poor installation can lead to chain breakage, vehicle damage, or dangerous driving conditions. By following this guide and practicing before you need it, you’ll develop the confidence and skills to install tire chains quickly and correctly when it matters most.
Gather Essential Tools and Safety Gear
Proper preparation makes tire chain installation significantly easier, especially when conditions are less than ideal. Before winter arrives, assemble a winter road trip safety kit that includes warm gloves, waterproof layers, a headlamp, and a hat. These items protect you from the elements while you work outside your vehicle in snow, slush, and potentially cold darkness. Many tire chain sets include a plastic instruction mat—keep this in your vehicle as well, as it provides a barrier between you and the snow, helping you stay dry during installation.
Beyond personal protective gear, ensure you have the necessary tools for your specific chain type. Most quick-fit systems require only your hands, but some traditional link chains may need a wrench for fastening. Before purchasing chains, consult your vehicle owner’s manual to confirm compatibility—some vehicles cannot accommodate tire chains due to clearance issues or component placement. Park your vehicle on level, stable ground with the engine off and parking brake engaged whenever you install chains, and make sure your tires are clean and free of snow, ice, or mud before beginning.
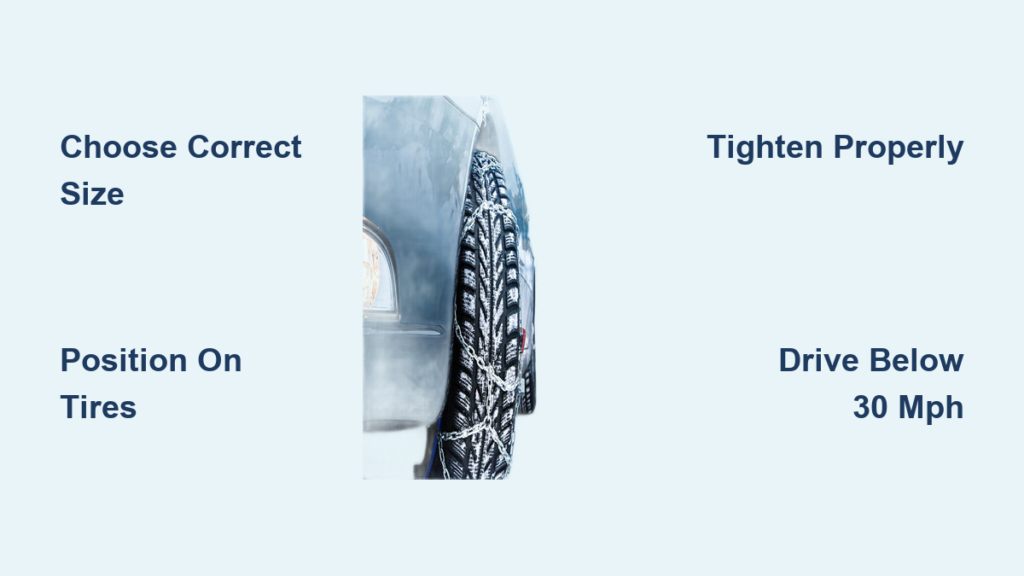
Choose the Right Tire Chains for Your Vehicle
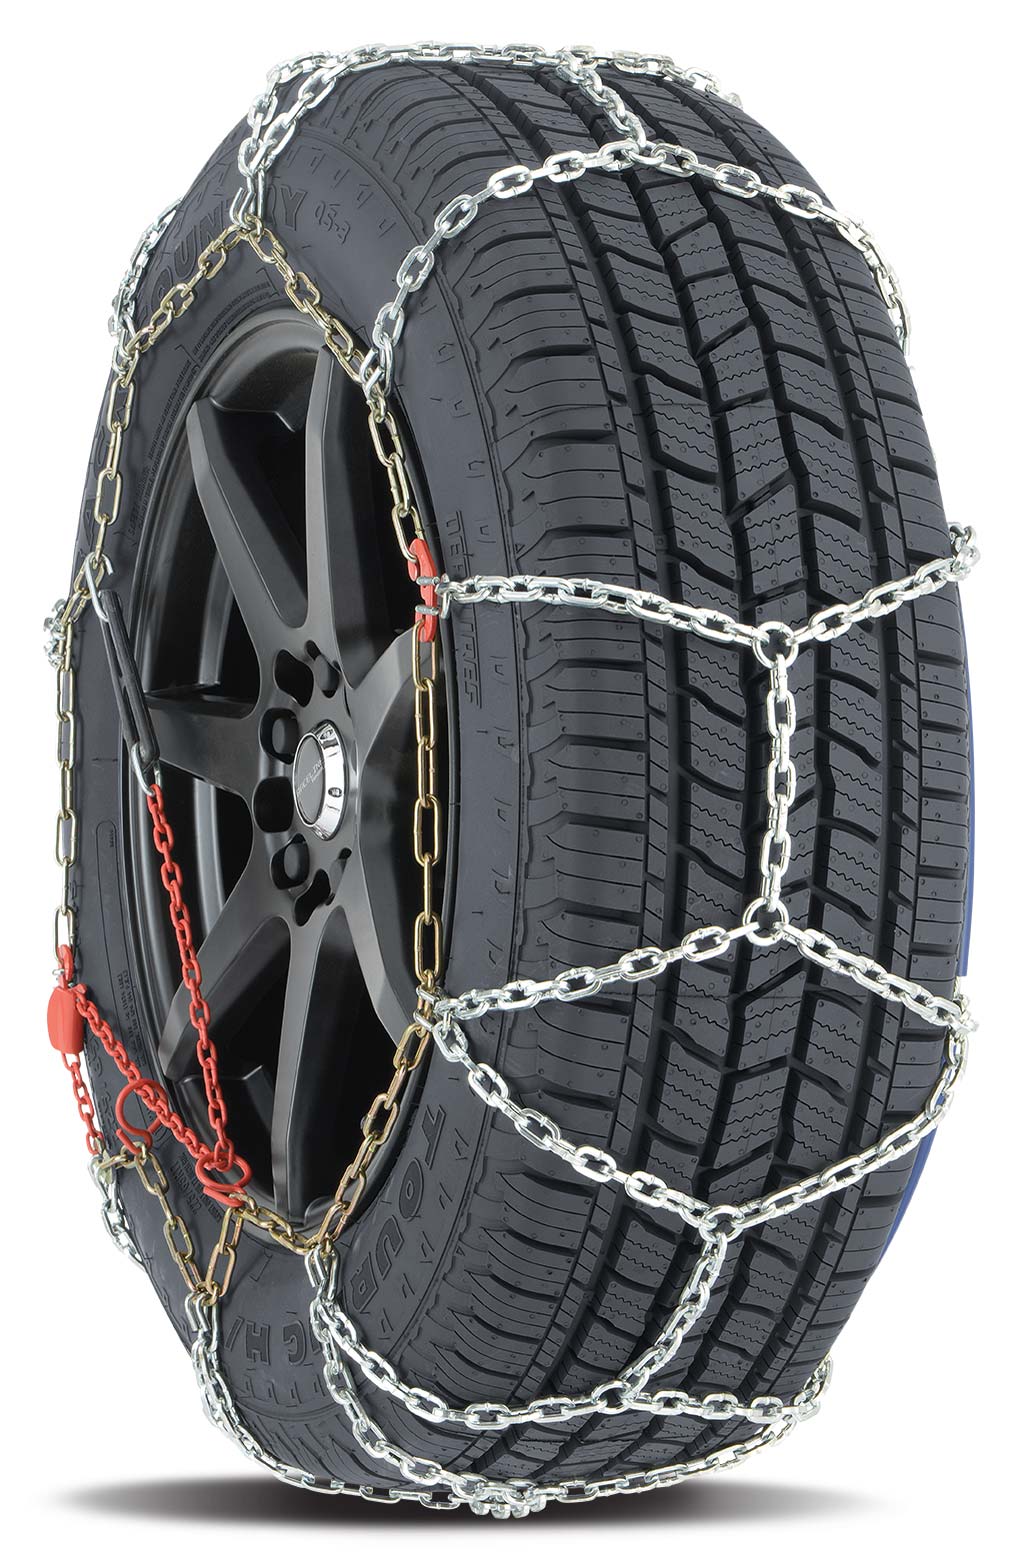
Selecting appropriate tire chains depends on your vehicle type, typical driving conditions, and how often you’ll need them. Modern quick-fit chains represent a significant advancement over traditional designs, featuring plastic-covered cables with color-coded ends that guide proper positioning. These systems install much faster than older designs and typically include built-in tensioning mechanisms that reduce the need for separate adjusters. For occasional winter drivers who want simplicity, quick-fit chains offer the most user-friendly experience.
Cable chains consist of a steel cable running around the tire circumference with cross-chains connected at regular intervals. They weigh less than traditional link chains and store more compactly, making them ideal for vehicles with limited storage space. When using cable chains for passenger vehicles, locate the yellow end of the cable—this should point toward the left when properly positioned behind the tire. Traditional link chains come in 2-link and 4-link configurations; the 2-link design offers superior traction with tighter spacing between cross chains, while 4-link chains provide a more economical option for light or occasional use.
For severe winter conditions or hilly terrain, consider specialty chains like V-bar chains, which feature V-shaped metal bars providing excellent grip on ice and hard-packed snow. Studded chains incorporate metal studs for maximum traction but may be restricted in some areas. Vehicles with tight wheel wells may require SAE Class S chains, which offer reduced clearance requirements while maintaining traction capability.
Practice Installation Before Winter Arrives
The single most valuable preparation step is practicing tire chain installation before you actually need them. Attempting to install chains for the first time during a winter emergency—while snow falls, traffic sprays slush, and darkness gathers—creates unnecessary stress and delays. Find a dry day in your garage or driveway and work through the complete installation process with your vehicle raised or safely positioned. This practice session confirms your chains fit correctly and builds the muscle memory you’ll need when conditions are challenging.
During practice sessions, take time to understand your specific chain system’s components. For quick-fit systems, identify the yellow and blue ends, locate the red hook and chain guide, and familiarize yourself with how the tensioning mechanism works. Lay out the complete chain assembly before positioning it on the tire, checking for any twists or tangles that could complicate installation. If questions arise during practice, professionals at tire centers can provide guidance. Many experts recommend attempting chain installation before any snow touches the ground, when conditions are optimal for learning without emergency pressure.
Position Chains Correctly on Tires
Determining which tires require chains depends on your vehicle’s drivetrain configuration. Front-wheel drive vehicles need chains on the front tires, while rear-wheel drive vehicles require chains on the rear wheels. All-wheel drive vehicles require specific guidance from your owner’s manual, as recommendations vary by manufacturer. When uncertain, consult tire chain experts who can help identify the correct placement for your specific vehicle and driving conditions.
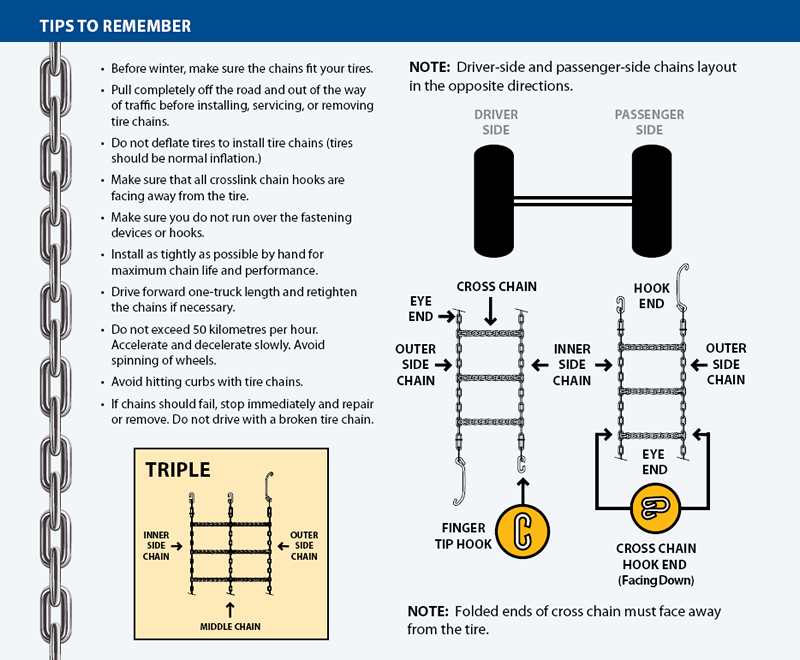
With the vehicle safely parked, begin by laying the chain assembly flat on the ground in front of or behind the tire, depending on your chain design. Uncoil and unfasten the chain completely, examining it for any twists or tangles in the cross chains or side chain links—twisted chains can damage both the chain and your tire. For systems with color-coded ends like quick-fit chains, hold the chains from the plastic-covered cable and ensure everything is straight with chains not looped over one another. Hold up your chains so the yellow end is in your left hand and the blue end is in your right hand, confirming the metal hooks face away from you to prevent tire damage.
For most installations, lay the chains on the ground and push them behind the tire with the cable end going first, moving from right to left. Once the chains are centered behind the wheel, grab both ends and pull them up over the top of the tire. You should feel the chains against your axle, which allows easier connection of the cable ends. The chains should hang loosely, and the cross chains should align with the tire’s tread pattern. Ensure the chain is positioned so the cross links are centered on the tread and the side chains wrap evenly around both sides of the tire.
Connect and Fasten Chain System
With the chain positioned on the tire, the next step is securing all connections properly. For quick-fit systems, connect the cable ends by slipping one end into the other and pulling them into place on top of the tire. Locate the red hook directly opposite the cable connection and connect it to the first available gold link on the left side of the chain assembly. Push the connected chain over the top of the tire, and you should see the diamond shape in the chains against your tire surface. Between each diamond is the center rail, which should be positioned down the middle of the tire tread for optimal traction.
Cable chain systems with a red yolk fastener require a slightly different approach. Pull the red yolk fastener around to the front of the tire from the left side while pulling the red draw chain toward you from the right side. Spread the chain evenly on both sides of the tire, confirming no twists exist in the assembly. At the top of the tire, connect the red hook plate fastener to the first link of the gold-colored side chain. Push the cable to the back side of the tire and center the cross chain sections as equally as possible across the tire tread.
Tighten Chains for Secure Fit
Proper tensioning prevents chains from loosening during driving while avoiding excessive tightness that could damage components. The bottom of quick-fit chains includes a red draw chain with bungee on your right side and a chain guide on the left. Pull these components out toward yourself. Take the long red chain and run it through the chain guide, pulling as tight as you can with both hands—avoid pulling using the bungee section. As you pull, one of the chain links will find its way into the notch on the red chain guide, locking it into place.
Using the bungee end of the red chain, pull it through one or both of the red loops and secure it to a gold-side chain opposite the red loops. If you cannot get it through both loops, pulling tight through one and attaching to a side chain to the left of the loop is acceptable. For cable chains with rubber tensioners, feed the rubber tightener through the two circular retaining rings on the right, then pull across the tire, hooking into a sidechain link. The chain should fit snugly but allow approximately one to two inches of vertical play, which accommodates slight adjustments as the chains settle during driving.
After both (or all four) chains are installed, drive forward approximately 15 feet or roughly one car length. This forward movement allows the chains to relax and settle into their optimal position on the tires. Stop and re-tighten all connections to take up any remaining slack. Unhook the rubber end of the red draw chain and pull it tight again, then guide the red chain through the loops and securely latch the bungee end to the gold-side chain. The chains should be tight against the tire with no visible sagging.
Drive Safely with Tire Chains
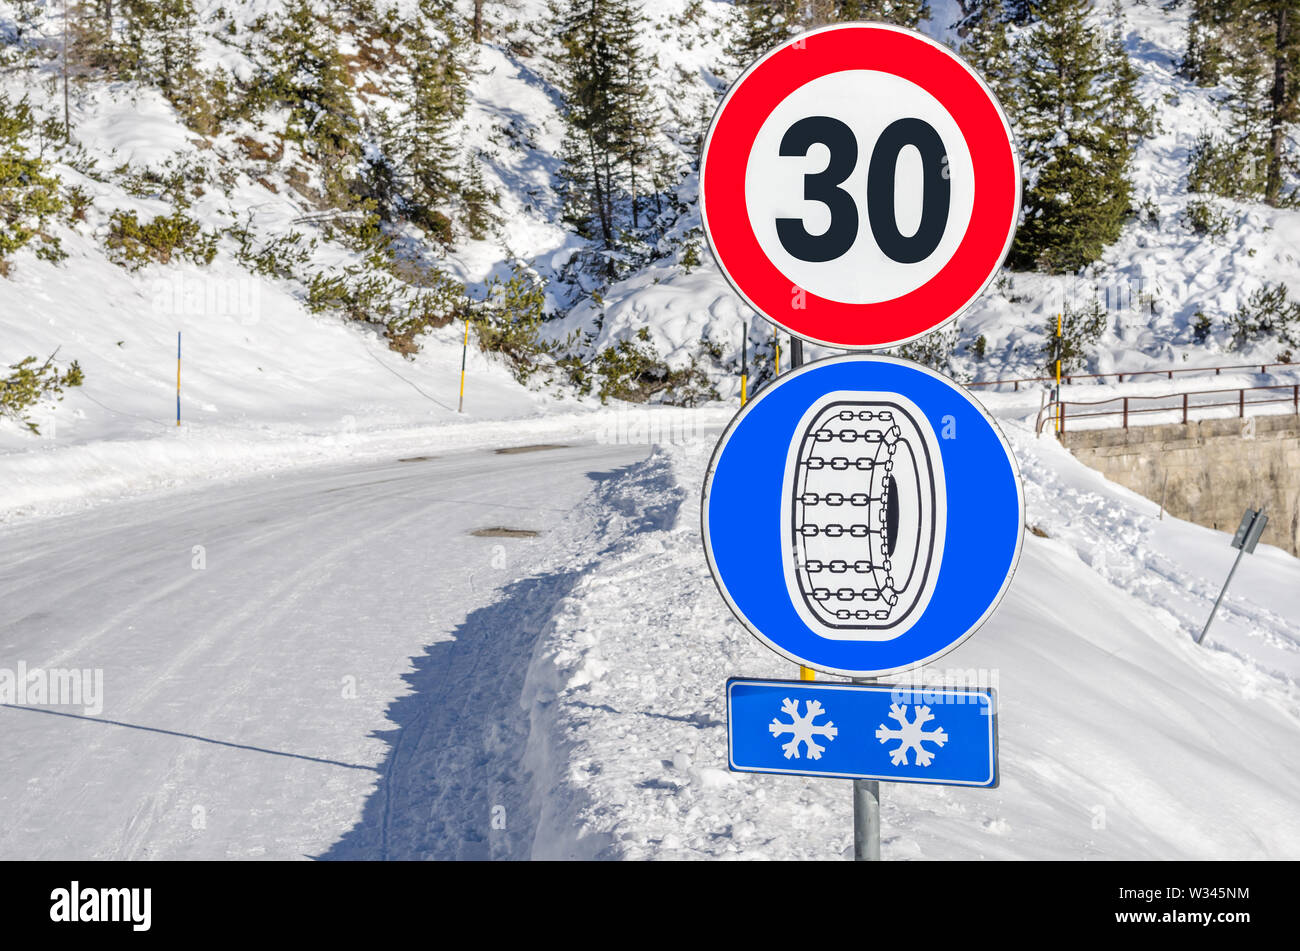
Once chains are properly installed and tightened, driving technique becomes critical for safety and chain longevity. Never exceed 25 to 30 miles per hour unless your specific chain manufacturer specifies a different limit—exceeding this speed damages both the chains and your vehicle. Drive at the lower end of this range on particularly challenging roads, and listen carefully while driving for any loud slapping sounds or metal-on-metal contact. If you hear indications that a chain may be broken or hitting your vehicle, stop as soon as safely possible to inspect the installation.
Several driving behavior adjustments keep chains functioning properly and protect your vehicle. Never drive on bare pavement with chains installed, as this causes rapid wear to both the chains and your tires, and can damage road surfaces. Avoid locking or spinning your wheels by starting or braking suddenly—make gradual acceleration and deceleration a priority. Avoid sharp turns whenever possible, as chains are designed for straight-line traction and may bind or damage when subjected to extreme lateral forces. Remove chains immediately once road conditions improve and bare pavement is consistently present.
Regular monitoring during use prevents problems before they cause damage. Recheck chain tension periodically during extended use, as chains can loosen as they settle and as cross chains wear. Stop in a safe location to confirm all connections remain secure and the chain maintains proper position on the tire tread. If you notice the chain has shifted significantly or individual links have broken, discontinue use and repair or replace the chains before continuing.
Remove Chains the Right Way
Proper removal extends chain life and makes the process safer for you and your vehicle. When road conditions no longer require chains, pull over in a safe location to remove them—never attempt to remove chains while driving. Begin by unhooking the bungee and chain from the tensioner or guide, then remove them from the tensioning system. Unlatch the red hook and undo the blue and yellow cable connection. Once all chain connections are released, the chain should lie flat on the ground.
Drive backward or forward slowly a few feet to allow you to safely pick up the chain without reaching under the vehicle. For cable chains, reverse the installation steps methodically, releasing tension before attempting to remove the chain from the tire. Never pack chains wet, as trapped moisture causes rust that significantly shortens chain lifespan and weakens the metal.
After removal, lay chains out in a garage or well-ventilated area and allow them to dry completely before storage. Inspect chains thoroughly for wear, paying particular attention if you have driven on asphalt for any distance. Look for flat spots on cross chains, which indicate excessive wear on hard surfaces. Check for broken or stretched links that may compromise performance. Replace chains that show significant wear, as damaged chains can fail unexpectedly and may cause vehicle damage.
Fix Common Installation Problems
Even with proper preparation, issues can arise during installation or use. Understanding common problems and their solutions keeps you moving forward safely.
If chains remain too loose after following tightening procedures, first verify you have the correct size chains for your tire dimensions. Using chains that are too large for your tires results in persistent loosening regardless of tensioning efforts. For chains that are the correct size but still loose, use additional tensioners if your system accommodates them. Check that the red hook is connected to the tightest position on the available gold chain links rather than a loose outer link. Ensure the chain guide notch has properly captured a chain link and is not sitting idle.
When chains rub against fender wells, suspension components, or brake lines, stop driving immediately to prevent damage. Clearance issues may indicate incorrect chain size, improper installation positioning, or a need for Class S reduced-clearance chains. Never continue driving with rubbing chains, as this damages critical vehicle components and causes chain failure. Consult your owner’s manual for recommended chain types and clearance specifications for your vehicle.
Excessive noise during driving often indicates speed is too high or chains are not properly seated. Reduce speed immediately and find a safe location to re-check chain position and tension. Some vibration is normal, particularly with metal link chains, but loud banging or rhythmic slapping suggests a problem requiring attention. Re-tightening and repositioning typically resolve noise issues caused by loose or improperly seated chains.


