Your rig’s tires bear the brunt of every mile—carrying massive loads across scorching highways and freezing mountain passes. When a commercial truck tire fails unexpectedly, it’s not just a flat tire; it’s a $1,500 roadside repair bill, 4 hours of lost productivity, and potentially catastrophic safety risks. Fleet managers report tire-related downtime costs averaging $850 per incident when factoring in delays, labor, and cargo damage. You’ll learn exactly how to identify dangerous tread separation before it causes blowouts, diagnose sidewall bulges that signal imminent failure, and implement maintenance protocols that extend tire life by 25%. Most importantly, you’ll discover the daily 7-minute inspection routine that prevents 90% of preventable tire failures.
Why Underinflation Causes 80% of Catastrophic Tire Failures
Running commercial truck tires even 10 PSI below recommended pressure creates dangerous heat buildup in the tread and sidewall. This invisible killer slowly degrades rubber compounds until the tire structure can’t contain air pressure at highway speeds. You’ll see telltale signs like excessive shoulder wear where the tread meets the sidewall, or a noticeably “soft” tire that feels squishy when pressed firmly with your thumb. Underinflated tires flex excessively, generating heat that breaks down internal steel belts—often leading to sudden tread separation at 65+ mph.
How to Diagnose Pressure Issues in 3 Minutes
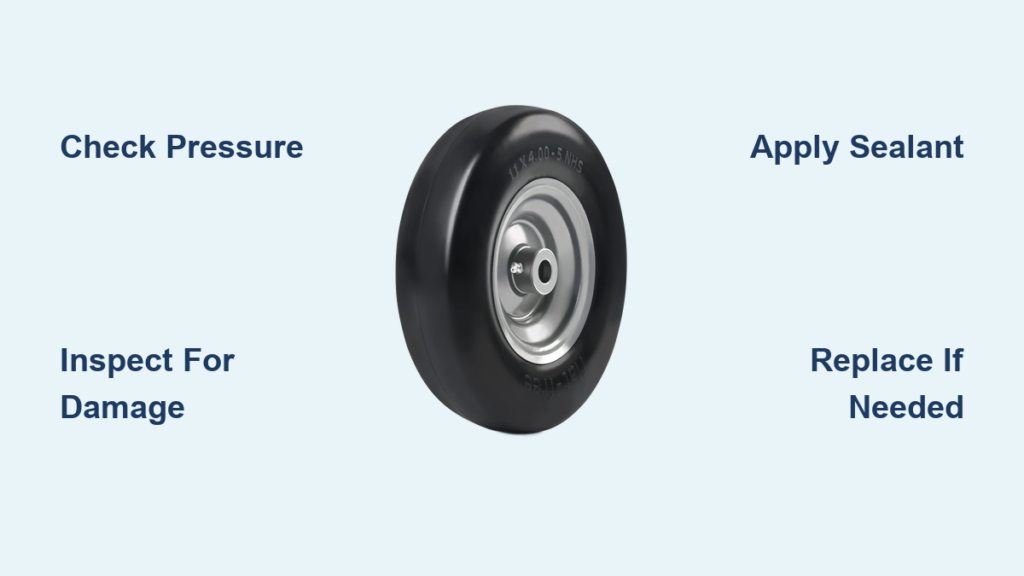
Grab your calibrated digital gauge (never trust truck-mounted gauges) and check every tire first thing in the morning when cold. Compare readings against the load inflation chart inside your cab door—never the sidewall number which reflects maximum capacity. If pressure is 5 PSI low, add air immediately and monitor daily; if 10+ PSI low, inspect for leaks at the valve stem and rim interface. Critical mistake: Many drivers top off tires without investigating why pressure dropped, missing slow punctures that will cause rapid failure.
The 24-Hour Rule for Pressure Monitoring
After correcting underinflation, recheck pressure after 24 hours of normal operation. Persistent loss indicates either a bead leak (common on corroded aluminum wheels) or internal damage. Apply soapy water to the valve stem and wheel edges—bubbling reveals escaping air. For bead leaks, clean wheel mating surfaces with a wire brush and reinstall with new rubber grommets. Never operate with recurring pressure loss; this is how sidewall delamination starts.
Sidewall Bulges: The Silent Time Bomb in Your Trailer Tires
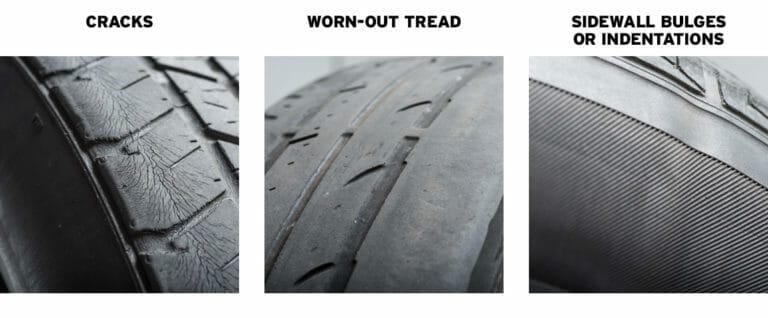
That soft lump appearing on your trailer tire’s sidewall isn’t just cosmetic damage—it’s a structural emergency. Impact with potholes or curbs can sever internal polyester cords, allowing air pressure to push rubber outward. Unlike passenger cars, commercial truck tires have thinner sidewalls to handle heavy loads, making them especially vulnerable. A bulge larger than a golf ball means immediate removal; at highway speeds, the weakened area can rupture without warning, sending heavy tread chunks flying.
Identifying Dangerous Bulges vs. Normal Flex
Run your palm vertically along the sidewall while the tire is cold. Dangerous bulges feel distinctly spongy compared to surrounding areas and don’t disappear when the tire rotates. Normal sidewall flex creates temporary indentations near the contact patch that vanish as the tire rolls. Pro tip: Shine a flashlight sideways across the tire—shadows highlight subtle bulges your fingers might miss. If you find any irregularity, deflate slowly using a valve core tool before removal to prevent explosive separation.
Emergency Protocol for Active Bulges
Never drive on a bulging tire, even to a repair shop. Chock wheels securely, then deflate completely by removing the valve core. When replacing, inspect the wheel for dents or cracks—damaged rims cause 30% of recurring bulge issues. Always replace tires in axle pairs to prevent uneven wear, and verify wheel runout with a dial indicator during mounting. Record the failure details; repeated bulges on one position indicate alignment problems.
Tread Separation: How to Spot the Warning Signs Before Blowouts
Tread separation starts internally long before rubber peels off your steer axle. The first clue? Unusual vibration felt through the steering wheel at 55+ mph that worsens with speed. Check for “heel-and-toe” wear patterns where tread blocks are worn lower on one side—this indicates improper rotation intervals. As separation progresses, you’ll hear rhythmic thumping sounds and see exposed steel belts through the tread grooves. Critical red flag: Any tread chunk missing larger than a credit card requires immediate replacement.
Preventing Separation Through Smart Rotation
Implement a strict 15,000-mile rotation pattern moving steer tires to drive positions, and drives to trailers. Never cross-rotate duals—mismatched wear causes rapid separation. Before rotating, measure tread depth at six points around each tire; replace any with less than 4/32″ remaining on steer axles. Pro tip: Mark rotation dates on tire sidewalls with chalk—tires rotated consistently last 20% longer than neglected sets.
The Temperature Threshold That Kills Tires
Tire temperature directly impacts separation risk. Use an infrared thermometer during fuel stops—anything above 190°F (88°C) indicates dangerous heat buildup. Reduce speed by 10 mph immediately and check for underinflation or overloading. Never spray water on overheated tires; thermal shock causes rapid pressure spikes. Instead, pull over for 20 minutes to allow cooling. Install TPMS sensors that alert when temperatures exceed 180°F.
Valve Stem Failures: The $5 Part That Costs $500 in Downtime
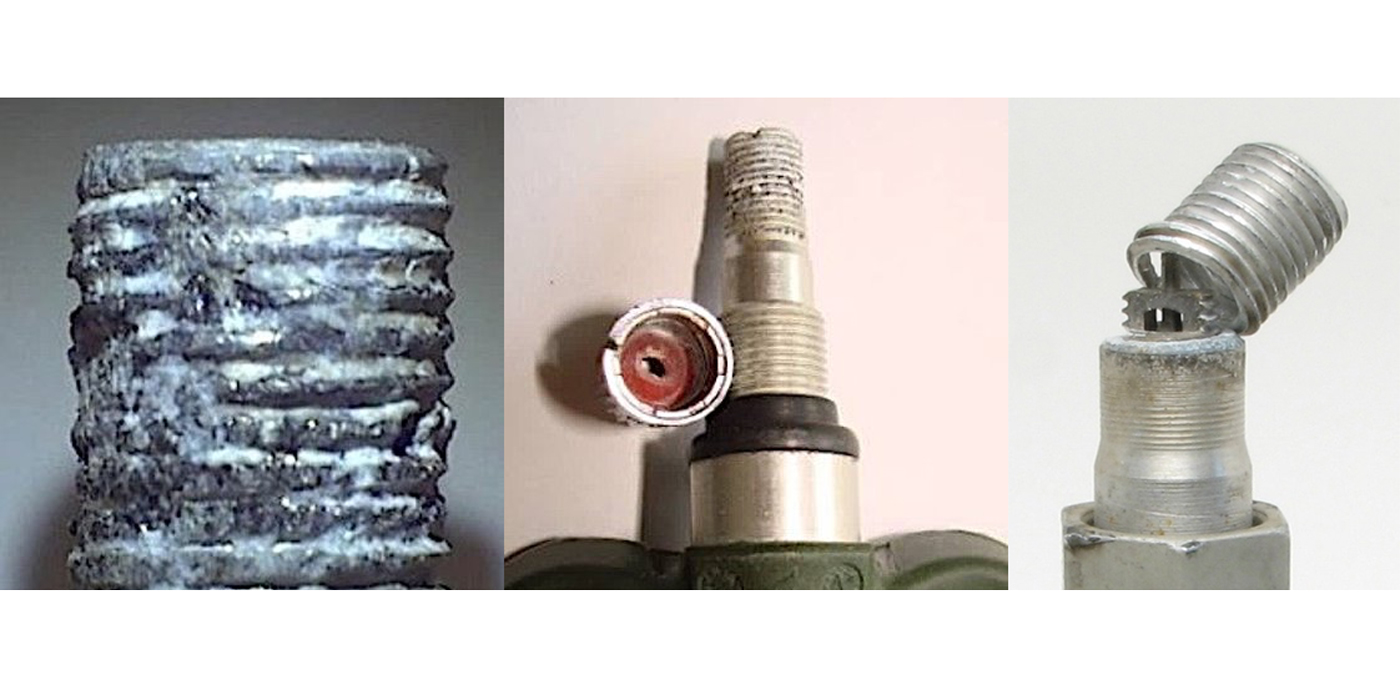
Cracked valve cores cause 60% of slow leaks in commercial fleets, yet most drivers ignore this critical component. Exposure to road chemicals and constant vibration makes rubber stems brittle within 2 years. You’ll notice persistent pressure loss despite no visible punctures, or a faint hissing sound near the valve. Critical mistake: Using cheap aftermarket valve caps that don’t seal properly—dirt intrusion accelerates core failure.
Preventing Stem Failures With 30-Second Checks
During pre-trip inspections, twist valve caps firmly to ensure tight seals. Remove caps monthly to check for corrosion on the core—green oxidation means immediate replacement. Always carry nickel-plated brass valve cores (not steel) which resist corrosion 3x longer. Pro tip: Apply dielectric grease to new cores before installation; this creates a moisture barrier that doubles stem life.
Emergency Field Repair Protocol
If a stem fails roadside, deflate completely using a core tool. Clean the valve hole with a wire brush, then install a new stem using a valve tool—never hammer it in. Inflate slowly while listening for leaks, then apply soapy water to verify seal. Carry spare stems sized for your tire valves (typically 1.5″ for commercial trucks). Record stem replacement dates; most fleets replace all stems during tire changes.
Overloading Damage: How Excess Weight Destroys Tires From Within

Exceeding axle weight limits by just 10% increases tire stress by 25%, accelerating wear and heat buildup. You’ll see center tread wear patterns on steer tires, or cupping on drive axles where rubber chunks form. Overloaded tires run hotter, degrading internal plies until catastrophic failure occurs. Critical risk: Many drivers don’t realize that even temporary overloads during loading cause permanent damage to tire structure.
Weight Distribution Checks That Save Tires
Before departure, verify load balance using onboard scales or weigh station tickets. Steer axles should carry 12,000-12,500 lbs max; drives 34,000 lbs. If front tires show center wear, shift cargo rearward. For drive axle cupping, redistribute weight toward the front of the trailer. Pro tip: Place a business card between dual tires—if it slides out easily, your spacing is correct; if stuck, you’ve got dangerous rim interference.
The 5-Minute Load Inspection Routine
Check tire deflection by pressing firmly on the sidewall—excessive “give” indicates underinflation for the load. Measure ground contact patch width; if narrower than 8 inches on steer tires, you’re overloaded. Inspect for shiny spots on tread where rubber is being stripped away. Never operate with visible load-induced wear; this is irreversible damage that leads to rapid separation.
Cutting and Puncturing: Road Hazard Damage Control
Sharp debris causes 40% of commercial tire failures, but immediate action can save the tire. If you feel sudden vibration or hear air hissing, pull over safely within 1 mile—every additional minute of driving turns a repairable puncture into a total loss. Critical mistake: Removing embedded objects before assessing damage; this allows rapid air loss and internal contamination.
Temporary Field Repair for Roadside Punctures
Locate the object (usually in the tread center) and mark its position with chalk. If smaller than 3/8″, insert a rubber plug using a reaming tool—never use string plugs. Inflate to 10 PSI below normal and monitor pressure for 1 hour. For larger punctures, use a tire boot kit to seal the inner liner. Pro tip: Carry orange tire sealant that glows under UV light, making leak detection faster during repairs.
When to Replace vs. Repair
Never repair punctures within 1 inch of the sidewall, or in existing damage zones. Tires with tread depth below 2/32″ on drive axles shouldn’t be patched. For dual assemblies, always replace both tires if one has a sidewall puncture. Record repair locations—tires with multiple patches fail 70% faster than undamaged sets.
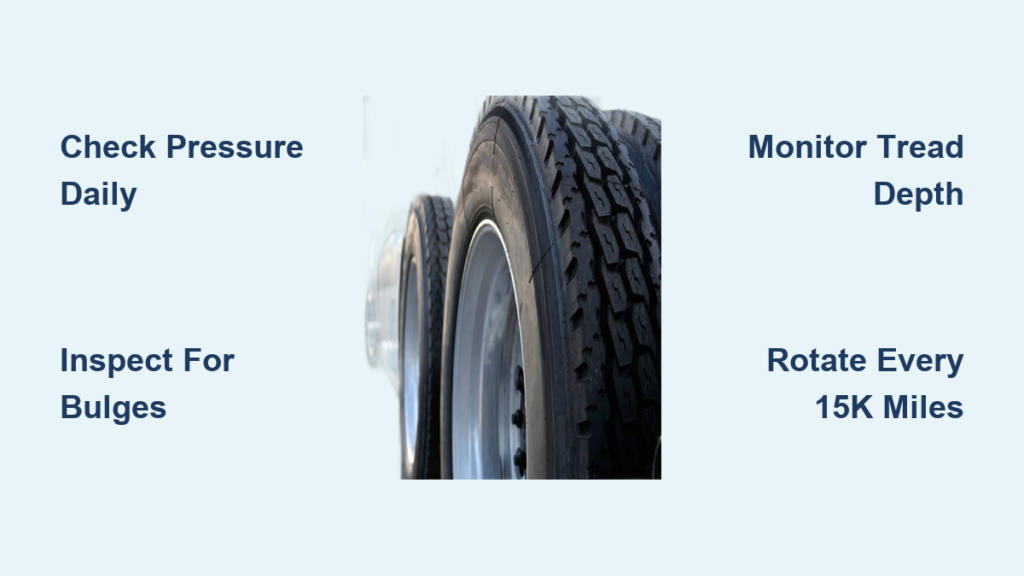
Preventing Costly Failures With Proactive Maintenance
Implement these three non-negotiable practices starting today: First, conduct a 7-minute tire inspection every pre-trip—check pressure, tread depth, and sidewalls with a flashlight. Second, rotate tires every 15,000 miles using the cross-axle pattern. Third, install TPMS sensors that alert to 5% pressure loss or 180°F temperatures. Fleets using this system reduce tire-related downtime by 65% and extend tire life to 120,000 miles.
Final note: Commercial truck tires operate under extreme stress where small oversights become major failures. By focusing on pressure consistency, damage monitoring, and timely rotation, you’ll avoid the most dangerous failures while adding 20,000+ miles to each tire’s service life. Keep a tire maintenance log in your cab—this simple habit catches developing issues before they strand you roadside. For fleets, schedule quarterly alignment checks; improper toe settings cause 35% of abnormal wear patterns that lead to premature replacement. Your tires are the only connection between your rig and the road—treat them as the critical safety components they are.