When your bicycle tires wear out or you want to upgrade to a different size, deciphering those numbers stamped on the sidewall becomes crucial. The seemingly simple task of understanding bicycle tire measurements often confuses even experienced cyclists, leading to compatibility issues, clearance problems, and inaccurate speed readings. These measurements determine whether your tires will fit your rims properly, clear your frame adequately, and provide accurate data for your cycling computer. This guide cuts through the confusion with practical knowledge you can apply immediately when selecting replacement tires or upgrading your bicycle’s rubber.
Most cyclists don’t realize that the numbers on their tire sidewall represent nominal dimensions rather than exact measurements. Manufacturing tolerances, air pressure variables, and even the break-in period all affect how wide your tire actually measures once installed. Understanding these nuances transforms you from a guesser into an informed consumer who can confidently select tires that fit perfectly and perform exactly as expected. Whether you’re troubleshooting clearance issues, programming your bike computer, or simply replacing worn tires, the following information will help you make the right decisions every time.
Why Your Measured Tire Width Differs From Specifications
When you pull out your calipers to verify a tire’s width, don’t be surprised if your measurement doesn’t match what’s printed on the sidewall. Tire manufacturers work within an industry-accepted tolerance range of plus or minus 3 millimeters from the stated width specification. This means that a tire labeled as 35mm could legitimately measure anywhere from 32mm to 38mm across when properly mounted and inflated.
How Modern Tire Construction Affects Width Accuracy
Contemporary bicycle tires maintain their stated width more consistently than older models due to improvements in carcass materials. High-quality fabrics and rubber compounds resist expansion after mounting, so what you see on the sidewall is generally what you get once installed. Unlike vintage tires that would stretch significantly during their break-in period, today’s tires stay closer to their nominal width from the first installation.
Where Exactly to Measure Tire Width
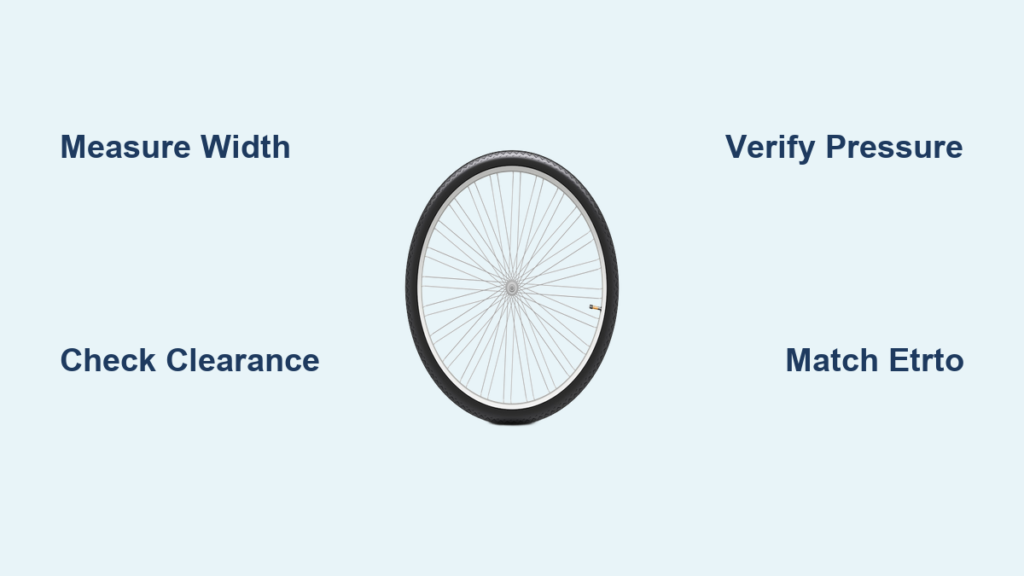
For accurate comparisons between tires, always measure at the widest section of the tread lugs on the outer portion of the tire. This standardized measurement point ensures consistency across different brands and models. When checking clearance on your bike, measure at this same location to get results that match manufacturer specifications rather than taking measurements at inconsistent points that might misrepresent the tire’s true width.
How Air Pressure Changes Your Tire’s Actual Width

The air pressure you run directly impacts how wide your tire measures at any given moment, creating a dynamic relationship that affects both performance and frame clearance. When you inflate to maximum recommended pressure, your tire achieves its fullest stated width as internal pressure pushes the carcass outward against rim constraints. Lower pressure settings, conversely, result in a narrower effective width that can provide crucial extra clearance in tight frame situations.
Practical Pressure Adjustment for Clearance Issues
When troubleshooting frame rub or tight clearances, reducing pressure by 10-15 PSI can sometimes provide the critical millimeter or two needed to eliminate interference. A tire measuring 37mm at 80 PSI might shrink to 35mm at 60 PSI, creating just enough space to prevent contact with frame components. Always check clearance with your tire inflated to maximum pressure to ensure adequate room under worst-case conditions.
Why New Tires Measure Narrower Initially
Freshly mounted bicycle tires undergo a gradual expansion process during their first few weeks of use, typically adding 1-2 millimeters to their width as materials settle into position. This break-in period occurs because the tire beads and sidewall materials need time to relax after being stretched during installation. The weight of the rider and repeated flexing during riding accelerate this expansion process.
Best Practices for Assessing New Tire Fit
When installing new tires in a frame with tight clearance, mount them, inflate to operating pressure, and wait 24-48 hours before making final clearance assessments. This waiting period allows initial expansion to occur, giving you a more accurate picture of the space you’ll have during normal riding. If clearance remains tight after this break-in period, consider a narrower tire width before riding significant distances.
How to Verify Frame Clearance Before Buying Wide Tires

Tire manufacturers cannot verify compatibility between their products and every bicycle frame design worldwide, placing the responsibility for clearance verification on you. Before purchasing wider tires, obtain the exact external dimensions of your intended tires—both overall diameter and maximum width measurement—and compare these against your frame’s critical clearance zones.
Critical Clearance Points to Check on Your Frame
Focus on these four key areas when assessing potential tire clearance:
– Fork crown: Where the tire passes beneath the fork legs
– Seat stay bridge: The area above the rear tire near the brake bridge
– Chain stay area: Between the chain stays where the tire sits closest to the frame
– Main triangle: The space between the seat tube, down tube, and top tube
Perform a dynamic clearance check with your weight on the saddle and the bike in riding position, slowly rotating the pedals to check for interference at all points of the tire’s rotation.
Matching Tire Width to Your Rim’s Specifications

Proper tire-rim pairing requires precise attention to both diameter and width specifications. The inner diameter of your tire (bead seat diameter) must match your rim’s shoulder diameter exactly for safe operation. For example, a 37-622 tire designation indicates a 37mm width mounted on a 622mm bead seat diameter, which must correspond to a rim marked 622 x 19C.
Following ETRTO Compatibility Standards
The European Tire and Rim Technical Organization (ETRTO) provides essential guidelines for safe tire-rim combinations:
– Narrow tires on wide rims risk unstable mounting and bead unseating
– Wide tires on narrow rims create excessive sidewall bulge and reduced stability
– Consult ETRTO charts or your rim manufacturer’s documentation for approved width ranges
Using incompatible tire-rim combinations compromises safety and performance, potentially causing dangerous situations during riding.
Special Requirements for Hookless Rim Systems
Hookless rims and straight-sided rims impose strict limitations on tire compatibility that demand special attention. These rim designs lack traditional hooked edges for bead retention, requiring only TLE (Tubeless Easy) or TLR (Tubeless Ready) tires specifically engineered for hookless use.
Critical Safety Considerations for Hookless Setups
Never mount standard tires on hookless rims—this creates a serious safety hazard where the tire could blow off during inflation or riding. Always:
– Verify wheel manufacturer’s approved tire list
– Confirm minimum and maximum width requirements
– Check maximum pressure ratings for your specific tire-rim combination
When in doubt, contact the rim manufacturer directly rather than risking unsafe installation.
Measuring Exact Circumference for Accurate Bike Computers
Generic circumference values from manufacturer charts often prove inaccurate for programming bike computers because actual rolling circumference varies based on multiple factors including rim width, tire construction, air pressure, and rider weight.
Step-by-Step Rolling Test for Precise Measurement
- Position front wheel valve at bottom (6 o’clock position)
- Mark floor directly beneath valve or position measuring tape end
- Sit on bike in normal riding position (to account for tire deflection)
- Roll bike forward in straight line until valve returns to 6 o’clock
- Measure distance between start and end points
This measured value, not manufacturer specifications, should be entered into your bike computer for accurate speed and distance readings.
Decoding ETRTO Measurement Standards
The ETRTO system provides the international standard for bicycle tire specifications using a clear format that eliminates confusion between manufacturer-specific sizing systems. Tire dimensions appear as width-bead seat diameter (e.g., 37-622), while rim specifications use bead seat diameter x inner width (e.g., 622 x 19C).
Why Standardized Measurements Matter
ETRTO standards ensure:
– Consistent width measurements across manufacturers
– Clear diameter specifications that prevent mismatched tire-rim installations
– Reliable compatibility guidance through established width-range recommendations
Understanding this notation allows you to quickly determine whether a particular tire will work with your rims without relying on confusing legacy sizing systems.
Why Manufacturer Specifications Trump General Guidelines
While ETRTO standards provide valuable general guidelines, your specific wheel or rim manufacturer’s specifications should always take precedence when determining compatibility. These manufacturer-specific recommendations account for the unique structural characteristics and material properties of each rim design.
How to Access Critical Compatibility Information
Locate and review:
– Maximum air pressure ratings for your specific rim-tire combination
– Approved tire type lists from your wheel manufacturer
– Minimum and maximum tire width requirements for your rims
If you’ve lost this documentation, most manufacturers provide specifications online or through customer service. Ignoring these manufacturer-specific requirements means operating outside tested parameters, potentially compromising safety and performance.
Understanding bicycle tire measurements transforms you from a passive consumer into an informed cyclist who can confidently select tires that fit perfectly and perform exactly as expected. By recognizing manufacturing tolerances, accounting for pressure-dependent width variations, and following ETRTO standards while prioritizing manufacturer specifications, you’ll avoid common pitfalls like clearance issues and incompatible tire-rim combinations. Always measure your actual tire circumference for accurate computer readings, remember to consider the break-in expansion with new tires, and verify compatibility through official manufacturer documentation. With this knowledge, you’ll enjoy many miles of reliable riding on properly fitted bicycle tires that deliver optimal performance and safety.