
Finding yourself stranded with a flat tire is stressful enough without struggling to access your spare tire. The Buick Enclave stores its spare beneath the rear cargo area using a steel cable system that can seem confusing if you’ve never used it before. Knowing how to remove spare tire on Buick Enclave before you need it could save you valuable time and frustration during a roadside emergency. This guide eliminates the guesswork by walking you through every step with clear instructions you can rely on when it matters most.
Your Enclave comes equipped with all necessary tools, but they’re stored in specific locations that aren’t immediately obvious to most drivers. Taking just 10 minutes now to familiarize yourself with this process means you’ll handle a flat tire situation with confidence later. You’ll learn exactly where to find your tools, how to safely lower the spare, and what common mistakes to avoid during the process.
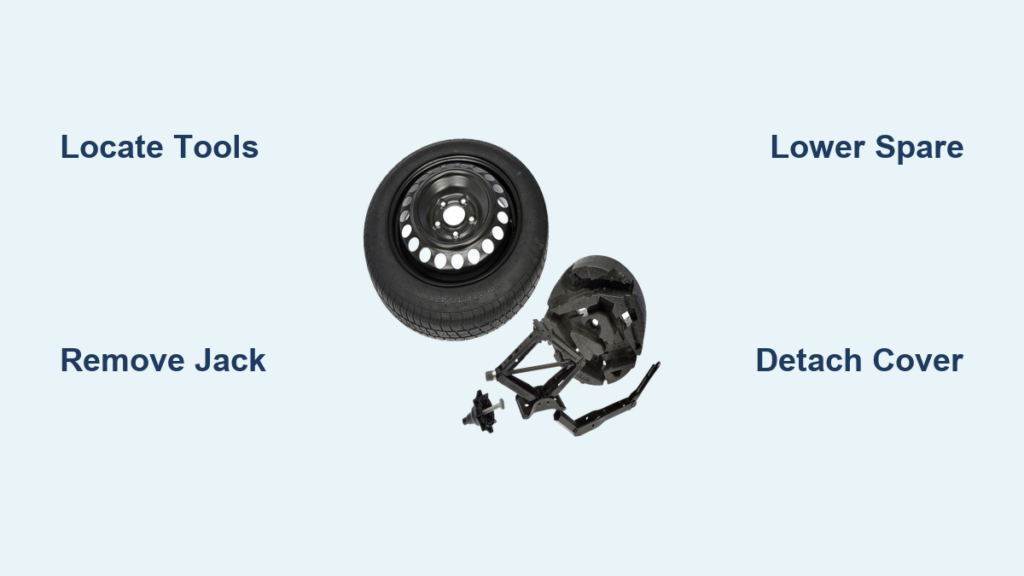
Locate Your Emergency Tools Before You Need Them

Don’t wait for a flat tire to discover where your Enclave stores its emergency equipment. The jack, tire tool (also called the lug wrench), and tire storage bag all reside in the left-hand panel within the rear storage area. This tire tool serves two critical functions—it loosens lug nuts when changing tires and operates the spare tire lowering mechanism.
Pro Tip: Keep your emergency kit complete by adding these often-overlooked items to your rear cargo area:
– A waterproof flashlight with fresh batteries
– A small rug (about 2 feet long) for knee protection
– Moist wipes for cleaning hands after the job
– Basic first aid supplies for minor injuries
The tire tool attaches directly to the jack assembly, forming a complete system you’ll need for both lowering the spare and changing the flat tire. When stored properly, the jack remains secured by a hand screw positioned just above the center of the jack body, with velcro straps providing additional stability during normal driving.
Free the Jack Assembly From Its Mounting Position
Before you can access the spare tire, you must properly remove the jack from its storage compartment. Begin by unscrewing the hand screw that secures the jack in place—this is essential and often overlooked by first-time users. The velcro straps don’t need adjustment for removal, so focus on completely removing the hand screw.
To extract the jack, lift it diagonally upward, then rotate it toward the interior of the vehicle. You’ll encounter a metal retaining bracket that holds the jack securely during driving. Once free from this bracket, slide the jack downward until the front portion clears, then lift the entire assembly out. The tire tool should remain attached to the jack, which is exactly what you need for the next step.
Access the Spare Tire Lowering Mechanism Behind Rear Seats
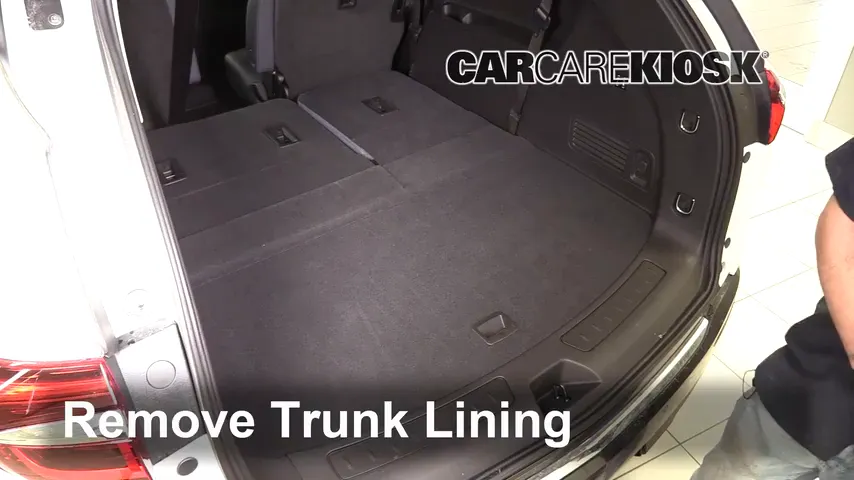
The spare tire lowering mechanism is hidden behind the rear seats in a storage box with a small cutout covered by insulation material. To expose the large retaining nut that controls the spare tire elevation, locate this storage box and lift the insulation material covering the cutout.
If you’re having trouble accessing the cutout, try this alternative approach: carefully lift the entire carrying compartment using a knife or flat tool to lift the cutout flap and push it through the opening. This provides direct access to the lowering mechanism’s nut. Once exposed, you’ll see where the tire tool attaches to operate the steel cable system that holds your spare in place.
Lower the Spare Tire Assembly Using Counterclockwise Rotation
Insert the tire tool (still attached to the jack) onto the exposed nut and rotate it counterclockwise to release the steel cable mechanism. Continue turning to lower the spare tire assembly gradually—rushing this step can cause problems later. Lower the tire until it’s approximately halfway out from beneath the bumper.
At this point, you’ll encounter the center flange that secures the spare tire to the steel cable assembly. This component must be rotated to pass through the center hole of the spare tire wheel. You’ll need sufficient slack in the cable system to accomplish this, so don’t lower the tire all the way yet.
Warning: Don’t force the flange through the wheel hub. It’s designed to pass through only when properly oriented, so gently wiggle and rotate it while maintaining downward pressure on the cable. Taking your time here prevents damage to the components and avoids frustrating setbacks.
Release the Center Flange From the Spare Tire Wheel
With the spare tire halfway lowered, focus on freeing the center flange from the wheel. This requires careful manipulation as you rotate the flange to align it with the wheel’s center hole. The steel cable must have enough slack to allow this rotation—too little slack makes the process difficult, while too much can cause the tire to drop unexpectedly.
Once properly oriented, the flange will slide through the wheel hub. Continue lowering the tire gradually until it rests completely on the ground. Never allow the tire to drop abruptly, as this can damage the cable mechanism or surrounding components. A controlled descent protects both your vehicle and your safety during this critical phase of removing spare tire on Buick Enclave.
Detach the Plastic Cover Assembly From the Spare Tire
The spare tire sits within a protective plastic cover consisting of two halves joined by a single rubber gasket. To access the tire fully, you must release this gasket that holds the two cover sections together. The cover comes apart relatively easily once you disengage the gasket—simply work the two halves apart carefully.
With the cover separated, you can now remove the spare tire from its protective housing and proceed with mounting it on your vehicle. Take a moment to inspect the spare for proper inflation and condition before installation, as spare tires can lose pressure over time without triggering dashboard warnings.
Properly Stow the Steel Cable After Tire Removal
After removing the spare tire, one crucial step many Enclave owners overlook is properly stowing the steel cable. Wind the cable back up to its carriage mechanism, ensuring it’s neatly arranged and secured in its original position within the storage compartment. This prevents the cable from dragging on the ground or becoming damaged during subsequent driving.
A properly stowed cable also ensures the mechanism will function correctly the next time you need to access the spare tire. Taking an extra minute to coil and secure the cable now saves significant frustration later. If the cable mechanism feels stiff or difficult to operate, a small amount of lubricant on the moving parts can restore smooth operation.
Maintain Your Spare Tire With Regular Pressure Checks
Your Buick Enclave’s Tire Pressure Monitoring System (TPMS) alerts you to pressure issues with road tires, but the spare operates independently of this system. Spare tires can lose pressure over time without triggering any dashboard warnings, making regular inspection essential for reliability.
Expert Tip: Check your spare tire pressure at least every few months using a reliable tire gauge. Proper inflation ensures your spare will be functional when needed most. Remember that compact spare tires (often called “donuts”) have specific speed and distance limitations—typically 50 mph for no more than 50 miles.
Follow Critical Safety Procedures During Tire Changes
The Buick Enclave includes a tie-down cable system designed by General Motors engineers specifically to secure the spare tire during collisions or rollovers. When reinstalling the spare after use, this cable must be properly routed and secured to maintain its life-saving function.
When changing a flat tire, you’ll likely encounter lug nuts tightened to substantial torque specifications during manufacturing. Don’t struggle with inadequate tools—using a breaker bar or impact wrench may be necessary to safely loosen these nuts. Always work on level ground, engage your parking brake, and use wheel chocks on the opposite side of the vehicle for maximum safety.
Taking time now to practice the spare tire removal process in your driveway builds confidence for when you actually need it. Familiarity with these steps transforms what could be a stressful roadside emergency into a manageable situation you can handle efficiently. Your future self will appreciate the preparation when faced with a flat tire far from assistance.


