
Your heart pounds as you hear that distinctive thumping sound while driving. You pull over and confirm your worst fear—a flat tire. Being stranded with a flat tire is stressful, but knowing how to change it yourself can save you time, money, and frustration. This guide walks you through exactly how to change a flat tire safely and efficiently, whether you’re on a busy highway or a quiet country road. By the time you finish reading, you’ll understand the complete tire-changing process, recognize potential pitfalls, and gain confidence to handle this common roadside emergency.
Most drivers will experience at least one flat tire during their lifetime, yet many never practice the procedure until they’re stranded. The good news is that changing a tire follows a clear sequence of steps that anyone can learn. With the right preparation and knowledge, you can typically complete the entire process in 20-30 minutes. This guide focuses on standard passenger vehicles with conventional spare tires (not run-flats), covering everything from initial safety precautions to final torque specifications.
Essential Safety Measures Before Changing Your Tire
Your safety comes first when dealing with a flat tire. Never attempt a tire change on a highway shoulder without proper precautions—this is where most roadside accidents occur. Move your vehicle completely off the roadway onto a flat, stable surface away from traffic. Engage your parking brake firmly and shift into “Park” (automatic) or first gear (manual). Turn on your hazard lights immediately and place emergency flares or reflective triangles 50-100 feet behind your vehicle to alert approaching traffic.
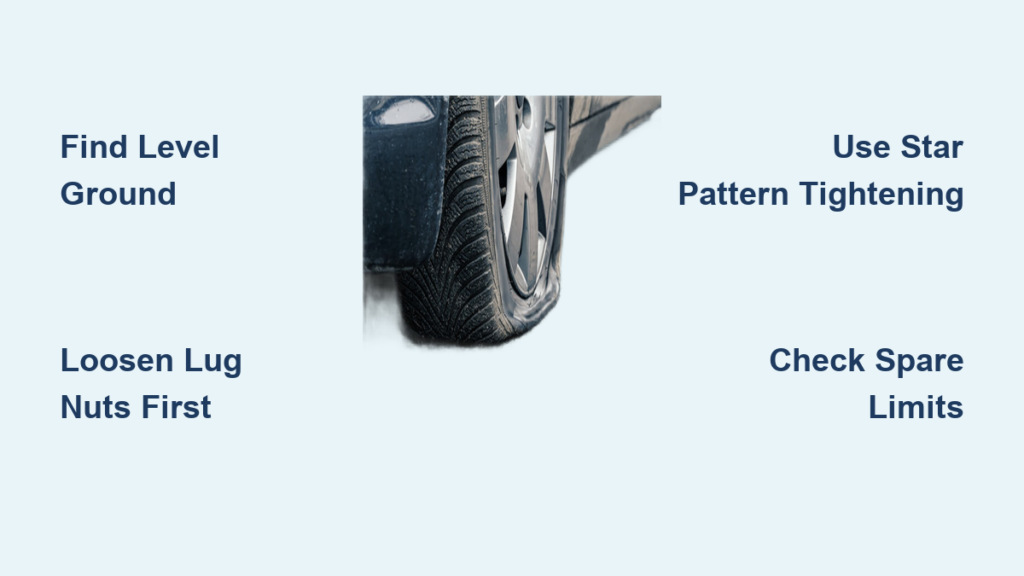
Why Finding Level Ground Matters for Stability
Changing a tire on an incline significantly increases risks as your vehicle could roll or the jack might slip. If you must change a tire on a slight slope, turn your wheels toward the roadside and place heavy objects like rocks or wheel wedges against the tires opposite the flat. Never position any part of your body under the vehicle while it’s supported only by a jack—this critical safety rule prevents serious injury if the jack fails.
Critical Items to Gather Before Starting
Before touching any tools, locate these essential items from your vehicle:
– Your vehicle’s spare tire (donut or full-size)
– Jack mechanism
– Lug wrench (often stored with the spare)
– Wheel wedges or heavy objects for chocking
– Flashlight if working in low light
– Work gloves to protect your hands
Check that your spare tire has adequate air pressure—many drivers discover their spare is flat only when they need it. If your spare is also deflated, you’ll need to call for roadside assistance rather than attempting a change.
Proper Lug Nut Loosening Technique to Prevent Rolling

Many drivers make the critical mistake of removing lug nuts completely before lifting the vehicle, which can cause the wheel to spin dangerously. Instead, loosen the lug nuts while the tire still has full contact with the ground—this prevents rotation and gives you maximum leverage.
The Star Pattern Method for Even Pressure Release
Loosen each lug nut approximately one-quarter to one-half turn following a star pattern (crisscross sequence). This prevents warping the brake rotor and ensures even pressure release. Never remove lug nuts completely at this stage—just break their resistance while the tire remains grounded. If lug nuts are extremely tight, stand on the wrench handle for leverage or use your foot while protecting the wrench from slipping.
Troubleshooting Stuck Lug Nuts
When lug nuts won’t budge due to rust or over-tightening:
– Spray penetrating oil around the nut base and wait 5 minutes
– Tap the nut firmly with a hammer to break corrosion
– Use a pipe extension on your wrench for additional leverage
– As a last resort, carefully apply heat with a propane torch (avoid near fuel lines)
Correct Jack Placement and Lifting Procedure

Positioning the jack incorrectly can damage your vehicle or cause dangerous instability. Consult your owner’s manual for exact jack points, typically reinforced sections along the vehicle’s frame near the flat tire. Never place the jack on plastic body panels, suspension components, or the oil pan.
Visual Cues for Proper Jack Positioning
Look for these indicators of correct jack placement:
– Small notches or ridges along the vehicle’s rocker panel
– Reinforced metal sections clearly designed for jacking
– Areas marked with “Jack Point” symbols in your manual
– Solid frame components without visible wiring or hoses
Raise the vehicle slowly and steadily until the flat tire clears the ground by approximately two inches—enough room to remove the flat and position the spare. Never place any body parts under the vehicle during this process.
Tire Removal and Spare Installation Process
With the vehicle properly elevated, complete removal of the lug nuts and flat tire can proceed. Hold the tire with both hands as you pull it straight toward you—tires are heavy (typically 20-40 pounds) and awkward to handle. Position the flat tire on its side beneath the vehicle frame as an additional safety measure in case the jack fails.
Aligning the Spare Tire Correctly
Before lifting the spare into position, check for these critical alignment factors:
– Valve stem should face outward for easy pressure checks
– Any directional tread patterns must match rotation direction
– Wheel studs should align with spare tire holes without force
Lift the spare with your legs (not your back) and slide it onto the wheel studs. Hand-tighten all lug nuts in the star pattern before lowering the vehicle—this prevents the wheel from hanging crooked when weight returns.
Proper Lug Nut Tightening Sequence and Torque

As you lower the vehicle, stop when the spare tire just touches the ground but still carries minimal weight. This allows you to tighten lug nuts with the wheel stabilized but without full vehicle weight. Use the star pattern again, tightening each nut in quarter-turn increments until firmly seated.
Why Final Torque Matters for Safety
After fully lowering the vehicle and removing the jack, perform the critical final tightening with your lug wrench. Most passenger vehicles require 80-100 ft-lbs of torque—tighten in the star pattern multiple times to ensure even pressure. Improperly torqued lug nuts can lead to wheel detachment while driving, a potentially catastrophic failure.
Checking Torque After Initial Driving
Drive cautiously for the first mile, then pull over to recheck lug nut tightness. Metal components settle during initial use, and nuts may need slight readjustment. Visit a tire shop within 50 miles to verify proper torque with a calibrated torque wrench.
Post-Change Safety Checks and Limitations
Your work isn’t complete once the spare is mounted. Donut spares have critical limitations—most are rated for speeds under 50 mph and distances under 50 miles. Drive cautiously to your destination, avoiding hard braking or sharp turns that could destabilize the temporary tire.
Immediate Actions After Tire Replacement
Before resuming your journey:
– Stow all equipment properly in your vehicle
– Verify spare tire pressure (typically 60 psi)
– Note the date and mileage for tracking spare usage
– Plan your route to include a tire repair facility
Donut spares aren’t designed for long-term use—exceeding their limitations risks blowouts and loss of vehicle control. Full-size temporary spares have fewer restrictions but still require professional inspection.
Common Tire Change Mistakes That Cause Dangerous Situations
Even experienced drivers make critical errors during tire changes. The most dangerous mistake is failing to set wheel chocks properly—without them, your vehicle could roll onto the jack. Another frequent error is removing all lug nuts simultaneously before lifting the vehicle, which allows the wheel to spin freely and become difficult to control.
Troubleshooting Jack Instability
If your jack begins to slip or wobble:
– Immediately lower the vehicle
– Clear debris from the jack point
– Place a sturdy wooden board beneath the jack base
– Ensure the jack is perfectly vertical before reapplying pressure
Never attempt to stabilize a wobbling jack with rocks or small objects—they can shift unexpectedly under load.
Preventing Future Flats Through Proper Tire Maintenance
Regular tire checks prevent most roadside emergencies. Inspect tires monthly for punctures, embedded objects, and uneven wear patterns that indicate alignment issues. Maintain proper inflation as specified on your driver’s door jamb sticker—underinflated tires generate excessive heat and are more prone to failure.
Creating an Effective Emergency Kit
Upgrade beyond the basic spare with these additions:
– Tire pressure gauge (digital for accuracy)
– Portable air compressor for minor leaks
– Tire sealant for temporary puncture repair
– LED work light for nighttime changes
– Heavy-duty work gloves and kneeling pad
Rotate your tires every 5,000-7,000 miles to ensure even wear and extend their lifespan. Consider replacing your spare tire every 10 years, as rubber degrades even when unused.
When to Call for Professional Assistance Instead
Some situations require expert help rather than a DIY fix. If you’re on a narrow shoulder with heavy traffic, lack proper safety equipment, or have multiple flats, stay in your vehicle with doors locked and call for assistance. Vehicles with complex undercarriages, low-clearance designs, or specialized lug nuts may also require professional service.
Never attempt a tire change in unsafe conditions—your life is more valuable than convenience. Most auto clubs and insurance policies include roadside assistance that can change your tire properly while you stay safe inside your vehicle.
Final Note: Changing a flat tire becomes manageable when you understand the proper sequence and safety considerations. Practice the procedure in your driveway before an emergency occurs to build confidence with your specific vehicle. Remember that proper lug nut tightening and awareness of spare tire limitations are critical for continued safety after your roadside repair. Keep this guide accessible in your glove compartment and review it periodically to ensure you’re prepared for when that thumping sound inevitably comes.


