
You’re stranded at a gas station with a low tire, your Ryobi tire inflator in hand, but unsure how to properly connect it to your vehicle. This common scenario frustrates many DIYers who own this popular cordless tool but haven’t mastered its operation. The Ryobi tire inflator solves roadside emergencies and routine maintenance tasks, yet improper usage leads to inaccurate pressure readings or damaged equipment. In this guide, you’ll learn the exact steps to operate your Ryobi tire inflator correctly, avoid common mistakes that compromise accuracy, and maintain your device for years of reliable service—all without needing professional help or expensive equipment.
Unlike traditional air compressors requiring electrical outlets, the Ryobi tire inflator’s cordless design offers unmatched convenience for home users and mobile professionals. With proper technique, you can achieve precise tire pressure in under two minutes, whether you’re preparing for a road trip or maintaining daily commuter vehicles. This comprehensive walkthrough covers everything from initial setup to troubleshooting common issues, ensuring you maximize your investment in this versatile tool. By the end of this guide, you’ll confidently handle any tire inflation task with professional results.
Ryobi Tire Inflator Model Identification and Components
Before operating your Ryobi tire inflator, you must identify your specific model to access correct features and accessories. Ryobi manufactures multiple tire inflator versions with varying capabilities, including the popular P7130 18V ONE+ model and newer digital variants. Locate the model number on the bottom plate or near the power port—this determines compatible batteries and maximum PSI capabilities. Most current models support 0-160 PSI ranges suitable for passenger vehicles, motorcycles, bicycles, and even sports equipment like air mattresses.
Key Components and Their Functions
Your Ryobi tire inflator consists of several critical components that work together for proper operation:
- Digital pressure display – Shows current PSI/BAR readings with backlight for low-light conditions
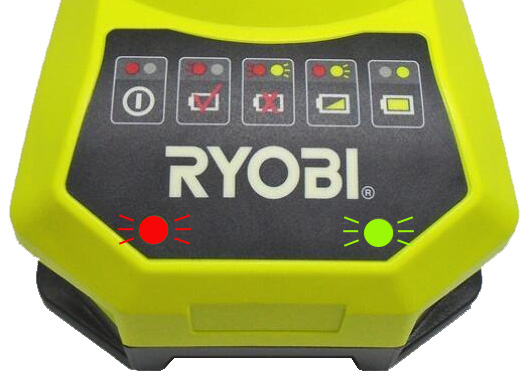
- Power button with LED indicators – Controls operation and battery status
- Air hose with locking chuck – Connects to tire valve stems securely
- Preset pressure button – Allows setting target pressure for automatic shutoff
- Battery connection port – Accepts standard Ryobi ONE+ battery system
- Pressure release valve – Releases excess air to fine-tune pressure
Required Accessories for Proper Operation
Ensure you have these essential items before attempting to inflate tires:
- Compatible Ryobi 18V ONE+ battery (1.5Ah minimum recommended)
- Correct nozzle adapter for specialty applications (bicycles, balls)
- Tire pressure gauge for verification (built-in displays can drift over time)
- Cleaning cloth for maintaining chuck connections
Pre-Operation Safety and Preparation Checklist
Battery Installation and Power Verification
Insert your Ryobi battery firmly into the connection port until it clicks securely in place. Press the power button—LED indicators should illuminate confirming proper connection. If no lights appear, remove and reinsert the battery, ensuring metal contacts align correctly. For optimal performance, use a fully charged 4.0Ah or higher capacity battery when inflating multiple tires or larger vehicles. Always inspect battery contacts for corrosion before installation, cleaning with a dry cloth if necessary.
Tire and Valve Stem Inspection Protocol
Before connecting the inflator, examine the tire and valve stem for safety issues. Check for visible punctures, excessive wear, or embedded debris that could worsen during inflation. Remove the valve cap and inspect the stem for bends or cracks—replace damaged stems immediately as they cause slow leaks. Clean the valve area with a cloth to prevent dirt from entering the tire during inflation. If the tire appears significantly underinflated (below 15 PSI), visually inspect for sidewall damage before proceeding.
Step-by-Step Tire Inflation Procedure
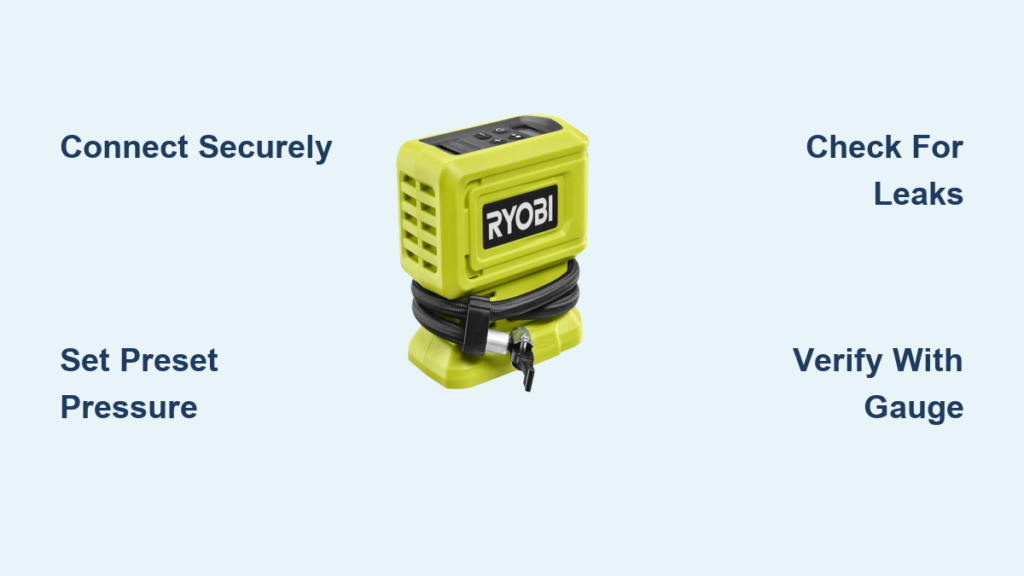
Connecting the Inflator to Your Tire Correctly
Hold the inflator hose connector vertically and press firmly onto the valve stem until you hear air hissing. Rotate the chuck clockwise approximately 1/8 turn to lock it in place—this creates an airtight seal preventing pressure loss during operation. Never force the connection; if it doesn’t seat properly, check for valve stem damage or debris blocking proper attachment. For digital models, the display should activate automatically showing current tire pressure within three seconds of connection.
Setting Preset Pressure and Starting Inflation
For models with preset capabilities, enter your target PSI by pressing the preset button repeatedly until reaching the manufacturer’s recommended pressure (found on your driver’s side door jamb sticker). The display will flash during setting—press the power button to confirm. Activate inflation by pressing and holding the power button for two seconds. You’ll hear the motor engage and see pressure values rising steadily on the display. Release the button when reaching your target pressure or allow the automatic shutoff to stop inflation at your preset value.
Troubleshooting Common Inflation Problems

Addressing Air Leaks During Operation
If you hear persistent hissing during inflation, immediately stop the process and inspect connections. Most leaks occur at the valve stem interface—reseat the chuck by pressing firmly downward while slightly rotating. Check that the valve core is tight by pressing the center pin with a small tool; if air escapes continuously, replace the valve core. Never attempt to inflate tires with visible leaks larger than a pinprick, as this can cause dangerous blowouts.
Handling Inaccurate Pressure Readings
When your Ryobi inflator shows different readings than your standalone gauge, follow this verification process. First, reset the inflator by disconnecting from the tire and powering off for 30 seconds. Reconnect and take a new reading without inflating. If discrepancies persist above 3 PSI, the unit may need calibration—contact Ryobi support with your model number. For immediate needs, use your verified gauge to manually stop inflation when reaching target pressure, ignoring the digital display.
Maximizing Battery Life During Extended Use
Optimal Battery Management Techniques
Use these strategies to prevent battery drain during multiple inflation sessions. Keep spare charged batteries readily available—switching batteries takes less than 15 seconds with practice. For vehicles requiring significant inflation (like SUVs with extremely low tires), work in 30-second intervals with 20-second rests to prevent motor overheating. Store batteries at room temperature; cold conditions reduce effective capacity by up to 30%. After use, remove batteries from the inflator to prevent slow discharge.
Recognizing and Preventing Overheating
Your Ryobi tire inflator will automatically shut off if internal temperatures become unsafe—a normal safety feature. If this occurs, allow the unit to cool for at least five minutes before resuming. Never cover the ventilation ports during operation, and avoid running continuous inflation for more than two minutes at a time. For severely underinflated tires, inflate in stages: fill to half target pressure, wait two minutes, then complete inflation.
Post-Operation Maintenance and Storage
Cleaning and Preparing for Next Use
After each use, disconnect the hose and wipe all components with a dry microfiber cloth. Pay special attention to the chuck connection point where dirt accumulates. Remove any debris from the air intake vents using a soft brush—never use compressed air which can force particles deeper. Store the hose loosely coiled without kinks to prevent internal damage. Periodically check the valve core tool (if included) for proper function.
Proper Storage Conditions for Longevity
Store your Ryobi tire inflator in a climate-controlled environment between 40-85°F (4-29°C). Extreme temperatures degrade both electronic components and battery performance. Keep the unit in its original case or a dedicated toolbox compartment away from moisture and direct sunlight. For long-term storage (over 30 days), remove the battery and store it at approximately 50% charge—the optimal level for lithium-ion battery health.
Advanced Usage Tips for Professional Results
Achieving Perfect Pressure in Different Conditions
Tire pressure changes with temperature—check and adjust pressures when tires are “cold” (vehicle hasn’t been driven for at least three hours). For seasonal changes, increase pressure by 1 PSI for every 10°F temperature drop. When carrying heavy loads, consult your vehicle manual for temporary pressure adjustments rather than exceeding maximum sidewall ratings. For performance driving, many enthusiasts reduce pressure by 3-5 PSI for better traction, but always return to recommended levels afterward.
Using Your Inflator for Non-Vehicle Applications
Your Ryobi tire inflator works perfectly for inflating sports equipment and recreational items. For basketballs and soccer balls, use the included needle adapter inserted through the inflation hole. Set lower target pressures (8-12 PSI) to prevent overinflation damage. When inflating air mattresses, connect directly to the valve and set pressure to 1.5-2 PSI—higher pressures risk seam separation. Always release small amounts of air using the built-in bleed valve for precise adjustment in specialty applications.
Final Note: With proper technique, your Ryobi tire inflator delivers professional-grade results for all your inflation needs. Regular calibration checks every six months ensure continued accuracy, while proper storage extends the unit’s lifespan beyond five years. Remember that maintaining correct tire pressure improves fuel efficiency by up to 3% and significantly enhances vehicle safety—making this simple tool one of the most valuable additions to your automotive toolkit. For model-specific features not covered here, consult your Ryobi owner’s manual or visit Ryobi’s official support website for updated resources and instructional videos.


