
Your zero turn mower suddenly veers left during mowing, leaving uneven strips across your lawn. You pop the hood and confirm it: the front caster tire is completely deflated. Without proper inflation, your mower can’t track straight, damages your turf, and strains the hydraulic system. Most zero turn front tires require 10-14 PSI – far lower than car tires – but guessing the pressure risks blowouts or poor handling. This guide delivers the exact steps to safely inflate your zero turn front tire, including weight distribution tricks professionals use and how to spot dangerous dry rot before it’s too late. You’ll learn why standard air compressors often fail on these tires and the $15 tool that solves 90% of inflation issues.
Zero Turn Front Tire PSI Requirements: Why 14 PSI Is the Critical Threshold
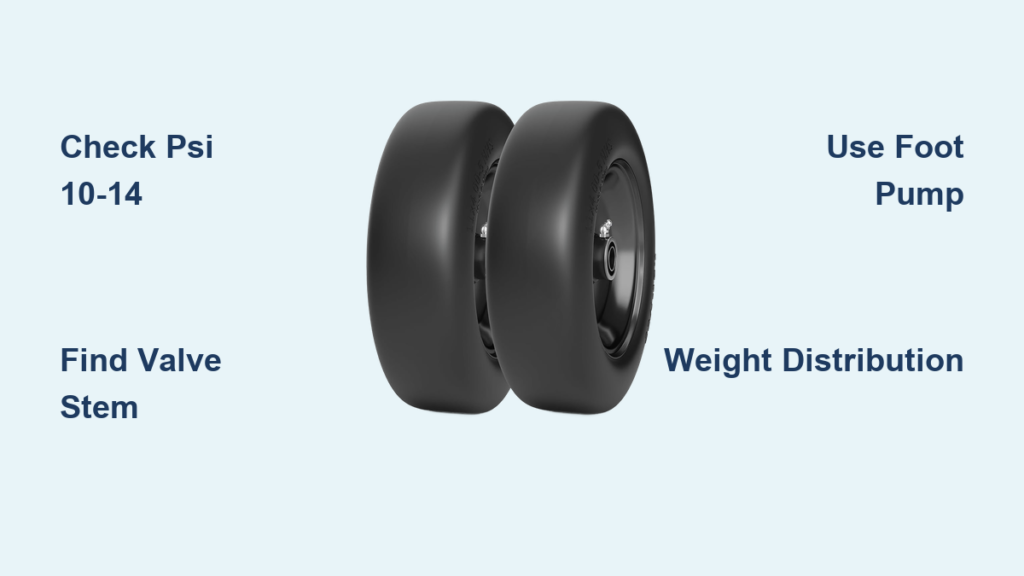
Zero turn front tires operate at dramatically lower pressures than rear drive tires or automotive tires. Most manufacturers specify 10-14 PSI for front caster wheels, with critical consequences for exceeding this range. Over-inflating beyond 14 PSI causes stiff, bouncy handling that tears up grass and transmits damaging vibrations to the mower’s frame. Under-inflation below 10 PSI creates dangerous sidewall flexing that generates excessive heat during operation, leading to rapid tread separation. The exact pressure depends on your model’s weight distribution – heavier commercial decks need the upper end of the range.
How to Find Your Exact PSI Specification
- Check the tire sidewall for maximum pressure ratings (never exceed this)
- Consult your operator’s manual under “Tire Maintenance” (typically Chapter 4)
- Locate model-specific stickers near the front caster assembly on newer mowers
Consequences of Incorrect Inflation
Over-inflation symptoms:
– Mower “skips” over uneven terrain
– Visible vibration in steering wheel at idle
– Premature wear on outer tire edges
Under-inflation red flags:
– Spongy, unresponsive steering
– Excessive tire wobble at operating speed
– Heat buildup causing rubber degradation
Locating and Accessing the Valve Stem on Front Caster Wheels

Finding the valve stem on zero turn front tires trips up 80% of first-time users because it’s hidden in unexpected locations. Unlike rear tires where stems face outward, front caster stems often point downward toward the ground or inward toward the mower deck to avoid mower deck interference. On Hustler models, stems typically angle toward the centerline, while Toro TimeCutter stems face the front bumper.
Three Valve Stem Locations to Check
- Directly under the caster fork – Shine a flashlight upward from ground level
- Behind the spindle assembly – Rotate tire slowly while inspecting
- Inside the wheel well – Common on John Deere ZTrak models
Removing Valve Core Obstructions
Caked-on grass clippings and dirt frequently jam the valve mechanism. Before attaching your pump:
– Scrape debris from stem base with a flathead screwdriver
– Spray penetrating lubricant around the core for 30 seconds
– Gently press the valve pin with a tire tool to release trapped debris
– Critical: Never force the pump chuck onto a dirty stem – this causes air leaks
Essential Tools for Zero Turn Front Tire Inflation Success

Standard automotive air compressors often fail on zero turn front tires due to incompatible chuck designs and pressure inaccuracy at low PSI ranges. You need specialized equipment that delivers precise low-pressure inflation without damaging the delicate valve stems.
Must-Have Inflation Kit Components
- Digital tire gauge with 0-15 PSI range (analog gauges lack accuracy below 20 PSI)
- Dual-head air chuck with lever-lock mechanism for zero-turn stems
- Foot pump with pressure regulator (for controlled low-PSI inflation)
- Valve core tool (prevents core damage during inflation)
Why Standard Air Compressors Fail
Most shop compressors deliver air in bursts that instantly over-pressurize these low-PSI tires. The sudden pressure spike often blows out the valve core or causes inaccurate readings. A foot pump with regulator lets you add air in 1-2 PSI increments – essential for hitting the narrow 10-14 PSI target.
Pre-Inflation Weight Distribution: Prevent Tire Damage During Inflation
Inflating zero turn front tires while the mower rests on its frame creates dangerous pressure points that distort the tire bead. Proper weight distribution ensures even inflation and prevents bead separation – a common cause of sudden flats during operation.
Step-by-Step Weight Management
- Position mower on level concrete surface with parking brake engaged
- Place 2×4 lumber blocks under mower deck at front pivot points
- Lift front caster assembly slightly off blocks using floor jack
- Critical: Inflate tire only until it makes light contact with blocks
- Lower jack slowly while adding final 2-3 PSI increments
Warning Signs of Improper Weight Distribution
- Tire bulges unevenly on one side
- Valve stem bends at 45-degree angle
- Air hissing from bead area during inflation
Step-by-Step Front Tire Inflation Procedure
Follow this exact sequence to avoid the most common inflation mistakes that lead to recurring flats. The entire process takes 12 minutes when using the right tools.
How to Achieve Perfect 14 PSI Inflation
- Deflate tire completely by pressing valve core pin for 10 seconds
- Attach digital gauge to verify 0 PSI reading (confirms no slow leaks)
- Connect regulated foot pump and inflate to 8 PSI in 30-second intervals
- Rotate tire 90 degrees and check pressure – repeat until consistent
- Add final air in 1-PSI increments while monitoring gauge
- Recheck pressure after 5 minutes of sitting (true stabilization time)
Troubleshooting Inflation Failures
Problem: Gauge shows 0 PSI but tire feels firm
Solution: Debris blocking valve core – remove core and clean with solvent
Problem: Air escapes during inflation attempts
Solution: Apply soapy water to bead area – bubbles reveal leaks requiring tire replacement
Problem: Pressure drops after initial inflation
Solution: Seat bead properly by driving mower forward 10 feet before final inflation
Diagnosing Front Tire Problems Before Inflation

Never inflate tires showing these damage signs – it risks dangerous blowouts. Dry rot appears as hairline cracks in the sidewall but progresses to tread separation within weeks.
Critical Damage Indicators
- Sidewall cracks deeper than 1/16 inch (use coin test: if quarter edge fits, replace tire)
- Bulges near valve stem indicating internal cord damage
- Exposed fabric cords beneath the rubber tread
- Asymmetric wear patterns signaling alignment issues
Dry Rot Prevention Protocol
After inflation:
1. Apply UV-protectant tire dressing monthly
2. Store mower in shaded area (direct sun accelerates rubber degradation)
3. Maintain minimum 10 PSI even during storage
4. Rotate front tires every 50 hours of operation
Zero Turn Tire Maintenance Schedule
Preventative care extends front tire life by 200% according to commercial mower service data. Follow this exact timeline:
| Task | Frequency | Critical Action |
|---|---|---|
| Pressure check | Before each use | Inflate to 12 PSI if below 10 |
| Visual inspection | Weekly | Scrub stems with wire brush |
| Valve core replacement | Every 6 months | Use nickel-plated cores only |
| Tire rotation | Every 50 hours | Swap left/right front tires |
Pro Tip: Keep a tire pressure log in your operator’s manual – sudden 3+ PSI drops indicate slow leaks needing immediate attention.
Pneumatic vs. Flat-Free Tires: Inflation Requirements
Your inflation approach depends entirely on tire type. Pneumatic tires require regular pressure management, while foam-filled “flat-free” tires have different maintenance needs.
Pneumatic Tire Inflation Rules
- Must maintain 10-14 PSI year-round (cold tire measurement)
- Check pressure when temperatures change more than 15°F
- Always inflate when tires feel “soft” during operation
Flat-Free Tire Reality Check
Despite the “no inflation” marketing claim:
– Foam degrades over time causing 20-30% diameter loss
– Requires professional refilling every 3-5 years
– Creates 15% more rolling resistance than pneumatic tires
When to Replace vs. Repair Zero Turn Front Tires
Most front tire issues require full replacement – repairs rarely last due to constant castering motion. Only attempt patching if:
– Puncture is in center tread (not sidewall)
– Hole is smaller than 1/4 inch
– Damage occurred within last 24 hours
Never repair:
– Tires with dry rot cracks
– Any sidewall punctures
– Tires showing bead separation
Final Pressure Check Protocol: After inflation, drive mower in figure-eight pattern for 2 minutes to seat the bead, then recheck pressure. If it drops more than 1 PSI, inspect for leaks immediately. Maintain 12 PSI as your operating standard – this provides optimal turf protection while preventing sidewall stress. For immediate flat prevention, apply tire sealant annually through the valve core. If you consistently lose pressure despite proper inflation, inspect the spindle assembly for bent components causing slow leaks. Always keep a digital gauge and foot pump in your mower shed – these $35 tools prevent $200 service calls. Your zero turn’s precision cutting starts with perfectly inflated front tires, so make this a non-negotiable 2-minute pre-mow ritual.


