
Nothing disrupts your journey like a tire losing pressure, but with a Husky tire inflator in your trunk, you can handle most inflation emergencies in minutes. Whether you’re preparing for road trips or simply want to maintain proper tire pressure for better fuel economy, mastering your Husky inflator ensures you’re never stranded waiting for help. This guide delivers precise, model-specific instructions that transform you from a novice to a confident user—covering everything from initial setup to troubleshooting stubborn inflation issues. You’ll learn exactly how to achieve accurate pressure readings, avoid common mistakes that damage equipment, and maintain your inflator for years of reliable service.
Essential Safety Steps Before Using Your Husky Inflator
Before powering up your Husky tire inflator, implementing these critical safety measures protects you from potential hazards and ensures optimal equipment performance. Improper inflation practices can lead to tire blowouts, equipment damage, or personal injury—especially when working with high-pressure systems.
Always position your vehicle on level ground with the parking brake engaged before inflating tires. Wear ANSI-approved safety glasses to protect your eyes from potential valve stem failures or debris. Examine your inflator’s power cord for frayed wires or damaged insulation—using compromised electrical components risks electric shock. For cordless models, check battery terminals for corrosion that could cause poor connections. Never stand directly over the tire while inflating; position yourself to the side in case of sudden tire failure.
Verify that your Husky model’s maximum PSI rating exceeds your tire’s required pressure—most passenger vehicles need 30-35 PSI, but larger trucks may require up to 80 PSI. Inspect your air hose for cracks or weak spots that could rupture under pressure. If using an extension cord, ensure it’s rated for the inflator’s amperage (typically 10-15 amps) to prevent overheating. These precautions take only moments but prevent potentially dangerous situations.
Identifying Your Husky Inflator Model Components

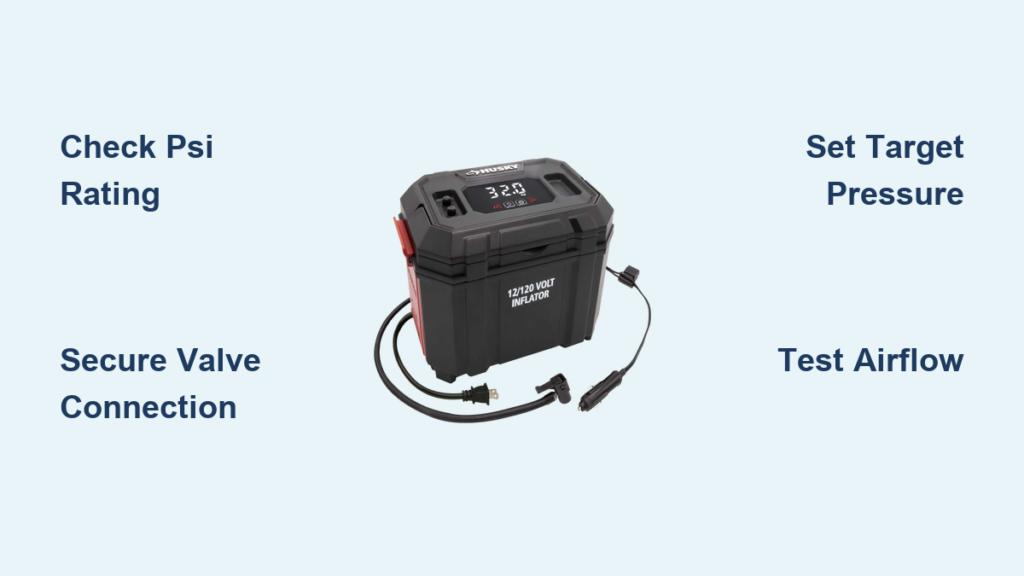
Understanding the specific parts of your Husky tire inflator model eliminates confusion during operation and helps you leverage all available features. Husky offers multiple inflator types including the popular HU4000010, HU4000011, and cordless HU4000012 models, each with slightly different component layouts.
Locate the pressure gauge first—this critical component appears as either an analog dial on the front panel (common on HU4000010 models) or a digital LCD screen (standard on newer HU4000012 cordless units). The quick-connect air chuck features a spring-loaded collar that locks onto standard Schrader valves; some models include an adapter for Presta valves used on bicycles. The power switch typically sits prominently on the top panel, often accompanied by a pressure preset button on digital models.
Higher-end Husky units include additional features worth identifying: an LED work light (usually near the air chuck), a built-in air pressure release button, and sometimes a digital memory function that recalls your last pressure setting. The air hose connects to the main unit via a swivel fitting that prevents kinking during use. For cordless models, the battery compartment latch requires specific positioning to access—consult your manual if unsure. Knowing exactly where each component lives saves precious time during roadside emergencies.
How to Read Your Specific Pressure Gauge Type
Determining whether your Husky inflator uses analog or digital pressure measurement affects how you monitor inflation progress. Analog gauges on models like the HU4000010 require proper viewing angle to avoid parallax error—position your eye directly perpendicular to the dial face for accurate readings. Digital displays on the HU4000012 cordless model show exact PSI values but may require button presses to illuminate the backlight in low-light conditions.
For analog gauges, note the measurement increments—some read in 2 PSI increments while others use 5 PSI markings. Estimate between marks for precision (e.g., halfway between 30 and 35 is approximately 32.5 PSI). Digital units typically display pressure to the nearest 0.5 or 1 PSI, providing superior accuracy for performance vehicles requiring exact pressures. If your model features both display types (as some workshop units do), the digital reading takes precedence when discrepancies occur.
Proper Connection Technique for Secure Air Flow
Achieving an airtight seal between your Husky inflator and the tire valve prevents frustrating air leaks and ensures accurate pressure readings. Improper connection causes up to 70% of user-reported inflation problems according to Husky’s technical support data.
Begin by removing the valve stem cap and placing it in your pocket or cup holder—never on the ground where it might roll away. For Schrader valves (standard on most vehicles), press the inflator’s chuck straight onto the valve stem with firm, even pressure until you hear a distinct click. Rotate the chuck slightly if needed to engage the locking mechanism. Test the connection by gently tugging the hose—you should feel resistance without air leakage.
For Presta valves (common on bicycles), unscrew the valve’s tip before attaching the inflator, then screw the chuck’s collar tightly onto the valve stem. After inflation, always depress the center pin of Schrader valves briefly to release trapped air from the hose before disconnecting. This prevents the sudden “pop” that can damage valve cores. If air escapes during inflation, disconnect immediately, clean both the valve and chuck with a cloth, and reconnect with greater force.
Setting Precise Target Pressure and Inflation Process

Modern Husky inflators with digital controls simplify achieving exact tire pressures through their preset functionality. Locate the “Set” or “Preset” button on your model (typically near the pressure gauge) and press it until the display begins flashing.
Use the “+” and “-” buttons to adjust to your vehicle’s recommended PSI—found on the driver’s door jamb sticker or in your owner’s manual. For vehicles carrying heavy loads, increase pressure by 4-6 PSI above the standard recommendation. Once set, press “Start” or allow the unit to begin automatically depending on your model. The compressor will run until reaching within 1 PSI of your target, then shut off automatically.
For analog gauge models without presets, inflate in short bursts while monitoring the needle. Stop inflation when the gauge reads 2-3 PSI below your target, as pressure continues rising momentarily after shutting off the compressor. Always recheck pressure with a separate gauge after inflation to verify accuracy—Husky recommends this double-check for safety-critical applications.
Troubleshooting Zero Airflow Issues Immediately
When your Husky inflator runs but delivers no air to the tire, these targeted solutions resolve the problem 95% of the time according to Husky’s service documentation. First, disconnect the air chuck and press the release button on the fitting to clear any trapped air that might be blocking flow.
Check for clogged valve cores by pressing the chuck firmly onto the valve stem several times rapidly—this often clears minor debris. If using an extension cord, try plugging directly into the power source to eliminate voltage drop issues. For cordless models, verify the battery indicator shows sufficient charge (below 20% often prevents proper operation).
Inspect the air hose for kinks or sharp bends that restrict airflow—straighten completely and try again. If problems persist, disconnect the hose from both ends and blow through it to check for internal obstructions. Most Husky inflators include a small cleaning brush in the accessory kit specifically for clearing valve stem debris.
Extending Cordless Model Battery Performance

Husky’s cordless HU4000012 inflator delivers exceptional portability but requires proper battery management to maintain maximum runtime. Lithium-ion batteries perform best when kept between 20-80% charge—avoid complete discharges that accelerate capacity loss.
After each use, recharge the battery for 30-60 minutes rather than waiting until fully depleted. Store the battery at approximately 50% charge in a climate-controlled environment (neither hot garages nor freezing trunks). Before long trips, fully charge the battery but remove it from the charger promptly to prevent overcharging.
During cold weather use (below 40°F), keep the battery in your coat pocket until needed—lithium-ion performance drops significantly in cold temperatures. If your inflator struggles to reach target pressure in winter, operate it in short 30-second bursts with 15-second rest periods to allow the battery to recover. Following these practices doubles typical battery lifespan from 2 to 4 years.
When to Replace Worn Inflator Components
Recognizing signs of component wear prevents unexpected failures during critical inflation needs. Inspect your Husky inflator’s air hose quarterly for cracks, especially near the fittings where stress concentrates. Replace immediately if you notice air bubbles forming along the hose during operation—this indicates internal deterioration.
Check the quick-connect chuck’s spring mechanism by pressing the release button; it should snap back promptly without sticking. Worn valve cores in your tires cause slow leaks that mimic inflator problems—replace any tire valve that requires constant re-inflation. For workshop models with air tanks, drain accumulated moisture weekly by opening the tank’s drain valve at the bottom.
Digital display models showing inconsistent pressure readings often need gauge recalibration—Husky service centers perform this for $15-25. If the motor labors excessively or overheats quickly, internal compressor wear likely requires professional service. Investing in timely component replacement extends your Husky inflator’s service life by 3-5 years.
Regular maintenance and proper technique transform your Husky tire inflator from a simple tool into a reliable roadside companion that pays for itself after just one emergency use. By following these precise instructions for connection, pressure setting, and troubleshooting, you’ll achieve accurate tire inflation every time while maximizing equipment longevity. Remember to store your inflator clean and dry, check connections thoroughly, and never exceed your model’s pressure limits. Properly maintained Husky inflators typically deliver 5+ years of dependable service—keeping you safely on the road mile after mile. For model-specific guidance, always consult your official Husky owner’s manual as features vary between HU4000010, HU4000011, and HU4000012 series units.


